It’s the little touches that make a project, and a nice nameplate can really tie a retro build together. Such badges are easy enough to make with a CNC machine, but if you don’t have access to machine tools you can put chemistry to work for you with these acid-etched brass nameplates.
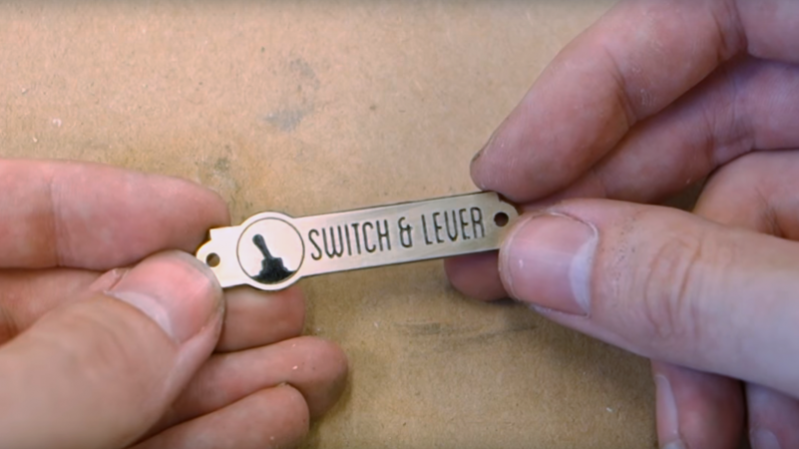
The etching method that [Switch and Lever] uses to get down to brass plaques will be intimately familiar to anyone who has etched a PCB before. Ferric chloride works as well on brass as it does on copper, and [Switch and Lever] does a good job explaining the chemistry of the etching process and offers some tips on making up etching solution from powdered ferric chloride. But the meat of the video below is the head-to-head test of three different masking methods.
The first method uses a laser printer and glossy paper ripped from a magazine to create a mask. The toner is transferred to the brass using an office laminator, and the paper removed with gentle rubbing before etching. For the other two candidates he uses a laser engraver to remove a mask of plain black spray paint in one case, or to convert special laser marking paint to a mask in the other.
We won’t spoil the surprise as to which gave the best results, but we think you’ll be pleased with how easy making classy nameplates can be. You can also use electrolytic methods for a deeper etch, but we think acid etching is a little more approachable for occasional use.


Very thorough, thanks! Particularly liked the safe disposal of remaining etchant, including the wash water, at the end of the video. Most PCB hackers are careful about saving the remaining etchant for reuse but simply let the wash water go down the drain thinking it is safe to do so.
I remember the old sentence: “The solution to pollution is dilution.” :-) Although not as widely accepted todays than in former times.
End result is nice, but WOW that is a lot of effort for little name plates as shown in the video. If you have access to a laser you could use this method as well https://www.youtube.com/watch?v=Y-8Q7rbMyJk
Which has me thinking about a stainless steel name plate for the desk.
That’s an awesome technique, I’ll definitely have to tuck that one away.
I just got a tiny 800mW laser engraver. Is there a method where I coat brass in some sort of enamel, laser the enamel off, and then use acid on the brass and then use acetone/sandpaper on the enamel? Similar to using photosensitive copper clad for PCBs?
That’s literally covered in the video. He uses spray paint.
Ill be very surprised if a little 800 mw toy can do anything to paint. I have had issues getting clean paint removal with a 45w epilog.
Then use UV photo resist spray like “positiv 20” or the dry film photoresist they offer e.g. on Aliexpress. Any PCB process is also good for brass.
Could you the small laser to cure photo-resist in a pattern (rather than removing it) and proceed from there?
yeah, you could use a blue laser, people have done it for PCB. Just be careful with blue lasers, blue light itself is terrible for your eye and these cheap things are almost never in a light proof enclosure and a specular reflection off brass is all you need to get eye damage.
macona: Same. I tried a few different paints I had on hand and a bunch of different speed/power combinations and all of them left a tiny almost invisible layer of paint. I think the one common factor was that they were all glossy paints, so maybe that was the issue. By the time I was able to remove this invisible layer, it pretty much always damaged the etching mask.
sorry tldr moment
Just use spray-on PCB resist…it’s not exactly cheap, but you should get good results.
Impressed with the video, very well done. Love the “safety warnings” cause they are very detailed as well in a funny way.
Great stuff.
*Maybe he could engrave a nail cutter :P (ok bad joke but I had to make that remark.)
For brass etching, I’ve had decent results using plain painter’s tape cut with a 40W laser as a mask. Then, I’ve electro-etched the brass in a (non-iodized) salt and distilled water solution using a 12VDC wall wart. Relatively easy and the etch is pretty well controlled.
this. I’ve etched using salt and vinegar, and then rubbing with a Q tip dipped in vinegar. I wrapped a wire around the Q tip, and connected that to the – of the 12V supply. I connected the etched piece to the + of the supply.
Useful tip, get some of that extremely cheap blue light cure nail varnish sold at Boots.
This works well, I tried it.
Tip: its not quite as simple as you think, its a matter of getting several parameters right at the same time but any small blue laser (eg 390-420nm) will work and I had some success with a PL450 series one but it takes longer and needs preheating.
Reminder, the toner method reportedly also works well with brown packing tape on paper instead of glossy mags.
Did not test that myself though.
Glossy is good for toner release, but I’ve had trouble getting it to stick right in the printer. I always end up with pinholes, though they seldom matter.
I use glossy paper for quick stuff, because it’s less hassle than ripping out a magazine page, taping it onto a backing piece of paper, and feeding it through. But for high-res stuff, I’ll break out the Economist (or magazine of your choosing) every time.
Thing is though that there are plenty of people who don’t buy glossy mags anymore and don’t have glossy printer paper, so for those it can be a pain to get the design out and then realize they don’t have a glossy mag, and don’t want to invest $8 to get one.
On the other hand, it might be a good time/excuse to visit your mom or to talk to that girl you like and see if she has a glossy mag available :)
My first way would be to the waste paper bin. There is so much advertisment mail (“HW spam” :-) ), often also on more or less glossy paper. You can also buy specialized transfer paper on Aliexpress and many years ago I used some baking paper, which I taped on a sheet of regular printer paper. I am not sure, which tape I used, as it had to survive the fusion roller. It is also possible, I used a water soluble glue stick (“UHUstick”).
That toner transfer was not for etching but for a nice front panel of a battery charger. I transfered it with mother’s clothing iron to the anodized aluminium sheet metal front.
Very nice tutorial, also I liked Clickspring cameo :D
a little constructive criticism,might be good idea to treat fingernails for video closeups.