Just like Goldilocks found some porridge too hot and some too cold, 3D printers often have beds that don’t stick well enough or stick too well. A few weeks ago I switched two of my three printers to use magnetic beds and thought I’d share with you how that worked out. Spoiler alert: like most things it has its plusses and minuses.
It isn’t a secret that 3D printing is not a plug-and-play operation, especially at the price most of us are willing to pay for printers. There are lots of variables to get right: temperature, speeds, bed leveling, and a bunch of other things. However, one of the things that vexes many people is the relationship between getting that first layer to stick and being able to get the print off the bed when you are done. It is hard to find a happy medium. If the first layer won’t stick, you print is doomed. If the first layer sticks too well, you are likely to damage the part or your fingers getting it removed. I switched to BuildTak surfaces long ago, and many people like PEI. But it is sometimes hard to get a big part removed. A few weeks ago, I took the plunge and bought some magnetic build surfaces for two of my printers. These were “no name” inexpensive affairs from Ali Express.
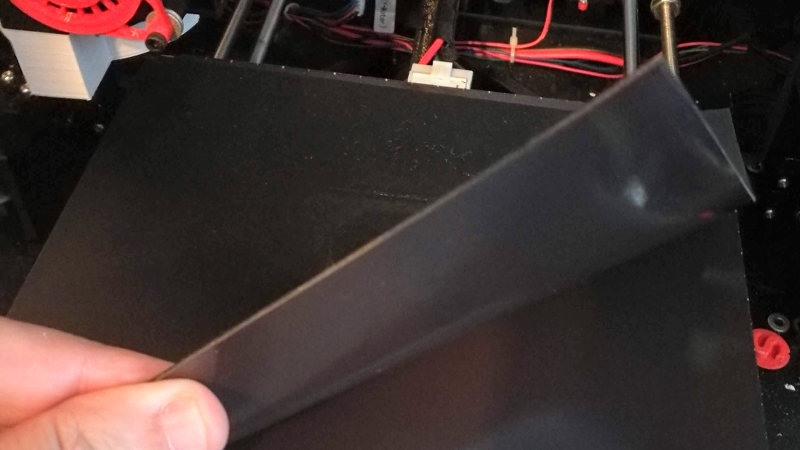
The idea is simple. There are two sheets that look like a rubberized plastic and have magnetic properties. One piece has some 3M adhesive on the back. The other has one surface that resembles BuildTak. Once you glue down the one sheet you leave it alone. Then you put the other sheet on top and print on it. When you are done, you can pull the sheet out and flex it to pop the print off. That’s the theory, anyway.
Installation
Installation is really easy. If you bought the right size, just stick it down on your existing bed. If you bought a bigger size — and you might want to if you have a small print bed, as you’ll see — you can cut the material with reasonably good scissors. If you are cutting a rectangle, though, be careful: the two pieces of material lock together in a certain way. If you turn the top piece at a right angle to the “correct way” the top layer won’t stick very well. In the right orientation, you can feel a satisfying “snap” when the top layer locks to the bottom layer.
If you have a smaller bed, you might want to buy a bigger piece and cut it. Here’s why. The top layer is pretty fragile. You might want to use smaller pieces for smaller prints to avoid wearing out a larger piece just from printing small keychains. The bottom layer doesn’t seem to wear much, so you can cover the whole surface on the bottom and then use smaller top panels that don’t cover the entire print area.
In Use
Printing is about like you’d expect. The two sheets add quite a bit of thickness to your bed. I had to raise my print head about 2.5 mm. If your printer has an adjustment for this you can use that. If it autolevels, you might have to set a new offset, depending on what kind of sensor you have. You can also do what I do and put a negative offset in your G code (for example, G92 Z-0.20) to move the head 0.2 mm up.
Here’s the problem. Like BuildTak, the material will stick too well if the head is close. Using PETG plastic, my first attempt stuck really hard to the plate. Peeling the part off worked, but it also left tears in the very thin top surface. You are better off setting the offset very high and slowly lowering it until you get a good compromise.
The pictures below show a sleeping cat printed in PETG. The right-hand picture shows how the head being a little low left a permanent dent in the material and there is a small tear in the surface, too.


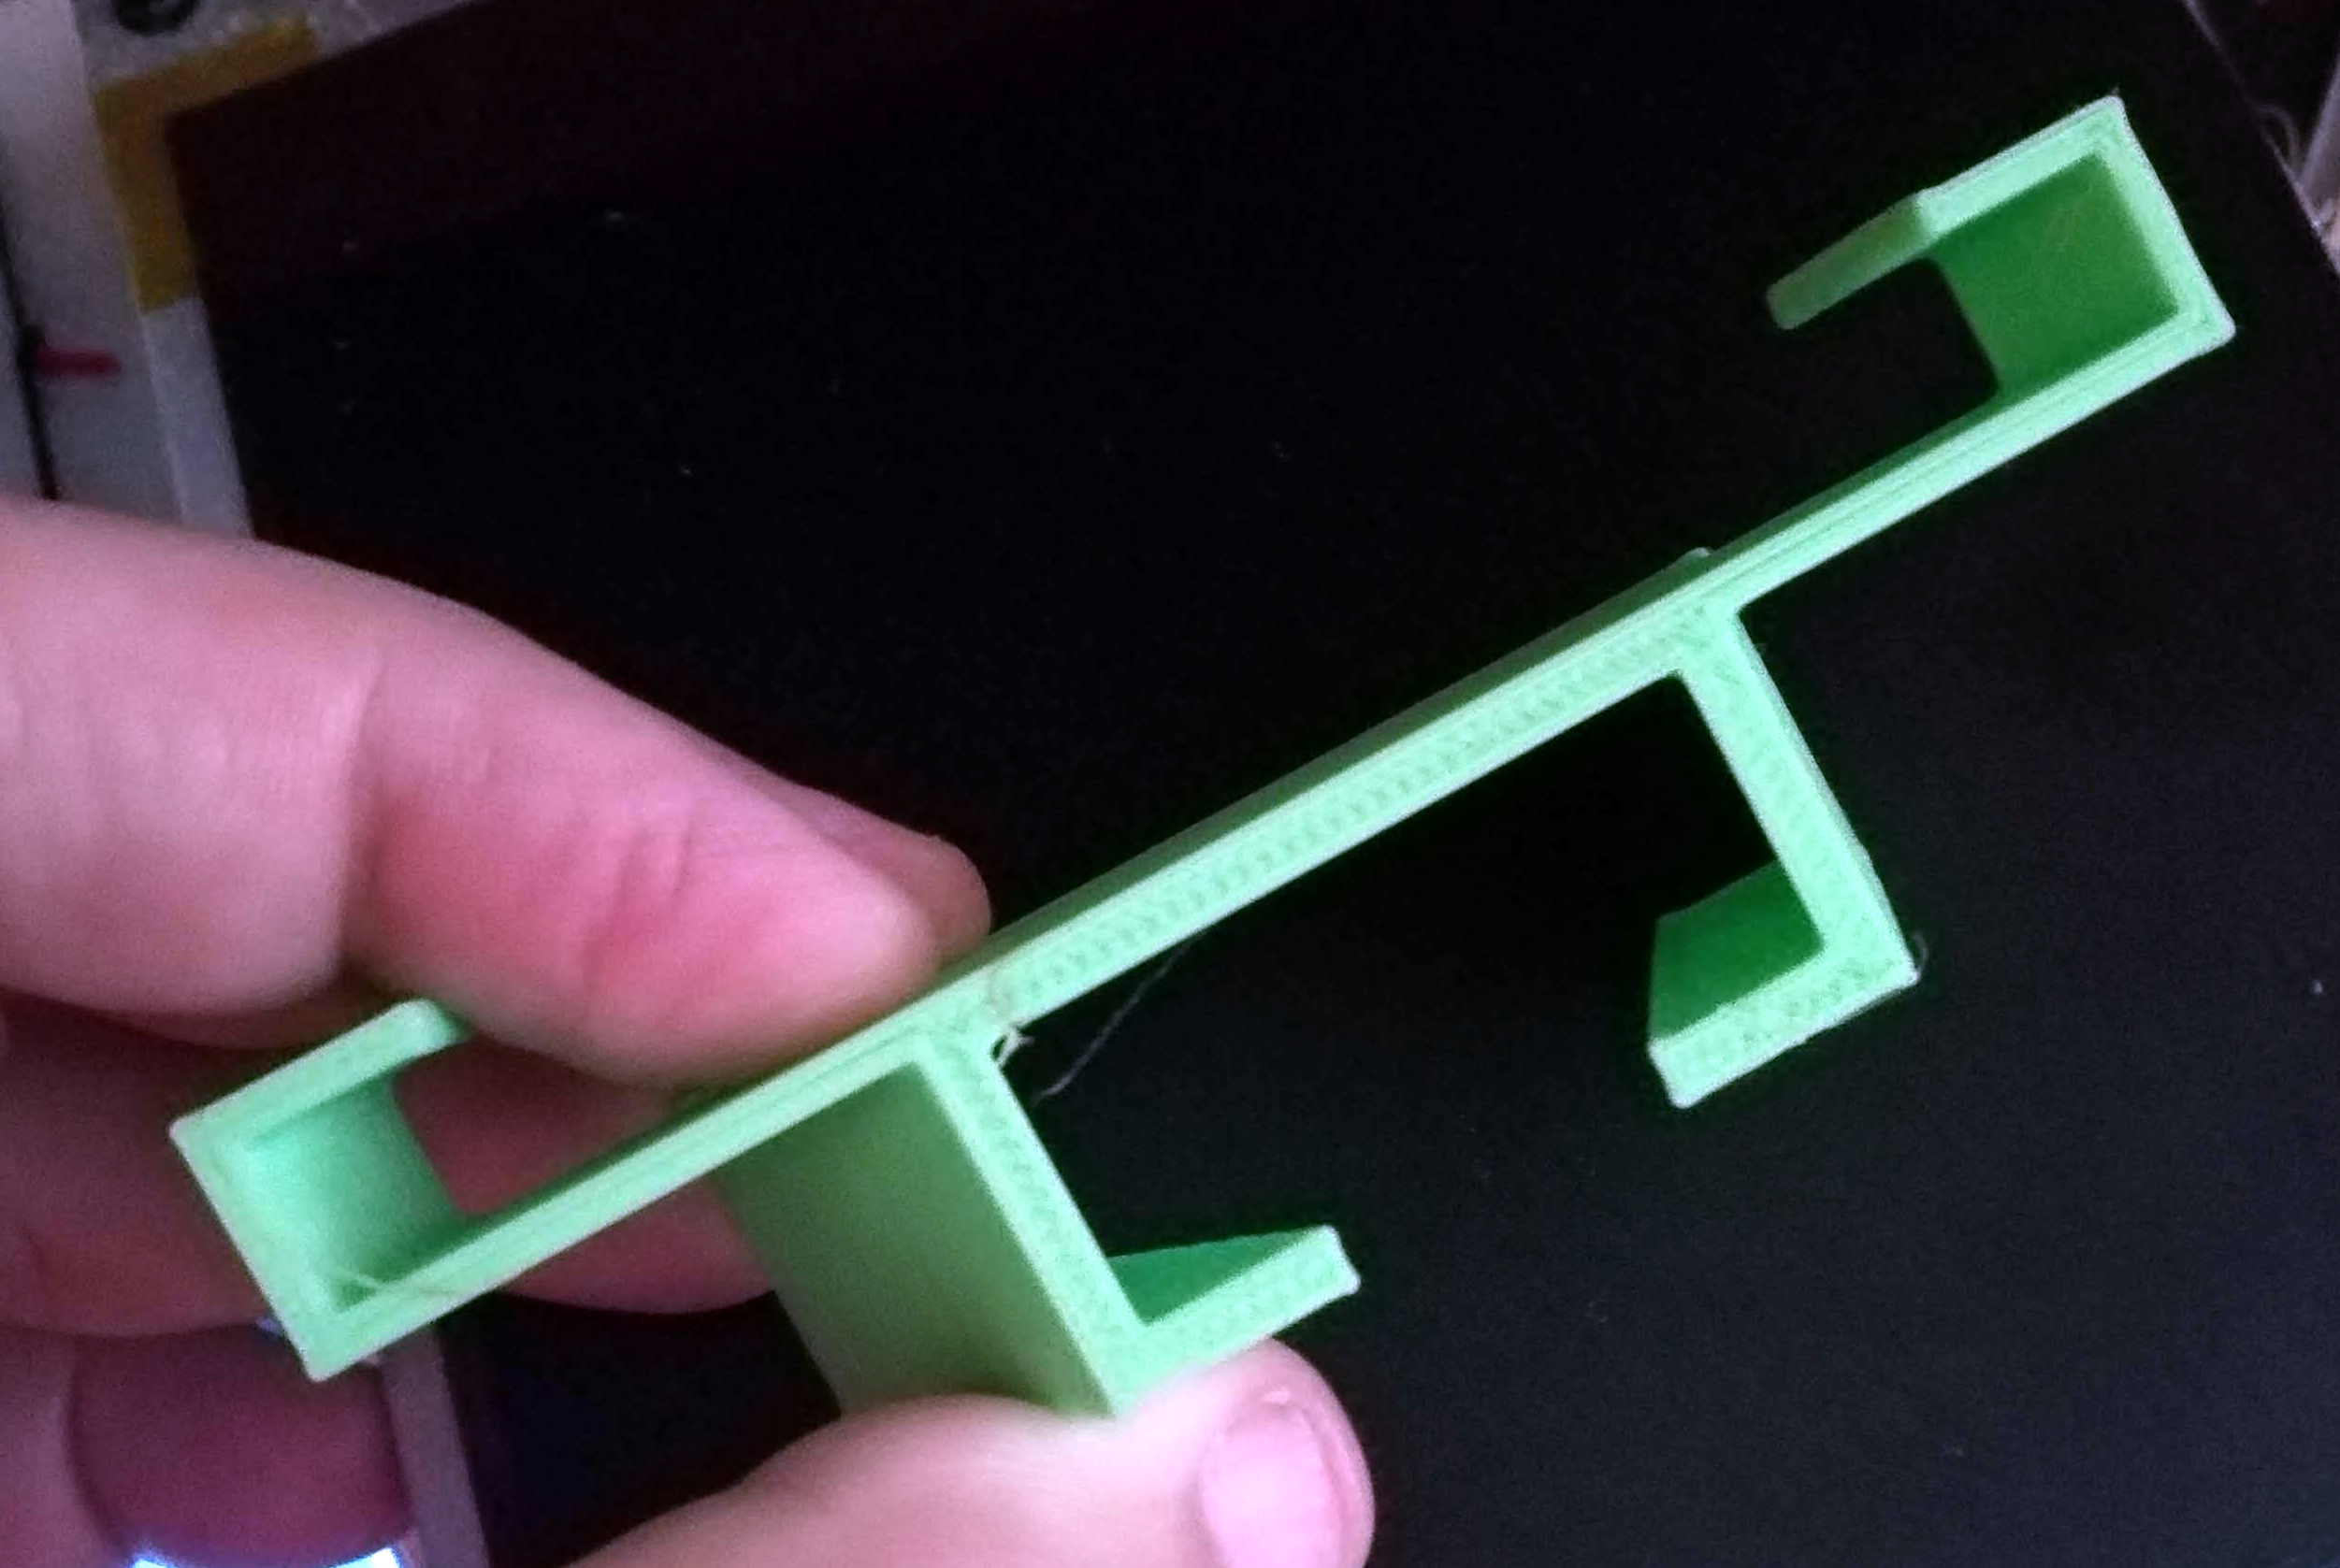
The PETG seemed to really stick hard. Using PLA was a little easier to dial in. The green piece below is PLA printed on a Monoprice mini with a magnetic bed. The other nice thing about PLA is you don’t need much bed heating to use it. There’s no doubt that when your thermistor says, for example, 70 C on the bed, the temperature on top of these multiple layers of material is going to be less. You may have to adjust accordingly. However, the material won’t tolerate high temperatures so printing ABS is probably not going to be good nor is it a good idea to drag the hot head too close to the surface.
Conclusions
Is it worth the effort? I’m not sure. It certainly felt more finicky than just using a sheet of BuildTak. While the BuildTak and similar materials don’t last forever, they don’t seem to tear up quite as easily as the magnetic plate does. I also feel like the PETG was much harder to get that sweet spot where it sticks well enough but not too good.
I haven’t seen anyone selling just top sheets, but clearly, you will want a backup for the top sheet since it can easily get damaged. It would add to the cost, but I considered putting another layer of actual BuildTak on top of the top sheet, but I didn’t try it. It should work, though.
I also didn’t try more expensive magnetic sheets. It is hard to tell if they would really be made better of if they were just the same with a middleman’s markup added to them.
The good news is that when it did work, it worked great. PLA was very pleasant to just pop off. Of course, PLA releases well from BuildTak, too, so other than the novelty of removing the print, it isn’t clear to me this is really better. Then again, for PLA, it probably isn’t any worse either. For a $20 or so upgrade, it was not bad. Just don’t expect miracles.


coincidentally, I was just shopping for a magnetic build plate to try out. this article didnt help any. its a definite maybe.
The premise of the magnetic build plate is that you can conveniently remove the top print surface. It is not clear if the issues are with that or just the top part had some weird coating which was causing the parts sticking too well. The second can be addressed by experimenting with different top surfaces.
In Prusa MK3 printers flexing the top print surface does free the part, was that not sufficient? Is the top surface not springy enough?
Ultra adhesion, sounds like generic PEI to me. Try some talcum powder for PETG, works great.
Depending on the machine (Delta, CoreXY), it may not be spring-levelled, so a magnetic bed with some flex in it is the only way to bend anything the print is on, or a bed surface that is flexible and clip/unclip but that’s preference.
I’ve been eyeballing these flex beds for quite some time, and only one of them I’ve found seems to support > 100 C bed and > 245 C first layer. It’s also the only one with a replacement surface separate from magnetic mount — BuildTak FlexPlate, which is a tragedy because $$$ for a decent size. Each of the three parts (magnetic base, steel plate, build surface) can be sourced separately though.
BTW, this whole article should never have been published, it’s not a standard Hackaday IMO. Undisclosed alibaba doesn’t justify bad press for good selections. Bed adhesion on the PETG is a well known issue on PEI, that’s irrelevant to magnets and not knowing how to handle it doesn’t belong in an article fully irrelevant to it, especially with the pic showing even gluestick wasn’t used. 2.5mm is hardly “quite a bit of thickness” (for reference a piece of paper calipers at 1.0mm), and saying “I haven’t seen anyone selling top sheets” then following up with “I didn’t try anything halfway decent” — man I come here for good stuff I didn’t realize GeckoTek was high roller stuff at a mere $15 — did the research department go flat broke here?
I don’t know what kind of paper you use, but mine measures roughly 0.1, not 1.0 mm. 2.5 mm is quite a bit of thickness.
Running a Prusa MK3 for almost a year now, I find anything that’s not removable and PEI coated to be a royal pain. The Ultimaker 3 at work is nice and all, but the glass bed is awful in comparison: removing larger PETG prints has damaged the glass.
For printing PETG, I used unscented aerosol hairspray (L’Oreal brand, since that’s what I can find locally) on the PEI-coated spring steel sheet. I’ve found it to work very well (aside from needing periodic reapplications), and the detachable build surface means I never get overspray on the printer. I would recommend anyone printing PETG on a MK2.5/3 to try it.
I know it can seem like a step backwards to be putting hairspray on PEI, but for PETG, you really need some sort of release agent to keep the first layer from fusing to the bed. The MK3 ships with a glue stick for that very reason. PLA, of course, is fine printing directly on bare PEI.
I only print in PLA, but I have never gotten better results than with a glass bed with a thin coating of wood glue heated to about 70 degrees. Medium size prints (3″ diameter or so) will completely pop off the bed when cool and I can reliably print objects that have less than a square centimetre of contact with the bed. Big prints usually just take a gentle tap with a woodworking chisel to pop them off.
One detail you guys are overlooking, there are 2 basic types of magnetic bed for 3D printers: Magnetic stickers with a steel layer on the heat-bed, and coated spring-steel build plates with rare-earth magnets embedded in/under the heat bed like on the Prusa i3MK3’s MK52 heat-bed. There is a marked difference in cost and durability between the two that needs to be taken into account when making comparisons.
For any kind of magnetic heated bed, I’d strictly go with magnet sheets and avoid rare-earth magnets. Those magnet sheets are good for up to 180°C. In contrast to that, most rare earth magnets have a maximum working temperature of just 60°C above which they will be irreversibly damaged. Yes, there ARE high temperature rare earth magnets available, but they’re generally pretty expensive compared to the standard neodymium disks you would pick up on ebay for a DIY magnetic bed. Stick to magnet foil, unless all you print is PLA and your bed never exceeds 60C.
My experience is the opposite: The magnetic sheets I’ve encountered are only good for 70-80C. Meanwhile, SmCo magnets are good to 300C and at .7kg pull can be had for $.36. High temp Nd (NdFeB) is good to 150C and about the same. So for a few bucks, you can have bed magnets.
For PLA I’m pretty happy with glass. Printed naked, parts pop off easy and it leaves a nice, smooth, glossy finish on the bottom side. Occasionally though low-bottom-surface-area parts will pop off during print. With a bit of glue-stick though you get a matte finish bottom and parts almost never pop off while printing. Occasionally they are harder to remove then one might prefer though. Glass is pretty strong though, I can force a razor blade between a tightly stuck print and the glass with confidence that I am not damaging my build surface.
I might change my mind when I get to printing more with ABS and PET-G but for now all these fancy bed surfaces just look too expensive for something as delicate as they are.
I concur. Borosilicate glass has been good to me.
It took a while to figure it out and get right, but I’m able to print whatever and it grips just fine. But I had to give up and accept using brims, otherwise small thin parts tend to curl away from the bed. Removal is easy; wait a while for the bed temp to come down, or point a fan at it if I’m in a hurry. No adhesives. No wearing down of the print surface. Clean, smooth 1st layer.
My 3D printer came with an orange Ultralex build surface.
Never had any problems with adhesion, or releasing, but it also looks like you can’t get it any more.
Is BuildTak the same stuff, just under a different name?
PETG is awesome for a range of mechanical parts where its impact resistance and strong inter-layer adhesion is a plus. But printing it on PEI sometimes turns that adhesion into a negative!
I don’t have a removable bed, but have definitely damaged my thicker PEI sheet trying to get some prints off. Backing down the bed temp a lot has helped, but it’s a balancing act.
I print PLA onto a thin ~1mm sheet of polycarbonate with glue stick, attached to my plate with printed clips https://www.thingiverse.com/thing:2494365, it has also reduced the need to level my bed as often.
I appreciate seeing the other options out there, but honestly it seems like Prusa has solved this problem with their latest bed. PEI on a removable spring-steel sheet really solves all the problems that the other methods have, plus still works with inductive sensing.
We’re all still waiting for them to sort out the powder coated version, but honestly the fact that you can easily replace the PEI sticker on their normal bed seems like it negates the stronger but not user serviceable nature of the powder.
I have a couple of Anycubic i3 clones, they have what they call an “Ultrabase” bed. The surface is slightly patterned and when heated, grips like crazy. But when it cools, the part just slides off. No adhesives, tape, hairspray, or anything required. Its freaking magic as far as i’m concerned.
For my DIY efforts both kapton tape with hairspray (full bed-sized single roll) and PEI sheets worked well. That’s usually on bare metal, sometimes on glass.
I do like the Prusa Mk3 build plate as well. It’s held up for a few months of regular printing so far with very no memorable downside. It’s worth whatever they charge (bought it as part of the kit).
I switched to a PrintInZ bed several months ago, adhering it with green painter’s tape. I’d never switch back to using massive Kapton tape sheets, PEI, or glass. The last item I printed on a BuildTak sheet was a Z axis sensor shim to correct for the thickness of the PrintInZ bed. Kapton was great for silky smooth surfaces, but often air bubbles developed when printing with the bed heater on. The PrintInZ sheet leaves a nice smooth finish, and adhesion is perfectly balanced without the bed heater being on for PLA. (This isn’t sponsored, I just happen love my PrintInZ bed.)
I damaged my PEI print bed with PETG some time ago and tried different products, with no luck. As described, most print bed solutions are just a compromise or need a lot of adjustment and testing before print.
Meanwhile, I happily print ABS directly onto a heated aluminum bed by applying a thin film of PVA solution (15%) from time to time with a brush. If the pieces stick too strong, I can redeem the film with water. Works perfect.