[Retro Shack’s] ZX81 died, and while he tried to figure out the fix, he decided to build a new one. Of course, building a circa-1980-something computer from new parts is a bit daunting. Unless you start with an existing design that has it all ready to put together.
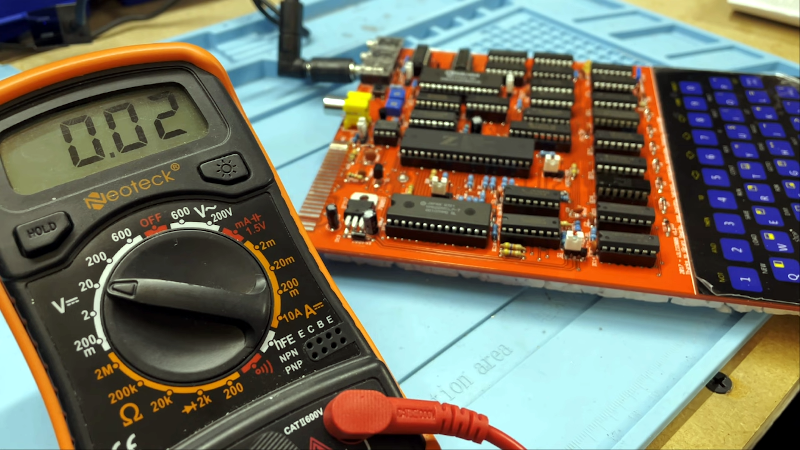
The PCB looks great and we like that the silkscreen shows acknowledgments of projects that helped the designer, [Alejandro Sebastian]. The case is, of course, 3D printed. At first, the power LED didn’t work, but voltages looked correct and the board powered up.
The little box can actually read cassette tapes for the original, which allowed it to load 3D Monster Maze. We aren’t sure why the power LED didn’t work, but we are guessing it is backward or it — or the dropping resistor — didn’t make a good connection.
This looks like a fun project and would be a great way to get a reasonably authentic-looking ZX80 or ZX81 without having to work too hard. All the files you need are on [Alejandro’s] website and it looks like the majority of the work would be sourcing all the components.
Of course, you can always go the FPGA route. If you build one and want to learn assembly for it, check this out.


Yes you can build a new one using new parts, even 74HC. Last year we built some using Martin’s ZX81 plus 38 design. See: https://www.mikrocontroller.net/topic/503174 It worked quite well. I also built a proper keyboard, those rubber key didn’t cut it when I was a kid, the microswitches are not better and proper keys are quite affordable now.
ZX-80
Half false, half true. The ZX-81 had an “slow mode” where it could paint the screen and do computation “at the same time”, a circuit that the ZX-80 lacked. But, as you probably wanted to note, the ZX-80 was the one made with discrete components, while the ZX-81 used an ULA from Ferranti. So this one probably should be called “ZX-80 and a half”.
Yes, it was that ULA that gave the 81 so few parts, but would be the factor in not being able to duplicate it now.
vLA81 is a FPGA replication of the ZX81 ULA and commonly used to bring a faulty machine back to life. In fact, I have just had to buy a vLA128 to repair a Spectrum +2 which had a failed ULA.
Actually, the zx81’s and the Spectrum’s ULAs have already been reverse engineered in TTL Logic. The Spectrum’s is the Harlequin, which I have built here: https://retrodepot.net/?p=3010
The Harlequin was also fit into a CPLD called the ZX Max 48. The zx81 has a few different clones available in kit form…
Fantastic. The ULA certainly helped reduce the BOM and indeed a few replacement options exist.
I considered designing my own in FPGA cos I’m bored since being made redundant from my produce development role.
I even bought Chris Smiths Spectrum ULA book which was very interesting.
The main image shows the keyboard for a ZX80; so using it as a ZX81 (with an 8kB ROM and flicker-free hardware) would also benefit from a keyboard with ZX81 legends, so you’d know what you’re programming!
we wait for llvm backend and produce assembler for this machine
Building a ZX80 from someone else’s design isn’t daunting. People did it repeatedly back in the early 80’s. All that is needed is a reasonable degree of competence with a soldering iron. The interesting bit would have been if he started with a less than complete design.
After I got my VIC-20 the wedge design of the Timex/Sinclair Z80 (remember him?) Made a perfect door stop. Nice to see someone has found a better use.
My understanding is that a USAF examination of the ZX81 came to the same conclusion.
The ZX81 was available as a kit, so you literally were building it from someone else’s design.
If the kit hadn’t come with a circuit board, making one probably would have been the biggest challenge for the novice.
Anyone know what this would cost to put together?
I built a ZX80, PCB was £25 (the guy, in Poland I think, kindly made a new batch of PCB’s, just so he could send me one) with a ZX80 ROM included and the other components (from RS) where roughly £75. I’m sure it can be done more cheaply, RS is not the cheap option, but they did have most all the components. Though I already had a spare Z80/Z80A and replaced the 7805 analogue regulator with a more modern switch mode regulator, I also had a ZX81 ROM from a faulty unit. All worked perfectly. Used a ZX81 Ram Pack, which I already had from my ZX81, and loaded up the ‘flicker free’ ZX80 version of Mazogs. It was fun to make, only takes a few hours, and I would recommend it if you want to ‘make’ a Sinclair machine.
How much power does this device consumption?
Why not add solar panel and good machanic keyboard switch
What about all the Iron Curtain Spectrum Clones? Here’s a pdf on how to build one.
https://web.archive.org/web/20200825120442/http://users.tpg.com.au/maba/MISTRUMwebsite/pdfs/MISTRUM-ZX_Spectrum_re-engineered_%28in%20English%29.pdf