Those of us who work on the road have a constant dread of being stuck somewhere without power, facing a race between a publication deadline and a fast-failing laptop battery. We’re extremely fortunate then to live in an age in which a cheap, lightweight, and efficient solid-state switch-mode inverter can give us mains power from a car cigarette lighter socket and save the day. Before these inverters came much heavier devices whose transistors switched at the 50Hz line speed, and before them came electromechanical devices such as the rotary converter or the vibrating reed inverter. It’s this last type that [Robert Murray-Smith] has taken a look at, making what he positions as the simplest inverter that it’s possible.
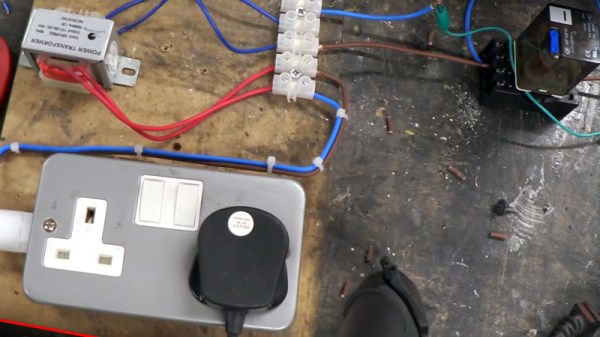
If you’ve ever played with relays, you’ll probably be aware that a relay can be wired as a buzzer, and it’s this property that a vibrating reed inverter harnesses. He takes an octal relay and wires it up with a small mains transformer for an immediate and very cheap inverter. It’s not perfect, as he points out the frequency isn’t right. The relay will eventually wear out unless the arcing problem is improved with the addition of a capacitor. But it does make a rough and ready inverter if you find yourself in a MacGyver-style tight spot with only your junk box for salvation.
If inverters pique your interest, it might benefit you to know how they work.
Continue reading “The Vibrating Reed Inverter: Possibly The Simplest Inverter You Can Make”