DesignSpark Mechanical – The Gift Of Invention

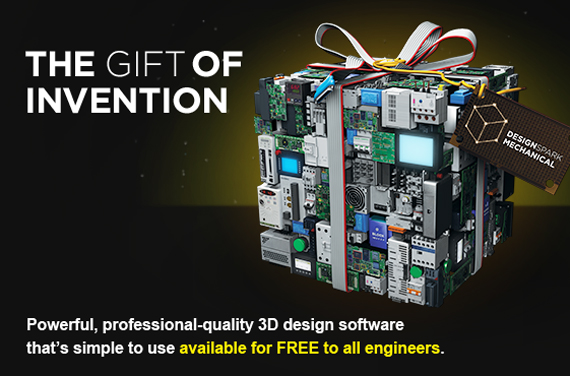
Ever heard of DesignSpark? They are releasing a powerful CAD package on September 16th — for free!

The company is owned by RS Components, a distributor of electronics and maintenance products. They offer a large library of 3D models of parts that they sell, dubbed the ModelSource. So if you are wondering how they are giving out software for free, that’s how. They also have free PCB designing software, and something called DesignShare which hosts open-source project collaboration, sharing and discussions.

By the looks of the demo video, DesignSpark Mechanical is a well laid out CAD package that is rich in features. The software allows for the import and export of several file types, and it looks like ECAD, OBJ, Sketchup, STEP, DXF and STL are all there, as well as the native file types. While it looks like you can import any files, we are willing to bet adding ModelSource files are by far the easiest and most convenient because of the integrated ModelSource library. But we think that’s a small price to pay for an alternative to SketchUp. After all, the component models will be useful for assemblies, even if you don’t order through them. Oh, and it’s perfect for making free models for 3D printing as it includes the ability to export STL files.

Watch the software demo after the break.

Continue reading “DesignSpark Mechanical – The Gift Of Invention”

DIY Heatsinking PCBs

pcb heatsink

We have covered many do it yourself PCBs before, but this video guide adds an easy way to sink heat from high power devices, which we think you might find handy.

It is a very simple process that [CNLohr] uses to keep his small RGB LED projects from overheating. It starts by using a readily available silicone thermal sheet as the substrate by applying it to copper foil. He then applies a toner-transfer circuit pattern to the copper by running the pair through a modified laminator a few times. He makes note that you have to apply the plastic backing side of the silicone sheet to the copper foil to prevent the laminator from chewing it up.

After the typical ferric chloride etching process is complete, he then uses 220 grit sandpaper to remove the toner pattern. Often steel wool is used, but because of the sensitive nature of the silicone, sandpaper works better to avoid peeling up traces.

We have featured [CNLohr] before, as he does some top-notch tutorials in his workshop — which makes for both a fascinating and distracting backdrop for the videos. This one is a bit long (~20 minutes), but is very thorough and goes through the entire process from start to finish. Check it out after the break.

Continue reading “DIY Heatsinking PCBs”

3-Sweep: Turning 2D Images Into 3D Models

As 3D printing continues to grow, people are developing more and more ways to get 3D models. From the hardware based scanners like the Microsoft Kinect to software based like 123D Catch there are a lot of ways to create a 3D model from a series of images. But what if you could make a 3D model out of a single image? Sound crazy? Maybe not. A team of researchers have created 3-Sweep, an interactive technique for turning objects in 2D images into 3D models that can be manipulated.

To be clear, the recognition of 3D components within a single image is a bit out of reach for computer algorithms alone. But by combining the cognitive abilities of a person with the computational accuracy of a computer they have been able to create a very simple tool for extracting 3D models. This is done by outlining the shape similar to how one might model in a CAD package — once the outline is complete, the algorithm takes over and creates a model.

The software was debuted at Siggraph Asia 2013 and has caused quite a stir on the internet. Watch the fascinating video that demonstrates the software process after the break!

Continue reading “3-Sweep: Turning 2D Images Into 3D Models”

Rubicon Gives The Makerbot Digitizer A Run For Its Money

rubicon

Look out MakerBot, there’s a new 3D scanner on the block and it’s about 10% of the cost of the Digitizer. Enter the Rubicon 3D Scanner which just hit Indiegogo, a device much closer to being worth its price $199.

Just like the pricey Makerbot Digitizer it’s a very simple design made up of a webcam, two laser lines, and a stepper motor controlled turn table. Still very easy to make yourself, but at $199, it’s not a bad price for an all-in-one kit, especially compared to the Digitizer. The newcomer claims a much faster scan time (3 minutes versus 12), and the same stepper rotation (800 steps or 0.45 degrees per step). There are no details about making the design open source, but after some digging in the RepRap forums we found some discussion on that topic from designer [Robert].

It scans objects up to 160mm in diameter and 250mm tall, however it has the ability to scan marginally larger objects if the camera is moved farther back. The funding for the Indiegogo campaign will go towards a custom arduino-esq PCB with a motor driver built in – personally we would be interested in just getting the PCB and 3D printing the rest of the scanner ourselves!

More information is found in the video after the break. Continue reading “Rubicon Gives The Makerbot Digitizer A Run For Its Money”