Filament-based 3D printers are remarkably wasteful. If you buy a kilogram of filament from your favorite supplier, the odds are that it will come wrapped around a plastic spool weighing about 250 grams. Use the filament, and that spool will be thrown in the trash. Very, very few products have such wasteful packaging as 3D printer filament, with the possible exception of inkjet cartridges or getting a receipt with your purchase at CVS.
For the last few years, [Richard Horne], better known as RichRap, has been working towards a solution to the problem of the wasteful spools for 3D printer filament. Now, it looks like he has a solution with the MakerSpool. It’s the perfect solution for a 3D printing ecosystem that doesn’t waste 20% of the total plastic on packaging.
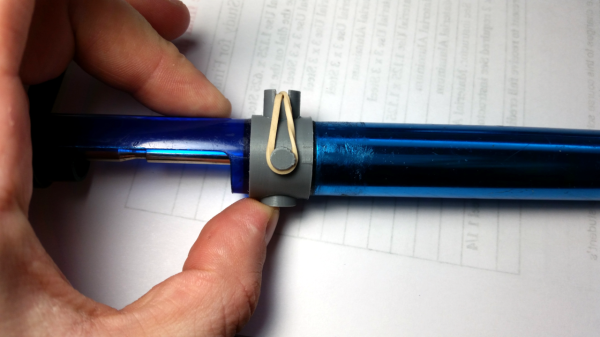
The design of the MakerSpool is fairly straightforward and also 3D printable. It’s a plastic filament spool, just a shade over 200mm in diameter, consisting of two halves that screw together. Add in some RepRap ‘teardrop’ logos, and you have a spool that should fit nearly any machine, and will accept any type of filament.
The trick with this system is, of course, getting the filament onto the spool in the first place. Obviously, filament manufacturers would have to ship unspooled filament that’s somehow constrained and hopefully vacuum packed. Das Filament, a filament manufacturer out of Germany, has already tested this and it looks like they have their process down. It is possible to ship a kilogram of 1.75 filament without a spool, and held together with zip ties. Other filament manufacturers also have packaging processes that are amenable to this style of packaging.
Whether this sort of packing will catch on is anyone’s guess, but there are obvious advantages. There is less waste for the environmentalists in the crowd, but with that you also get reduced shipping costs. It’s a win-win for any filament manufacturer that could also result in reduced costs passed onto the consumer.