Before [Woz] created the elegant Disk II interface for the Apple II, and before Commodore brute-forced the creation of the C64 5 1/4″ drive, just about every home computer used cassette tapes for storage. Cassette tapes, mind you, not 8-track tapes. [Alec] thought this was a gross oversight of late 1970s engineers, so he built a 8-track tape drive.
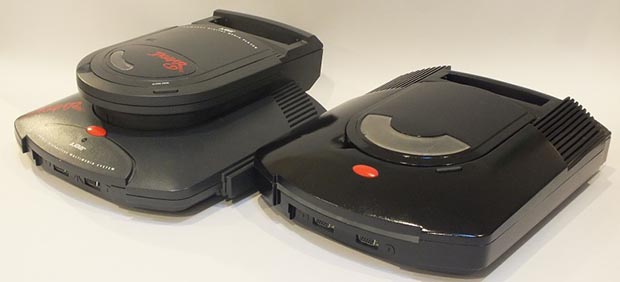
This actually isn’t the first instance of using 8-tracks to store data on a computer. The Compucolor 8001 had a dual external 8-track drive, and the Exidy Sorcerer had a tape drive built in to the ‘the keyboard is the computer’ form factor. It should be noted that nearly no one has heard about these two computers – the Compucolor sold about 25 units, for example – so we’ll just let that be a testament to the success of 8-track tape drives.
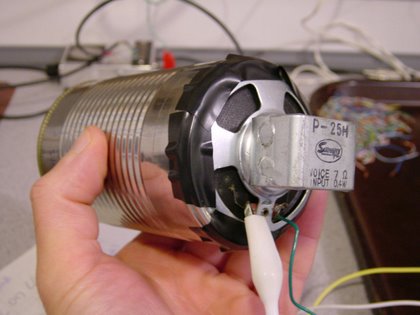
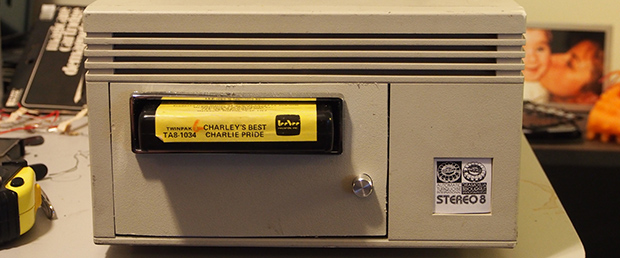
[Alec] installed an 8-track drive inside an old external SCSI hard drive enclosure. Inside is an Arduino that controls the track select, tape insertion and end of tape signals. Data is encoded with DTMF with an FSK encoding, just like the proper cassette data tapes of the early days.
On the computer side of things, [Alec] is using a simple UNIX-style, pipe-based I/O. By encoding four bits on each track, he’s able to put an entire byte on two stereo tracks. The read/write speed is terribly slow – from the video after the break, we’re assuming [Alec] is running his tape drive right around 100 bits/second – much slower than actually typing in data. This is probably a problem with the 40-year-old 8-track tape he’s using, but as a proof of concept it’s not too bad.