Old-school technology can spark surprising innovations. By combining the vintage zoetrope concept with digital displays, [Mike Ando] created the Andotrope, a surprisingly simple omnidirectional display.
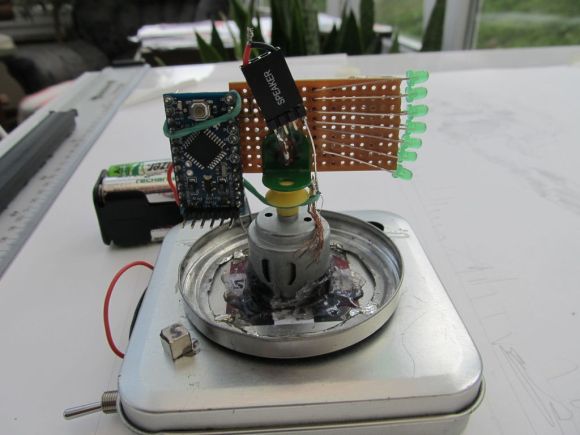
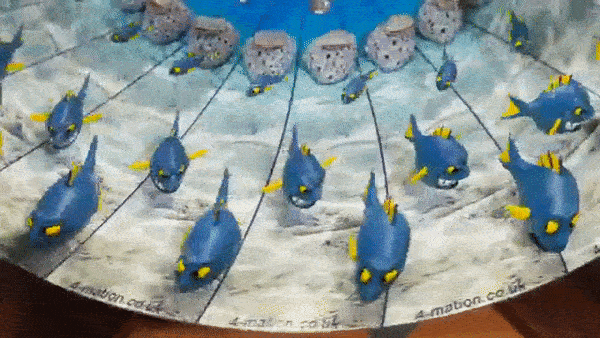
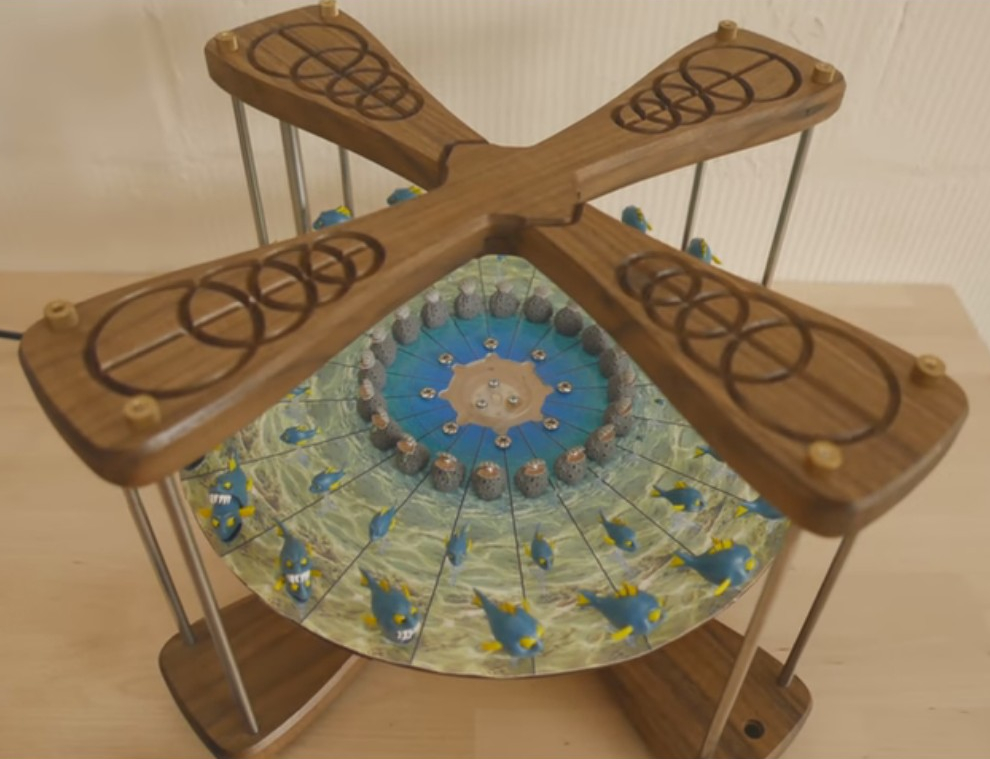
Unlike other 3D displays, the Andotrope lets you view a normal 2D video or images that appear identical irrespective of your viewing angle. The prototype demonstrated in the video below consists of a single smart phone and a black cylinder spinning at 1,800 RPM. A narrow slit in front of each display creates a “scanning” view that our brain interprets as a complete image, thanks to persistence of vision. [Mike] has also created larger version with a higher frame rate, by mounting two tablets back-to-back.
Surprisingly, the Andotrope appears to be an original implementation, and neither [Mike] nor we can find any similar devices with a digital display. We did cover one that used a paper printout in a a similar fashion. [Mike] is currently patenting his design, seeing the potential for smaller displays that need multi-angle visibility. The high rotational speed creates significant centrifugal force, which might limit the size of installations. Critically, display selection matters — any screen flicker becomes glaringly obvious at speed.
This device might be the first of its kind, but we’ve seen plenty of zoetropes over the years, including ones with digital displays or ingenious time-stretching tricks. Continue reading “A Surprisingly Simple Omnidirectional Display”
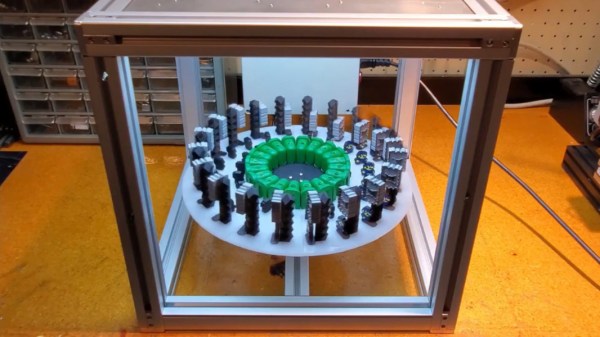
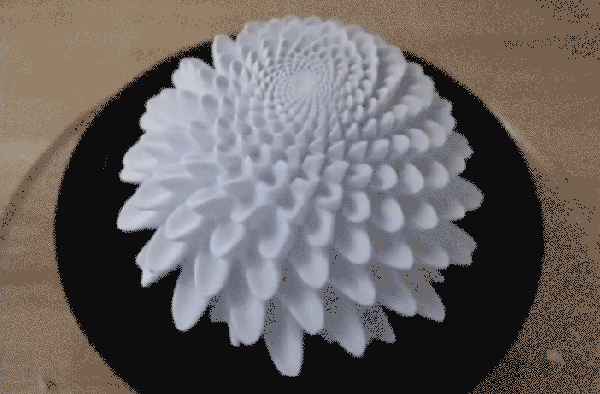
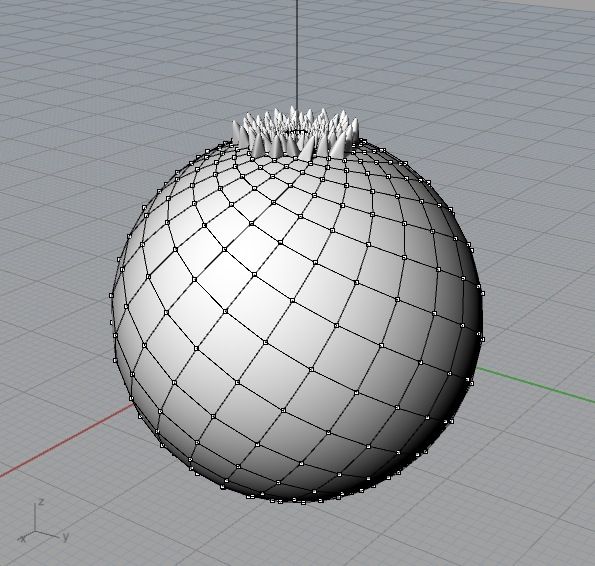 [John] modeled several 3D sculptures in Rhino containing similar geometric properties to those found in pinecones and palm tree fronds. As the segments grow from those objects in nature, they do so in approximately 137.5 degree intervals. This spacing produces a particular spiral appearance which [John] was aiming to recreate. To do so, he used a Python script which calculated a web of quads stretched over the surface of a sphere. From each of the divisions, stalk-like protrusions extend from the top center outward. Once these figures were 3D printed, they were mounted one at a time to the center of a spinning base and set to rotate at 550 RPM. A camera then films the shape as it’s in motion at a 1/2000 sec frame rate which captures stills of the object in just the right set of positions to produce the illusion that the tendrils are blooming from the top and pouring down the sides. The same effect could also be achieved with a strobe light instead of a camera.