Home automation is great, but what happens when you start mixing different systems around the house together? Follow [Bithead’s] journey of interfacing with his motorized blinds!
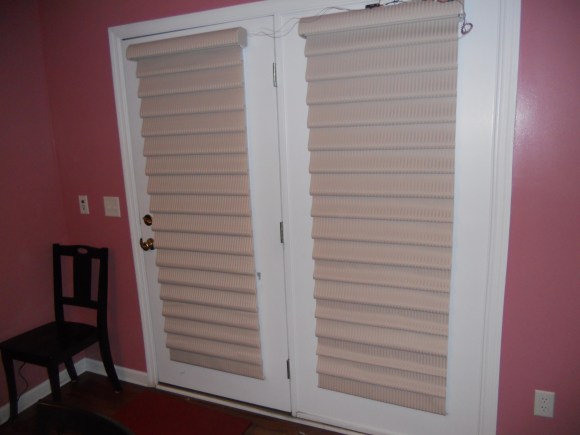
After having his original blinds fall apart many times, [Bithead] and his wife decided to invest in some new, motorized blinds — but [Bithead] wanted to add it to his home automation setup… Unfortunately, commercial offerings for that are very expensive, so [Bithead] knew he’d have to figure out how to interface with the system manually.
The problem is, companies don’t typically advertise the kind of in depth information us hackers would love to know about products, so [Bithead] started checking out store showrooms. Salespeople didn’t quite understand his focused attention on the control boxes!
Continue reading “Hacking Window Blinds To Interface With Home Automation System”