When [Willem] visited home last year, he stopped in at his grandparents’ house and found that his very active 93-year-old grandfather had recently gone almost completely blind and was passing the days just sitting in a chair. [Willem] suggested that he listen to audio books, but his grandfather wasn’t receptive to the idea until [Willem] convinced him that the well-narrated ones can be very gripping and entertaining. Once his grandfather was on board, [Willem] knew that he needed a much more accessible solution than a tiny device with tiny controls, so he built an RFID audio reader using a Raspberry Pi.
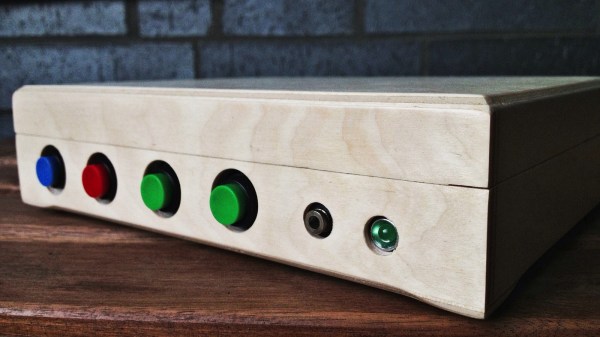
[Willem] has posted the build details at his personal site. Essentially, the box you see above contains a Raspi and an RFID reader. He created different ‘books’ by placing RFID cards inside of DVD boxes, which makes them more tangible and accessible. When a book is placed on the box, the RFID reader tells the Pi which mp3 files to load. The large colored buttons let the user pause, rewind 20 seconds, and control the volume.
We love to see this kind of build. It’s simple, effective, and greatly enhances the user’s quality of life. [Willem]’s grandfather loves it and uses it every day.