[Sean Hodgins]’s calls his three-part video series an Arduino Neural Network Robot but we’d rather call it an enjoyable series on prototyping, designing a board with surface mount parts, assembling it, and oh yeah, putting a neural network on it, all the while offering plenty of useful tips.
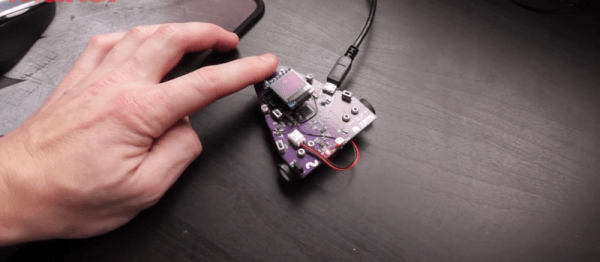
In part one, prototype and design, he starts us out with a prototype using a breadboard. The final robot isn’t on an Arduino, but instead is on a custom-made board built around an ARM Cortex-M0+ processor. However, for the prototype, he uses a SparkFun SAM21 Arduino-sized board, a Pololu DRV8835 dual motor driver board, four photoresistors, two motors, a battery, and sundry other parts.
Once he’s proven the prototype works, he creates the schematic for his custom board. Rather than start from scratch, he goes to SparkFun’s and Pololu’s websites for the schematics of their boards and incorporates those into his design. From there he talks about how and why he starts out in a CAD program, then moves on to KiCad where he talks about his approach to layout.
Part two is about soldering and assembly, from how he sorts the components while still in their shipping packages, to tips on doing the reflow in a toaster oven, and fixing bridges and parts that aren’t on all their pads, including the microprocessor.
In Part three he writes the code. The robot’s objective is simple, run away from the light. He first tests the photoresistors without the motors and then writes a procedural program to make the robot afraid of the light, this time with the motors. Finally, he writes the neural network code, but not before first giving a decent explanation of how the neural network works. He admits that you don’t really need a neural network to make the robot run away from the light. But from his comparisons of the robot running using the procedural approach and then the neural network approach, we think the neural network one responds better to what would be the in-between cases for the procedural approach. Admittedly, it could be that a better procedural version could be written, but having the neural network saved him the trouble and he’s shown us a lot that can be reused from the effort.
In case you want to replicate this, [Sean]’s provided a GitHub page with BOM, code and so on. Check out all three parts below, or watch just the parts that interest you.
Continue reading “Prototyping, Making A Board For, And Coding An ARM Neural Net Robot”