It’s probably safe to say that most hackers and makers don’t really want to fuss around with the details of making video documentation of their work. They would rather spend their time and energy on the actual project at hand…you know — the fun stuff.
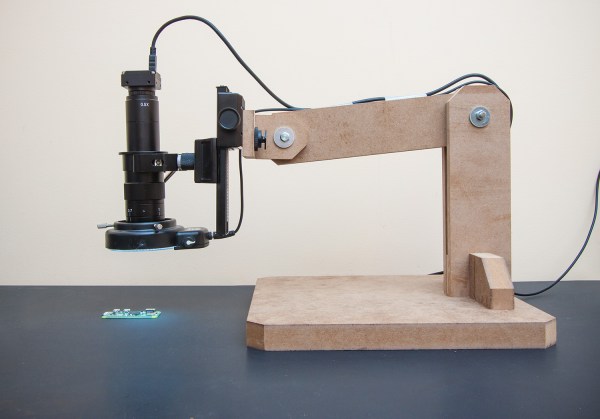
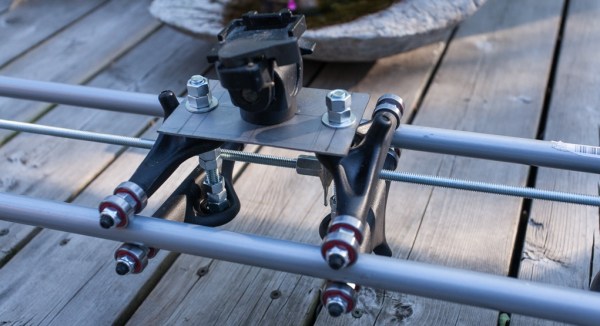
[Daniel Reetz] has been wanting more mounting options for his camera mount to make it easier and quicker to set up. One end of his existing camera mount is a clamp. This has been working for [Daniel] so far, but he wanted more options. Realizing that he has plenty of ferrous metal surfaces around his shop, he had an idea — make a magnetic base add-on for his camera mount.
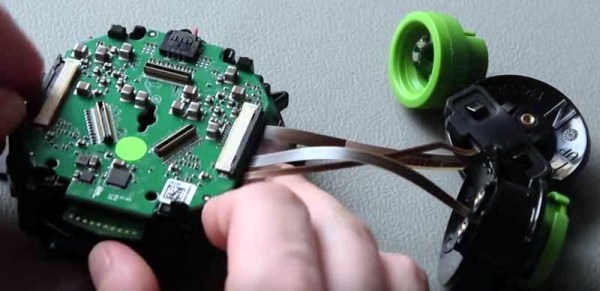
In the video, [Daniel] walks us through the process of creating this magnetic camera mount add-on, starting with the actual base. It is called a switchable magnetic base (or mag-base as he calls it) and looks like a handy little device. This was surely the most expensive part of the build, but looks like it should last a very long time. Basically, it’s a metal box with magnets on the inside and a rotating switch on the outside. When the switch is in one position, the box’s bottom is magnetic. Rotate the switch to the other position, and the bottom is no longer magnetic. These switchable magnetic bases come with a stud on top for attaching other things to it, which it looks like [Daniel] has already done. From there on out though, he explains and shows the rest of the build.
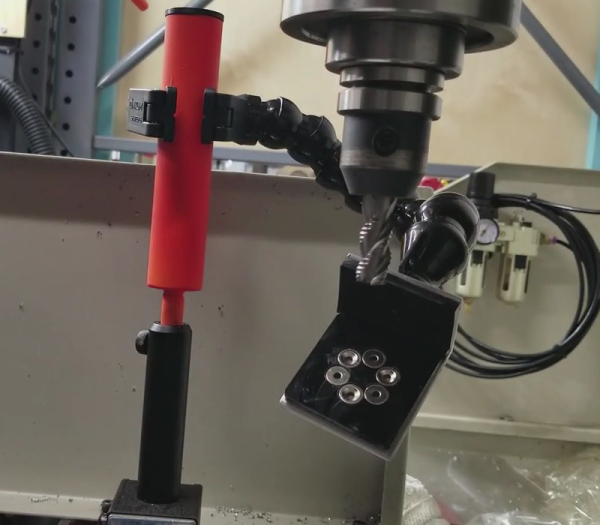
Some mild steel rod was cut and modified to slip into the pipe. The rod is held in place by a set screw which allows for easy adjustment of the mount’s height. Then he welds the rod to a washer which is, in turn, welded to a tube. After the welding, he takes the whole thing to a deburring wheel to clean it up. After that, the final touches are made with some spray paint and a custom 3D printed cap.
Sprinkled throughout the video are some useful tips, one of them being how he strips the zinc off of the washer with acid prior to welding. The reason for this is that you don’t want to weld over zinc because it produces neurotoxins.
Now [Daniel] can attach his camera mount quickly just about anywhere in his shop with the help of his new magnetic base.
There’s no shortage of camera mount hacks that we’ve covered. Here’s another one involving a magnet, but also has an automatic panning feature. Do you need a sliding camera mount? How about a motorized sliding camera mount — enjoy.
Continue reading “Giving A Camera Mount A Little (Magnetic) Attractiveness”