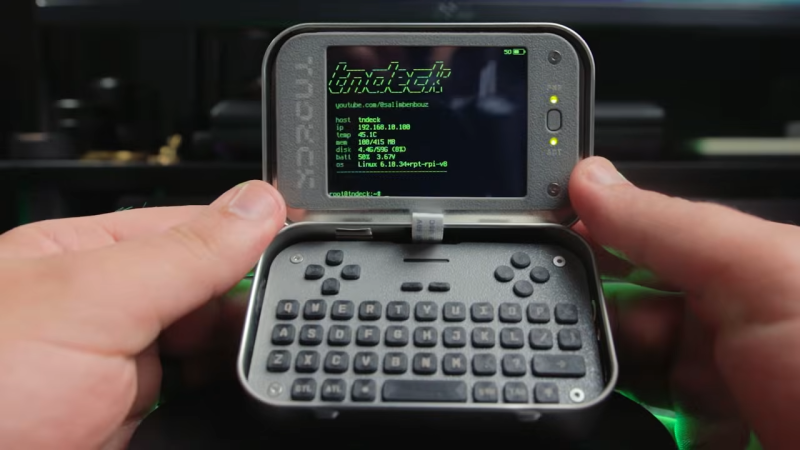
A Cyberdeck That Runs Linux…in An Altoids Tin

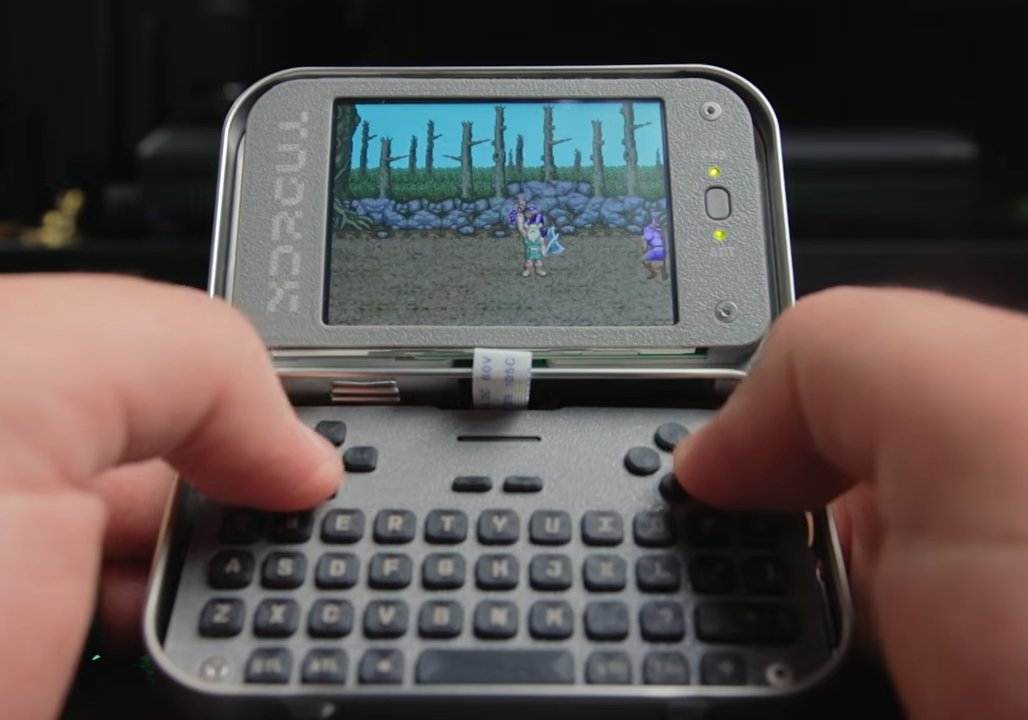
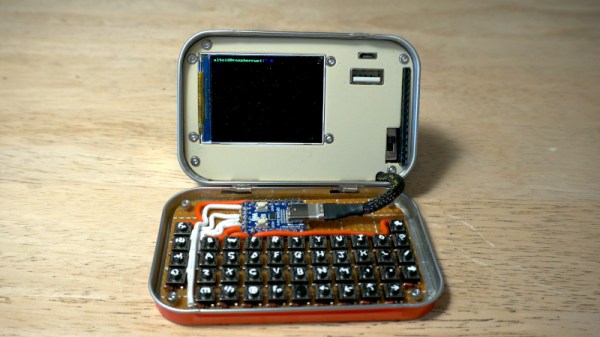
In the time Hackaday has been in existence we must have brought you plenty of projects housed in Altoids tins, as well as a sizeable number of cyberdecks. But until today with [Exercising Ingenuity]’s build, we’ve never brought you a project that combines the two. It’s a fully functional computer that runs Linux, and with its Altoids tin enclosure, looks for all the world like a miniature clamshell laptop.

Hardware wise it’s a Pi Zero with a UPS PHAT and an SPI display, but perhaps it’s arguably the home-made keyboard that really sets it apart. There’s a full-size USB port as well, and a selection of GPIOs are broken out to a header. It wasn’t all plain sailing though, the Altoids hinges needed modifying to make it close, and he driver for the SPI screen required an older version of Raspberry Pi OS. We will forgive it those foibles.

It’s fair to say we’ve not seen anything quite like this, in that there have been plenty of tiny laptops but never one as integrated as this. There’s a demo video with details of the build, that we’ve placed below.

Continue reading “A Cyberdeck That Runs Linux…in An Altoids Tin”

A Cute Handheld Gaming Device That You Can Build In An Altoids Tin

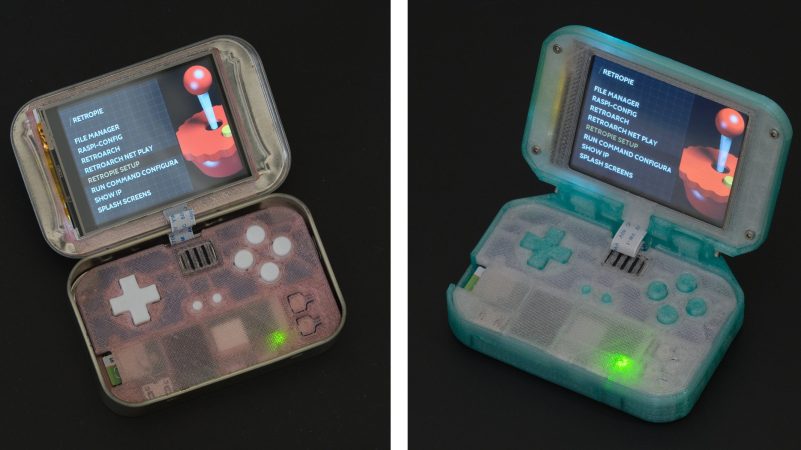
The MintyPi was a popular project that put a Raspberry Pi inside an Altoids tin to make a pocketable gaming handheld. Unfortunately, it’s not the easiest build to replicate anymore, but [jackw01] was still a fan of the format. Thus was born the Pi Tin—a clamshell handheld for portable fun!

Neat, huh? More pocket-sized than the Game Boy Pocket.

The build is based around the Raspberry Pi Zero 2W, which packs more power than the original Pi Zero into the same compact form factor. It’s combined with a 320 x 240 TFT LCD screen and a 2000 mAh lithium-polymer battery which provides power on the go.

There are also a pair of custom PCBs used to lace everything together, including the action buttons, D-pad, and power management hardware. Depending on your tastes, you have two main enclosure options. You can use the neat 3D printed clamshell seen here in beautiful teal, or you can go with the classic Altoids tin build—just be careful when you’re cutting it to suit! Files can be found on GitHub for the curious.

We love a good handheld project around these parts; it’s particularly awesome how much gaming you can fit in your pocket given the magic of the Raspberry Pi and modern emulation. If you’re cooking up your own little retro rig, don’t hesitate to let us know!

Illustrated Kristina with an IBM Model M keyboard floating between her hands.

Keebin’ With Kristina: The One With The Curvy Centerfold

What do you get when you combine a Raspberry Pi 4B, a Kaypro keyboard, and a 9″ Apple ], you get the coolest AVR development workstation I’ve seen in a while.

A Raspberry Pi-based AVR workstation that uses a Kaypro keyboard and 9" monochrome Apple ][c display.
Image by [John Anderson] via Hackaday.IO
As you may have guessed, I really dig the looks of this thing. The paint job on the display is great, but the stripes on the keyboard and badging on are on another level. Be sure to check out the entire gallery on this one.

About that keyboard — [John] started this project with two incomplete keyboards that each had a couple of broken switches. Since the two keyboards were compliments of each other parts-wise, they made a great pair, and [John] only had to swap out three switches to get it up and clacking.

In order to make it work with the Pi, [John] wrote a user-mode serial driver that uses the uinput kernel module to inject key events to the kernel. But he didn’t stop there.

Although the Pi supports composite video out, the OS doesn’t provide any way to turn off the chroma color signal that’s modulated on top of the basic monochrome NTSC signal, which makes the picture look terrible. To fix that, he wrote a command-line app that sets up the video controller to properly display a monochrome NTSC signal. Happy AVRing on your amazing setup, [John]! Continue reading “Keebin’ With Kristina: The One With The Curvy Centerfold”

Illustrated Kristina with an IBM Model M keyboard floating between her hands.

Keebin’ With Kristina: The One With The 200% Typewriter

Image by [jefmer] via Hackaday.IO
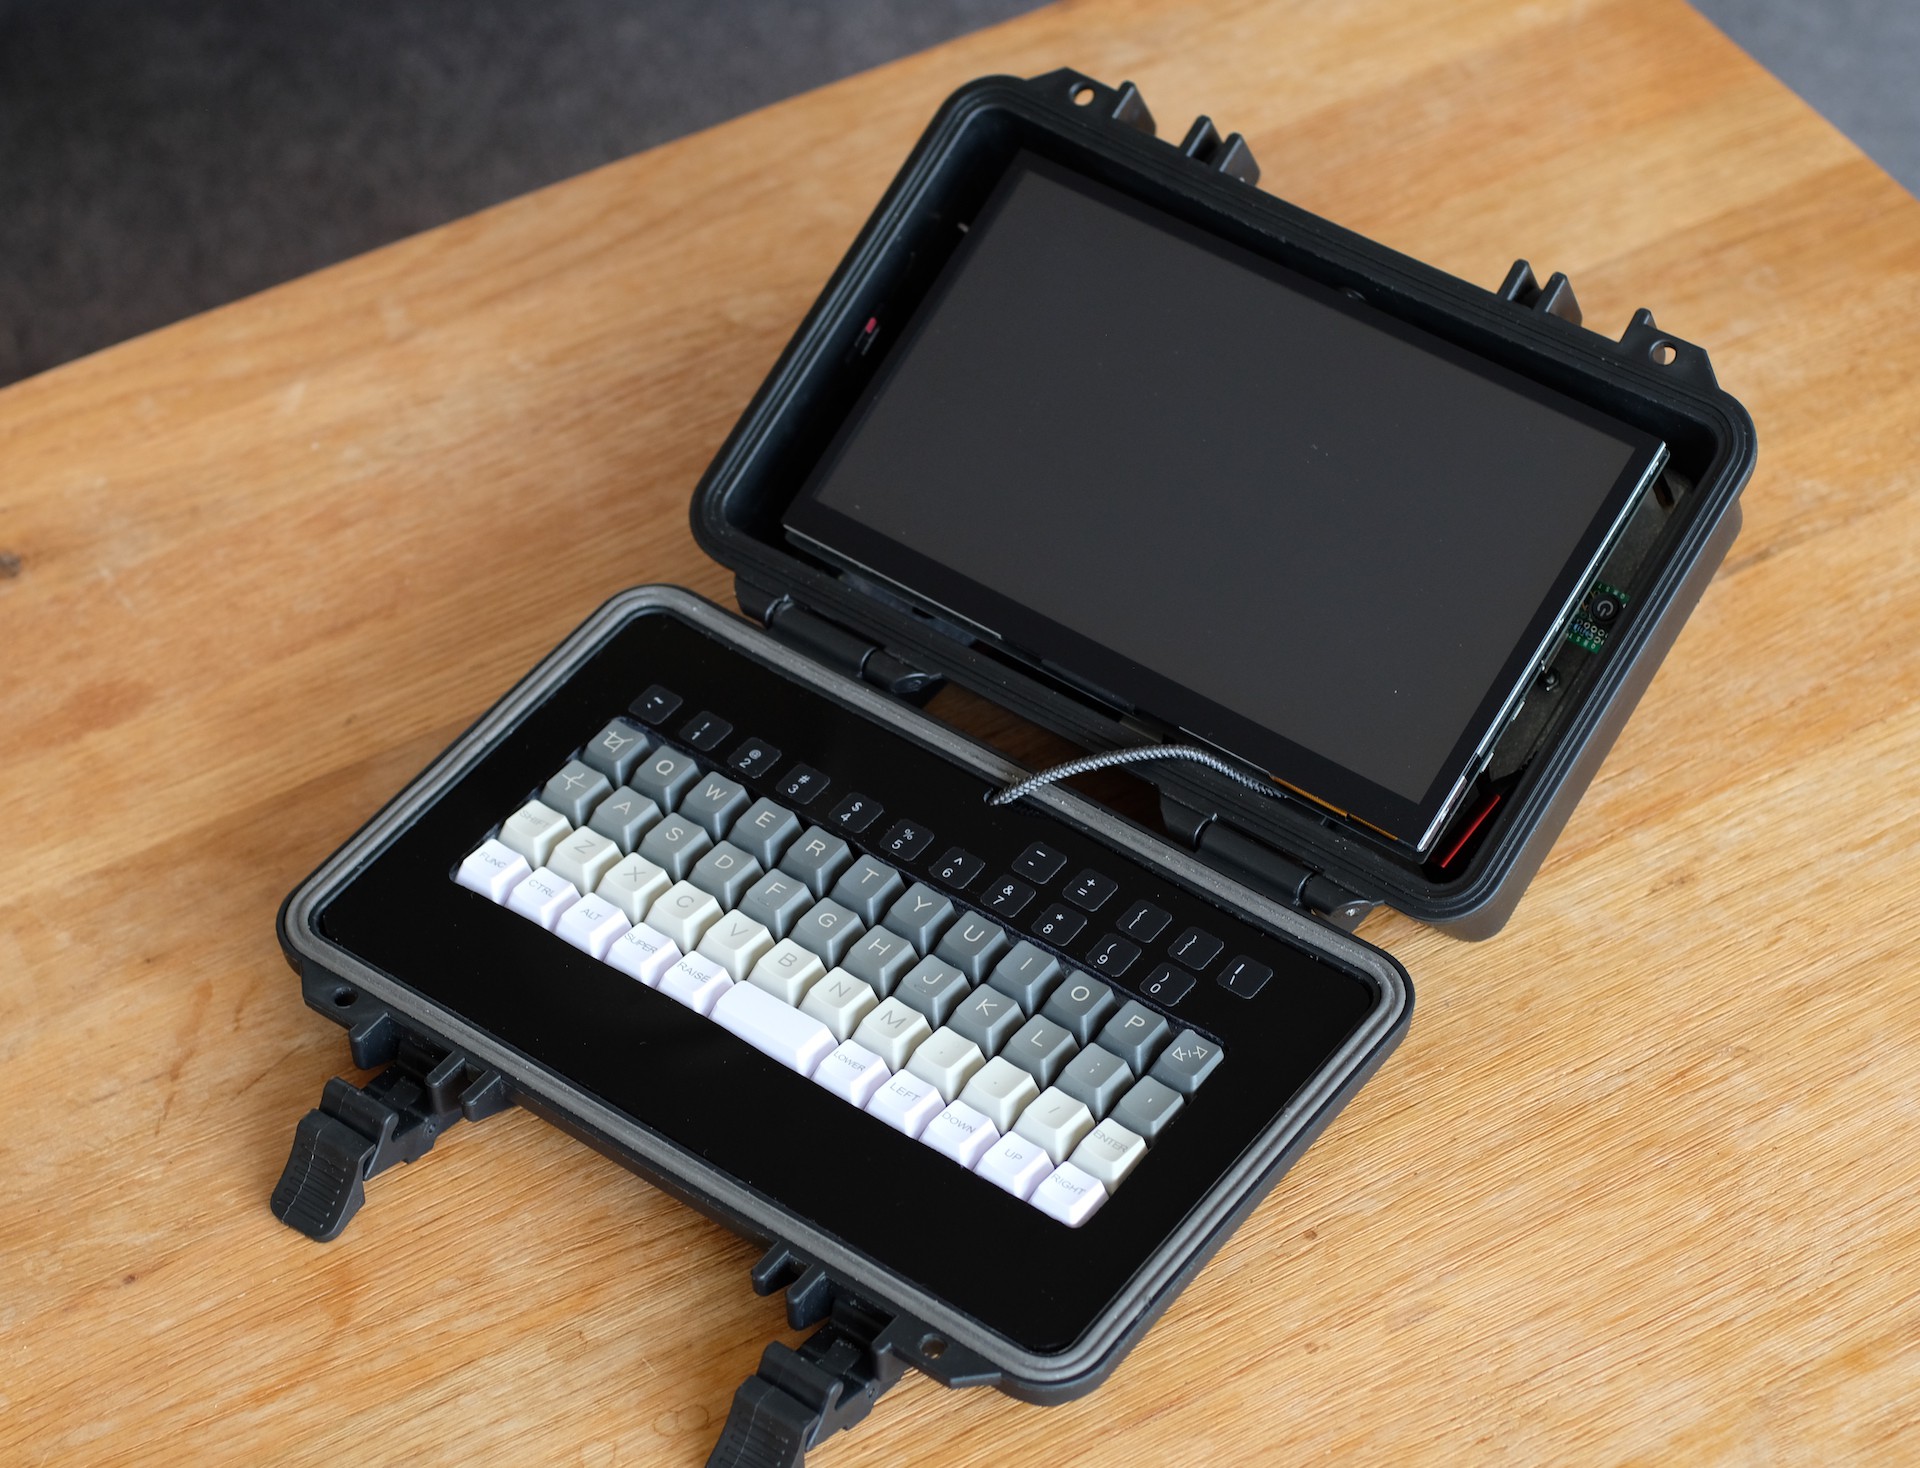
You know, the really sad truth about cyberdecks and cyberdeck-adjacent builds is that many of them just end up on the shelf, collecting dust while waiting for the dystopian future. Well, not this one. No, [jefmer] says their Portable Pi sees daily use, and even comes along on the go.

Since [jefmer] is “temperamentally unsuited to 3D printing”, the Pi 4B and its accessories are nestled in a rugged, splash-proof case under some acrylic sheets. One of those accessories, the keyboard, is a KPrepublic BM40 with Gateron Yellows. In order to get used to the number and symbols layer, [jefmer] laid down some great-looking labels above the keyboard.

Although the build started with an SD card for storage, [jefmer] has since upgraded to a 120 GB SSD. This required a beefy battery pack, but the difference is that it gets around four hours of power versus five hours when using an SD card.

Continue reading “Keebin’ With Kristina: The One With The 200% Typewriter”

Altoids Tin Keyboard Is A Breath Of Fresh Air

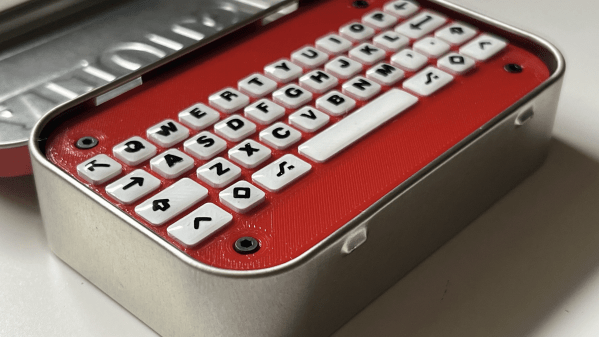
Well, here’s a fresh idea! [flurpyflurples] is back from hiatus with the Mintboard, a 40% that fits inside of an Altoids tin. Who could ask for more than a rugged little Bluetooth keyboard with a built-in cover that fits in your pocket?

This build started with meticulously measuring the tin to figure out what kind of switches could be used. At first, this was going to be a 60% keyboard, but after a lot of design decisions and switch comparisons, [flurpyflurples] settled on a certain micro switch spaced at 7.3mm for a 40% layout. Then it was time to design a PCB.

Although [flurpyflurples] tends to use Arduino Pro Micros in their builds, they went with the Nice! Nano this time for the Bluetooth capabilities. This means that they had to program it with ZMK instead of QMK, but found that QMK knowledge transfers rather nicely.

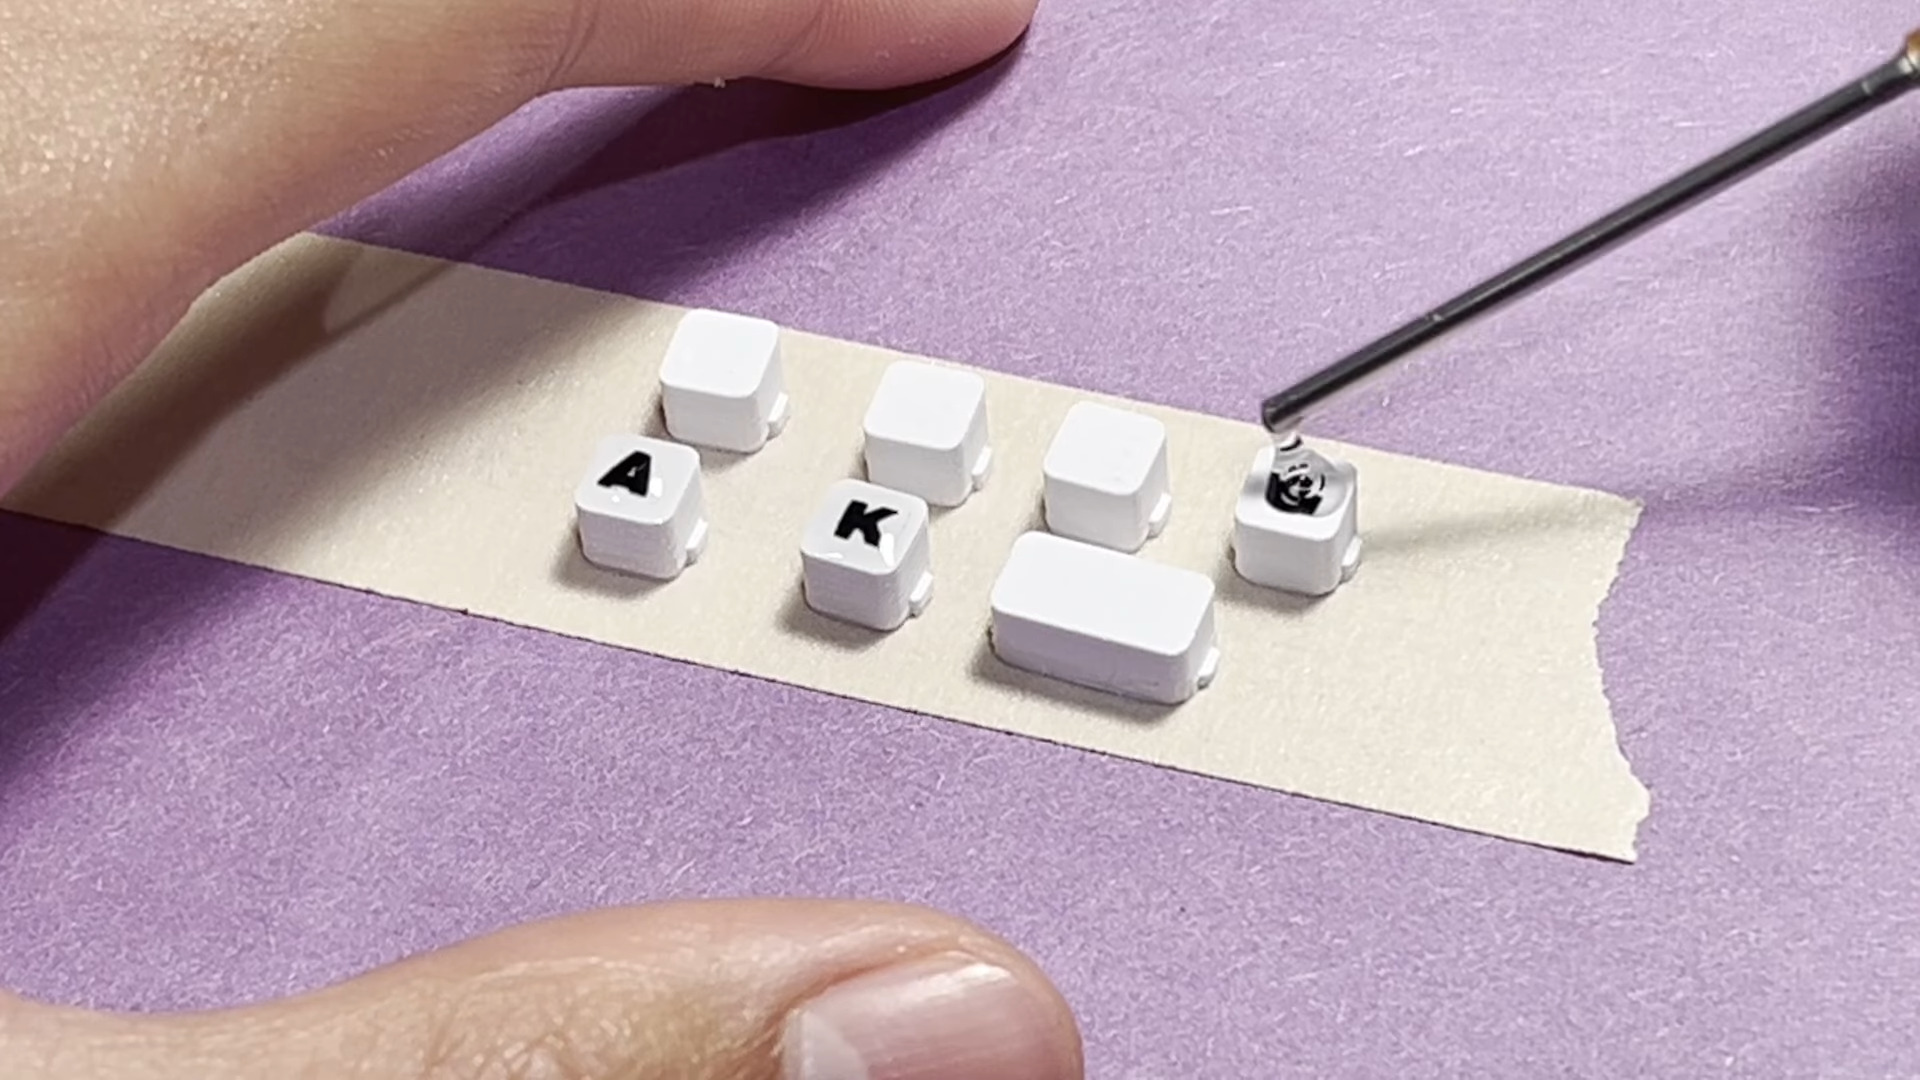
Let’s talk about those lovely legends. The keycaps are 3D printed of course, and the legends were cut out on a Cricut machine. The best part is that sealant — [flurpyflurples] used a few drops of UV nail polish top coat and cured it with light.

We think this looks and sounds fantastic, and would really like to know how to get such clean cutouts. According to [flurpyflurples] and the end of the build/demo video you’ll find below the break, the action is a lot like a Blackberry keyboard.

Continue reading “Altoids Tin Keyboard Is A Breath Of Fresh Air”

Altaid 8800 Puts A Front Panel In Your Pocket

It’s safe to say that the Altair 8800 is one of the most iconic, and important, computers ever created. The kit-built machine is widely regarded as the first commercially successful personal computer, and as such, intact specimens are bona fide historical artifacts when and if they ever come up on the second-hand market. Accordingly there’s a cottage industry out there dedicated to making affordable replicas, which more often than not, leverage modern hardware to emulate the original hardware.

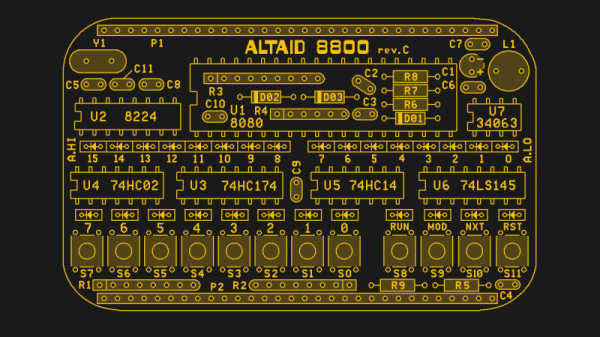
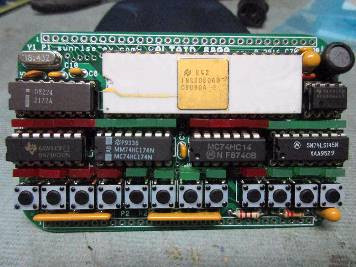
But that’s not what the Altaid 8800 is. For one thing, it looks nothing like the original Altair. More to the point however, it’s not using modern components to emulate an Intel 8080 computer…it actually is an Intel 8080 computer — complete with fully functional front panel for manually entering in programs. It just happens to be small enough to fit into an Altoids tin, hence the name.

Creator [Lee Hart] didn’t just stop at building a miniature 8080 machine, either. He’s also gone through the trouble of producing a sixteen page faux-vintage magazine to describe the project and its operation. Normally we’d call such a document a “manual”, but somehow in this case that seems to downplay the incredible effort and attention to detail that went into it.

Schematics and firmware are available should you wish to build your own version of the Altaid 8800, but we think the prices for the bare PCBs and complete kits that [Lee] is offering are more than fair for what you get. In fact, if you’ve always wanted to play around with front panel programming and the associated blinkenlights, this might be one of the most affordable options available. Though to be clear, you can also hook the Altaid up to your computer with a USB-to-serial cable if you’re not up to punching in programs on those tiny buttons.

You might think this is one of the most creative and unique retrocomputing projects we’ve ever seen, and you’d be right…if it wasn’t for [Lee]’s own Z80 Membership Card. In some ways the precursor to the Altaid 8800, this diminutive triumph also fits in an Altoids tin and features its own era appropriate magazine-style documentation. We’re detecting something of a theme with these projects…but we certainly aren’t complaining.

Tiny Vacuum Cleaner Sucks (In A Good Way)

Sometimes something is remarkable not for its content, but for its size. A ball of yarn isn’t exciting for example, unless it’s a giant ball of yarn. At the other end of the scale writing your name is a quotidian event, but put it on a grain of rice and that’s ten bucks at the mall. [Toby Bateson] has been making vacuum cleaners since he was 8 years old — and he looks considerably older than that now. In of itself that’s not a big deal, but his machines are tiny. In fact, he has the Guinness Book of World Records entry for the smallest vacuum cleaner. His latest exploit? A vacuum in an Altoid’s tin!

Electronically, this is just a switch, a battery, and a motor. But if you are looking for a Dremel tool project, you are in luck. Check out the video of the diminutive device, below. Besides the Altoids tin, there is a metal pipe and some bits of a cut-up soda can.

Continue reading “Tiny Vacuum Cleaner Sucks (In A Good Way)”