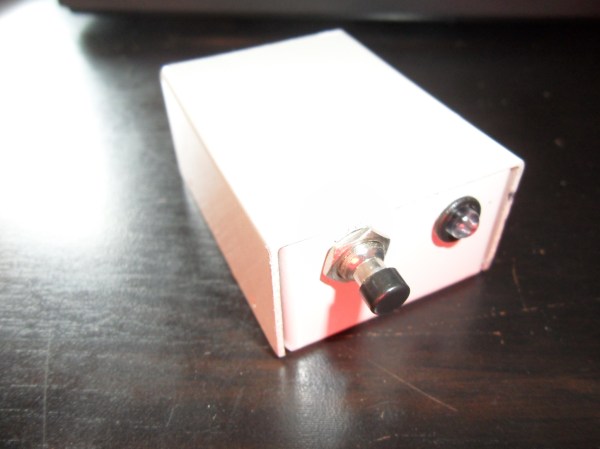
[Artlav] wanted to build a digital camera, but CCDs are expensive and don’t respond well to all wavelengths of light. No problem, then, because with a photodiode, a few stepper motors, the obligatory Arduino, and a cardboard box, it’s pretty easy to make one from scratch.
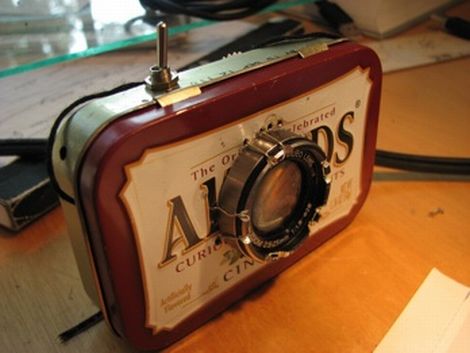
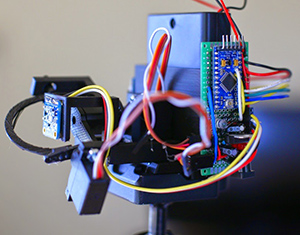
The camera’s design is based on a camera obscura – a big box with a pinhole in one side. This is all a camera really needs as far as optics go, but then there’s the issue of digitizing the faint image projected onto the rear of the camera. That’s fine, just build a cartesian robot inside the box and throw a photodiode in there.
There are a few considerations when choosing a photodiode for a digital camera. Larger photodieodes have higher noise but lower resolution. [Artlav] has been experimenting with a few diodes, but his options are limited by export control restrictions.
Even with the right photodiode, amplifying the tiny amount of current – picoamps in some cases – is hard. The circuit is extremely sensitive to EMI, and it’s inside a box with stepper motors pulled from the scrap bin. It’s amazing this thing works at all.
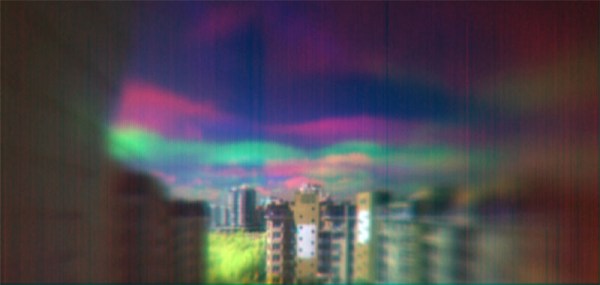
Still, [Artlav] was able to get some very high resolution images across a huge range of wavelengths. He’s even getting a few images in mid-wave infrared, turning this homebrew digital camera into the slowest thermal imaging camera we’ve ever seen.
 [Ben]’s camera consists of the