We’ve seen a number of heart rate monitoring projects on Hackaday, but [Peter’s] electrocardiography (ECG) Instructable really caught out attention.
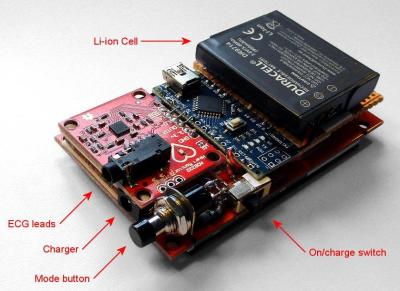
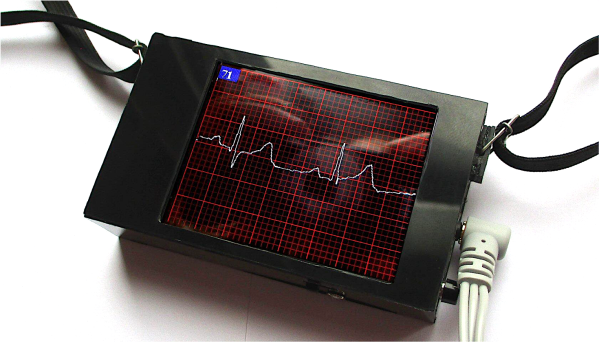
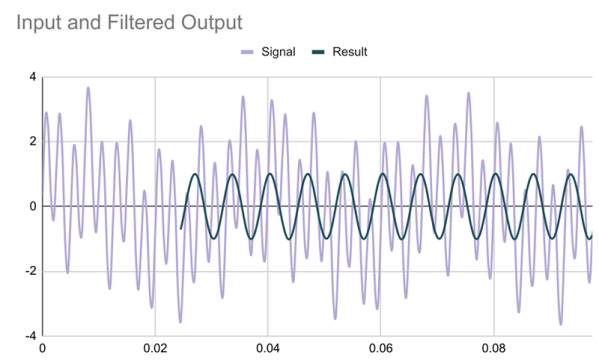
If you’ve followed Hackaday for any period of time, you’re probably already somewhat familiar with the hardware needed to record the ECG. First, you need a high input impedance instrumentation amplifier to pick up the millivolt signal from electrical leads carefully placed on the willing subject’s body. To accomplish this, he used an AD8232 single-lead ECG module (we’ve actually seen this part used to make a soundcard-based ECG). This chip has a built-in instrumentation amplifier as well as an optional secondary amplifier for additional gain and low-pass filtering. The ECG signal is riddled with noise from mains that can be partially attenuated with a simple low-pass filter. Then, [Peter] uses an Arduino Nano to sample the output of the AD8232, implement a digital notch filter for added mains noise reduction, and display the output on a 2.8″ TFT display.

Other than the circuit itself, two things about his project really caught our attention. [Peter] walks the reader through all the different safety considerations for a commercial ECG device and applies these principles to his simple DIY setup to ensure his own safety. As [Peter] put it, professional medical electronics should follow IEC 60601. It’s a pretty bulky document, but the main tenets quoted from [Peter’s] write-up are:
- limiting how much current can pass through the patient
- how much current can I pass through the patient?
- what electrical isolation is required?
- what happens if a “component” fails?
- how much electromagnetic interference can I produce?
- what about a defibrillator?
[Peter] mentions that his circuit itself does not fully conform to the standard (though he makes some honest attempts), but lays out a crude plan for doing so. These include using high-valued input resistors for the connections to the electrodes and also adding a few protection diodes to the electrode inputs so that the device can withstand a defibrillator. And of course, two simple strategies you always want to follow are using battery power and placing the device in a properly shielded enclosure.
[Peter] also does a great job breaking down the electrophysiology of the heart and relates it to terms maybe a bit more familiar to non-medical professionals. Understanding the human heart might be a little less intimidating if we relate the heart to a simple voltage source like a battery or maybe even a function generator. You can imagine the ions in our cells as charger carriers that generate electrical potential energy and nerve fibers as electrical wires along which electrical pulses travel through the body.
Honestly, [Peter] has a wealth of information and tools presented in his project that are sure to help you in your next build. You might also find his ECG simulator code really handy and his low-memory display driver code helpful as well. Cool project, [Peter]!
Measuring ECG is something that is near and dear to my heart (sorry, couldn’t resist). Two of my own projects that were featured on Hackaday before I became a writer here include a biomedical sensor suite in Arduino shield form factor, and a simple ECG built around an AD623 instrumentation amplifier.


