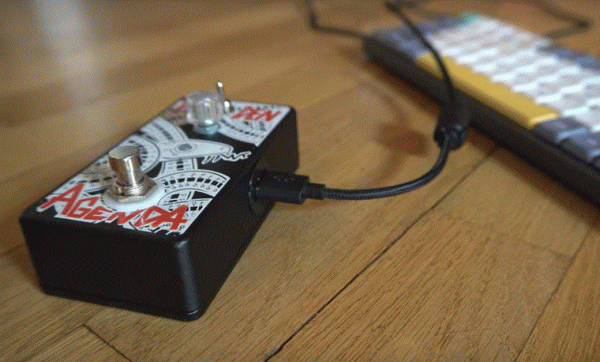
If you want to dabble in audio digital signal processing, you would probably think of grabbing a dedicated DSP chip. But thanks to [WeebLabs], you could just pick up a Pi Pico and use this full-featured DSP library.
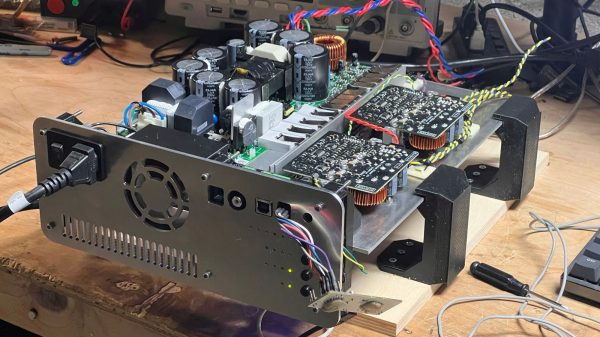
The system supports plug-and-play USB audio interface that enumerates on Windows, Linux, macOS, and iOS. It can handle 16- or 24-bit inputs at up to 96 kHz. You can output up to four channels of 24-bit S/PDIF or I2S, or switch to an RP2350 to get eight channels. This lets you drive a DAC easily. There is also a direct output for a subwoofer that doesn’t require a DAC.
Each channel has a pre-amp, and a matrix mixer allows routing with different gains and phases for each input. An equalizer allows ten bands per channel. There are also modules to do volume leveling, loudness compensation, and headphone cross-feed.
The library uses both cores of the CPU and manages up to ten preset configurations. The Pico does get an overclock and uses a fixed-point representation. The Pico 2 (RP2350) doesn’t need overclocking and uses single-precision floating point.
Overall, this looks like a great base for any sort of soundcard-like project. We’ve seen DSP stunts on the Pico before. This might also make a nice base for other audio projects.