Do not aim laser at remaining eye

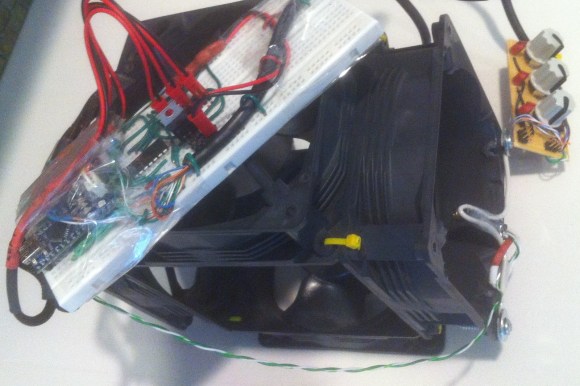
Over on the reddits, [CarbonGod] thought he had a slightly overpowered laser pointer. His red laser pointer had a label that said it outputs less than 5 mW. The only problem is it melted black plastic and heated a thermocouple up to 140°F. [CarbonGod] is begging, borrowing, or stealing a power meter from an engineer friend, but until then we’ve got measurements from [The_Sourgrapes]. His lasers put out 105 mW (red), 56 mW (blue), and 53 mW (green).
While <5 mW lasers are fairly safe, these lasers that are labeled as having < 5 mW of output are not. Now if we only knew where to buy these overpowered lasers…
It’s impossible to find this video in HD

[Zach] created a physical rickroll device. It’s an Arduino and an MP3 shield hooked up to an ultrasonic sensor. When someone walks within six feet of the device, the Arduino starts playing Never Gonna Give You Up. When that person walks away, the song is paused only to start again when something else is detected by the ultrasonic sensor. There’s a hilarious video of [Zach] triggering his physical rickroll device, or you can check it out on the build page.
Hey, you! Write some code!

[William] wrote in to tell us about a project called ReactOS. The goal of the project is to create a free and open source operating system that is binary comparable with Windows XP. Yes, this project has been around for a very long time, but with Microsoft dropping support for XP, the ReactOS team could really use a few devs to get a beta out soon. If you know a bunch of low-level Windows stuff but haven’t ever contributed to an open source project, check out the developer’s wiki.
I’m [Johnny Knoxville] and this is electrostatic discharge
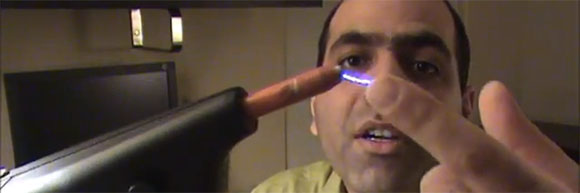
It looks like [Mehdi] is making a few instructional videos for EEs and those tinkering around with electricity. So far he has tutorials for making proper wiring connections, what not to do with ESD, how to take capacitors for granted, and demonstrating how electricity can kill you.
Penitent man shall pass…. Penitent man shall pass…
[youtube=http://www.youtube.com/watch?v=Cj8wXlSXGk0&w=470]
If gift giving were a contest, [Bradley] would win. His sister’s favorite movie is Indiana Jones and the Last Crusade, so when he needed to wrap a gift (a coffee cup, fittingly), he went all out. All the challenges required to obtain the Holy Grail are present in this present including the breath of God (needs more circular saws), the name of God (why was the letter ‘J’ even in the movie?), and the Leap of Faith (sand included).
Coming up for his sister’s birthday, a face-melting hair dryer.