A blue frontplate to a circuit board is shown. On the left side is an OLED screen displaying "4.35 µH". To the right of this are a red and a black socket, with an inductor between them.

Building An LC Meter With A Franklin Oscillator

Although it dates back to the early days of the Marconi Company in the 1920s, the Franklin oscillator has remained a relatively obscure circuit, its memory mostly kept alive by ham radio operators who prize its high stability at higher frequencies. At the core of the circuit is an LC tank circuit, a fact which [nobcha] used to build quite a precise LC meter.

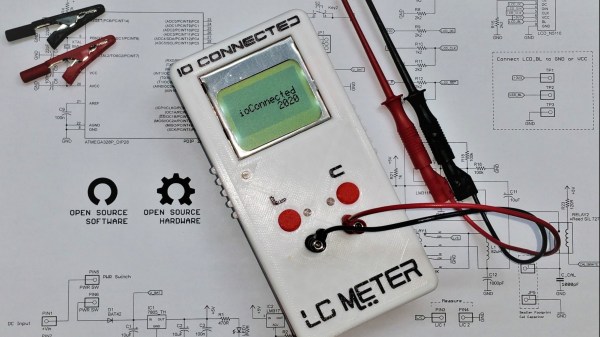
The meter is built around two parts: the Franklin oscillator, which resonates at a frequency defined by its inductance and capacitance, and an Arduino which counts the frequency of the signal. In operation, the Arduino measures the frequency of the original LC circuit, then measures again after another element (capacitor or inductor) has been added to the circuit. By measuring how much the resonant frequency changes, it’s possible to determine the value of the new element.

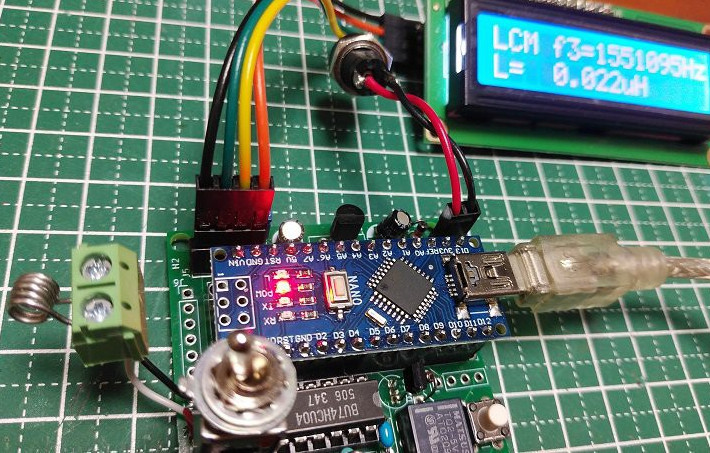
Before operation, the meter must be calibrated with a known reference capacitor to determine the values of the base LC circuit. In one iteration of the design, this was done automatically using a relay, while in a later version a manual switch connects the reference capacitor. Because the meter measures frequency differences and not absolute values, it minimizes parasitic effects. In testing, it was capable of measuring inductances as low as 0.1 µH.

We’ve seen a few homebrew LC meters here, some battery-powered and some rather professional.

Build-It-Yourself LC Meter

A basic digital multimeter (DMM) is usually the first measurement tool the aspiring electronics tinkerer buys. Even a bargain-bin DMM will happily measure voltage, current, and resistance; check continuity; and may even have a mode to measure transistor gain. Every toolbox needs at least one DMM, but most have an crucial limitation— they can’t measure two of the fundamental electrical quantities: inductance and capacitance. On Hackaday.io, [core weaver] has developed an open-source LC meter to allow you to build your own tool to measure inductance and capacitance.

[core weaver]’s design is all through-hole, so even just assembling one would be a great exercise for someone getting started in electronics. However, he didn’t just release a design, in a series of videos he goes through the theory of the device’s operation; explains the design of the circuit, firmware, and case; and shows you how to put it all together. For times when you need to measure a lot of parts (e.g. if you have to sort a bag of cheap capacitors looking for specific value), he’s even developed a desktop program to save you some trouble!

The finished meter looks incredible! If you want to build one for yourself, he’s put all of the files up on GitHub, and we highly recommend you check out his first video after the break. If you’d like to build yourself a 6.5-digit DMM to go with our LC Meter, consider this one which even has a home-built ADC.

Continue reading “Build-It-Yourself LC Meter”

PIC LC Meter Improvements Add Li-Ion Battery And Charging Circuitry

[Trax] needed an LC meter and decided to use a tried-and-true design to build his own. The only problem was that he didn’t want to be tied to a bench supply or power outlet, which meant a bit of auxiliary design was in order. What he came up with is the battery-powered LC meter you see above.

The core of the original [Phil Rice] design remains the same, with slight modifications to drive a different model of character LCD. The code is mostly unchanged, but some calibration routines became necessary after [Marko] noticed bugs in the behavior after power cycling. Now the device will perform what amounts to a hardware reset about 700ms after powering on or changing between inductance and capacitance measuring functions. The project box is quite small, and to get everything to fit [Marko] sourced the Lithium Ion battery from a Bluetooth headset. He needs 5V for the LCD screen so he used a TPS61222 boost converter. To top off the battery he’s included a MAX1811 single-cell Li-ion charger, which has a couple of status LEDs visible through the case as seen above.

[Thanks Marko]