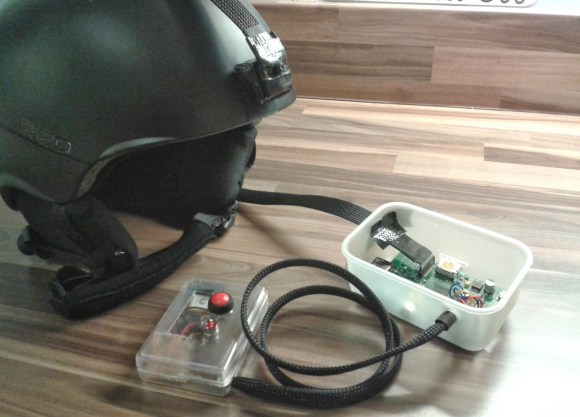
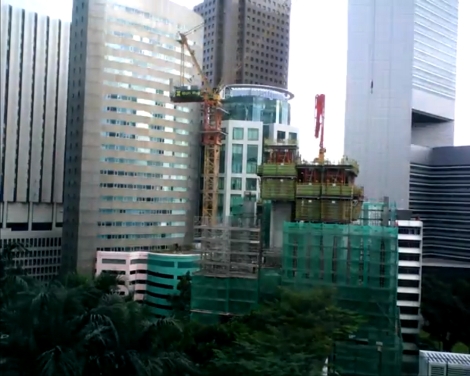
 Over the last 20 years, [Martin] has been recording snowboarding runs with a standard helmet cam. It was good but he felt like he could improve upon the design by building his own version and logging additional data values like speed, temperature, altitude, and GPS. In the video shown after the break, a first person perspective is displayed with a GPS overlay documenting the paths that were taken through the snow. [Martin] accomplished this by using a python module called picamera to start the video capture and writing the location to a data file. He then modified the program to read the current frame number and sync GPS points to an exact position in the video. MEncoder is used to join the images together into one media file.
The original design was based on the Raspberry Pi GPS Car Dash Cam [Martin] developed a few months earlier. The code in this helmet cam utilizes many of the same functions surrounding the gathering of GPS data points, recording video, and generating the overlay. What made this project different though were the challenges involved. For example, a camera inside a car rarely has to deal with extreme drops in temperature or the wet weather conditions of a snowy mountain. The outside of the vehicle may get battered from the snow, but the camera remains relatively safe from exposure. In order to test the Raspberry Pi before venturing into the cold, [Martin] stuck the computer in the freezer to see what would happen. Luckily it worked perfectly.
Click past the break for the rest of the story.
Continue reading “A Raspberry Pi Helmet Cam With GPS Logging”


