
In 2024, [Jan Roetz] decided to see whether he could 3D print a Benchy – the boat-shaped benchmarking tool used in 3D printer calibration – in less than one minute. Two years later, after experiments with air bearing print beds, dry ice cooling, multi-filament hotends, and more, he’s finally broken the one-minute mark.
There are three primary factors limiting the speed of the printer: the extrusion flow rate, the cooling rate for extruded plastic, and the motion system itself. The printer’s hotend combines four strands of filament in one hotend and can extrude about 400 cubic millimeters of plastic per second. For cooling, an air duct around the nozzle could deliver about 400 liters of air per minute, which left the motion system as the only bottleneck.
The original print bed was on top of an air bearing on a granite base, and its motion could be controlled by cords connected to stepper motors. This whole system had very low friction, but its inertia was too high. [Jan] therefore replaced the build plate with a lighter carbon-fiber frame. This had no air bearing, but it slid between the base granite slab and a glass plate above it, which had an opening above the portion used as a build plate. Even the metal pulleys used on the stepper motors had too much inertia, so [Jan] replaced them with smaller, semi-circular plastic pulleys.
The first test was a sub-60-second dry run to make sure nothing would break. This revealed the need for cable guides to keep them from whipping around (not surprising when they were pulling the bed at an acceleration of 225 G). Finally, [Jan] was able to successfully print several successive 59-second Benchies. The prints weren’t photogenic, but they were mechanically sound and dimensionally correct. [Jan] could have gone even faster, but this degraded the print quality too much.
It’s quite an accomplishment, and an impressive conclusion to a major project; we covered the beginning of the project back when [Jan] was going for parallelization rather than speed. The final print didn’t use it, but he also experimented with dynamic temperature control.

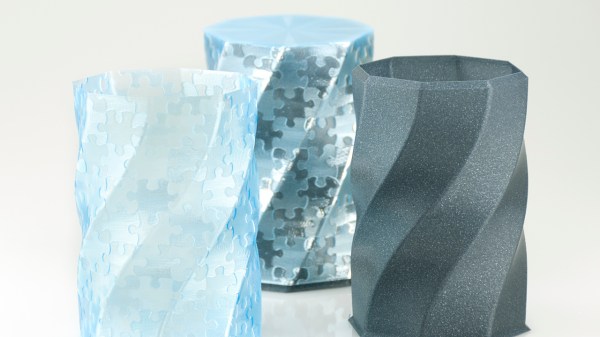
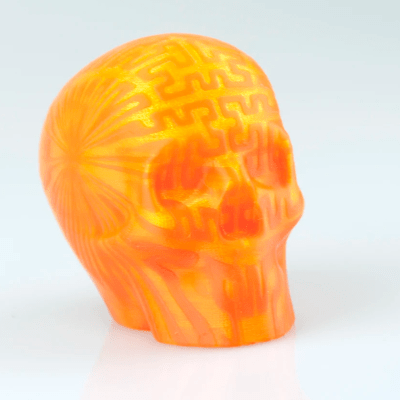 At its core, the technique is straightforward: skin an image onto a 3D print by varying the print speed in specific locations and, thereby, varying just how much plastic oozes out of the nozzle. While the concept seems simple, the result is stunning.


