Manufacturer-Crippled Flir E4 Thermal Camera Hacked To Perform As High-End Model

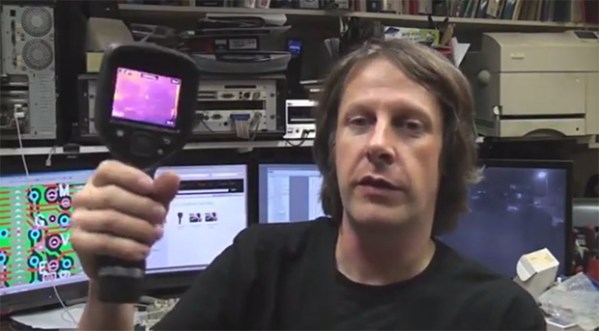
Last month, [Mike] took a look at the Flir E4 thermal imaging camera. It’s a great tool for those occasions when you need the vision of a Predator, but what he found inside was substantially cooler: it seems the engineers behind the Flir E4 made their lives easier by making the circuits inside the $1000 E4 the same as the $6000 Flir E8.

This only means one thing, and [Mike] has delivered. He’s upgraded the firmware in the Flir E4 to the E8, giving it a vastly increased resolution – 80×40 for the E4 to 320×240 for the E8.

The hack itself is as easy as putting the serial number of the E4 in a config file, zipping a few files up, and installing it with the Flir tools. An amazingly simple mod (with an awesome teardown video) that turns a $1000 thermal imaging camera into the high-end $6000 model.

Continue reading “Manufacturer-Crippled Flir E4 Thermal Camera Hacked To Perform As High-End Model”

Hackaday Links: September 1, 2013

hackaday-links-chain

[Anton] has been doing some Commodore 64 Datasette experiments. He managed to connect the C64 audio traces to his smartphone and use it for tape playback.

Not wanting to actually disassemble his Mendel 3D printer, [SteveDC] figured out how to make extenders that increase his build height by about 40%.

We have fond memories of owning an 8088 PC. We did a lot of experimental programming on it but never anything as impressive as getting the TCP/IP stack to run on it. Then again, we’re not sure there was such a thing back when we owned the 10 MHz hardware. That’s right, the microcontrollers we mess around with now days are much faster than that old beast was.

When he goes running at night [Tall-drinks] straps a pico projector to his chest. We guess you’d call the readout a heads-up display… but it’s really more heads-down since it’s projecting on the pavement.

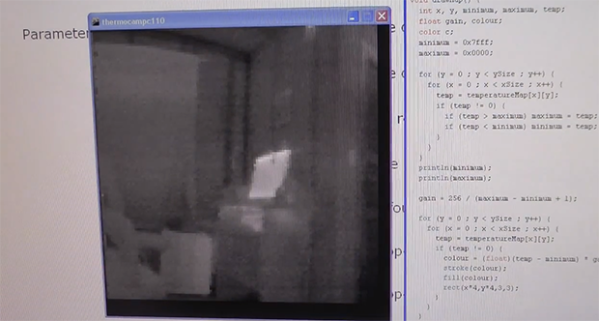
See how things heat up as a Raspberry Pi boots. This video was made using a thermal imaging camera to help diagnose a misbehaving board.

We don’t have very many trinkets on our desk (that would steal space normally reserved for clutter). But be would happily make room for this motorcycle model made from VCR parts (translated).

Repairing A Thermal Imaging Camera

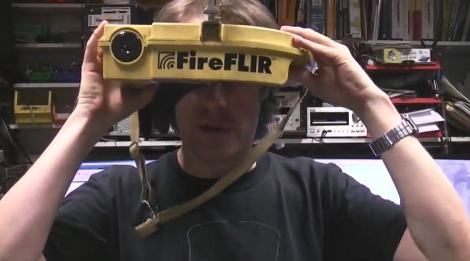
[Mike] got his hands on this thermal imaging camera which is designed for use by Firefighters. As he’s demonstrating in the image above, it clips to a helmet and has a display what will let rescuers see through heavy smoke. But this one isn’t working right so he cracked it open and repaired the damaged board.

The hour-long video (embedded after the break) is quite interesting. He starts with a disassembly of the unit, before diving head-first into trouble shooting. There is a PCB inside that fills the entire U-shaped enclosure. The thermal sensor’s habit of cutting out seems to be a symptom of this design. There is one weak point where the board is very narrow. Flexing or vibrating that section will reset the sensor, and [Mike] ends up replacing a couple of components before the thing is fixed. These include a resistor and a ferrite bead both of which are suspected of having cracks due to that board flexing. The rest of the video is spent with an EEVblog-style look that the components and the construction.

Continue reading “Repairing A Thermal Imaging Camera”

Reading Diodes To Create A Thermal Imaging System

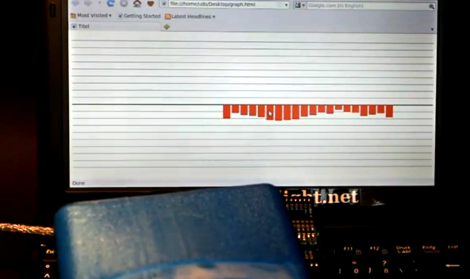
[Udo Klein] was working with some 1N4148 transistors and was interested in the specs relating to their performance at different temperatures. The forward voltage actually changes quite a bit depending on temperature and wondered if this could be reliably measured. He hacked his own LED shield for the Arduino to use as a 1×20 thermal imaging system.

The screenshot above is mapping the voltage measurements from a row of diodes (see the video after the break to get the full picture). He’s holding an ice pack over the row of diodes and observing the change. The on-screen display is facilitated by a Python script which is pulling data from the Arduino. Since there aren’t enough analog inputs to read all twenty diodes separately they have been multiplexed. Four I/O pins each enable five of the diodes, readings are taken with five analog inputs before moving on to the next set.

What can this be used for? That is precisely the wrong question… sometimes you’ve just got to go where your curiosity takes you. Continue reading “Reading Diodes To Create A Thermal Imaging System”