[Dmytro] was able to lay his hands on a InfiRay T2S+ camera. It’s a capable thermal imaging unit that comes at a cheaper price than many of its rivals. [Dmytro] decided to pull it apart to see what makes it tick, and he discovered a few interesting things along the way.
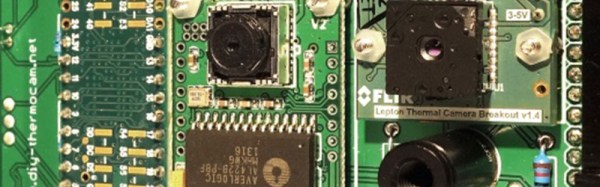
Like so much modern hardware, pulling the case apart does require some spudging and levering. Once inside, though, it comes apart in a relatively straightforward manner. Once inside, [Dmytro] notes some similarities between this camera and the Flir Lepton, another affordable thermal camera on the market. He also finds a clone of the Cypress FX2LP chip, which is used for talking USB. There’s also an Gowin FPGA inside, with [Dmytro] suspecting the gateware onboard could be modified. If so, the camera may be a candidate for running open source firmware in future.
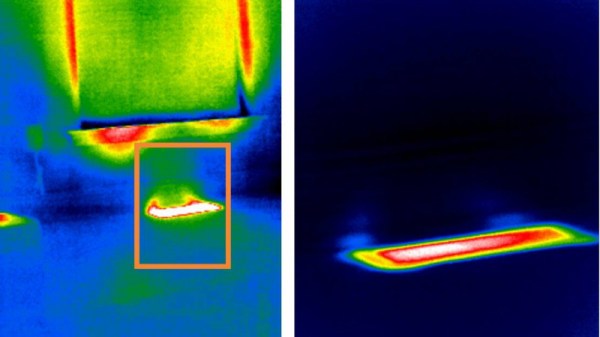
What bothered [Dmytro] about this camera, though, was the software. When used with an Android phone, the camera demands the use of a proprietary app with with questionable permissions. It can be used on a regular computer, where it appears as a standard webcam. However, in this mode, the camera fails to self-calibrate, and the images quickly become useless. [Dmytro] worked to hack around this, by figuring out a way to trigger calibrations and run the proper image corrections manually when using the camera without the smartphone app. He also explores techniques to improve the resolution of the thermal measurements made by the camera.
We’ve seen some other neat thermal camera hacks over the years. Video after the break.
Continue reading “Tearing Down And Hacking The T2S+ Thermal Camera”