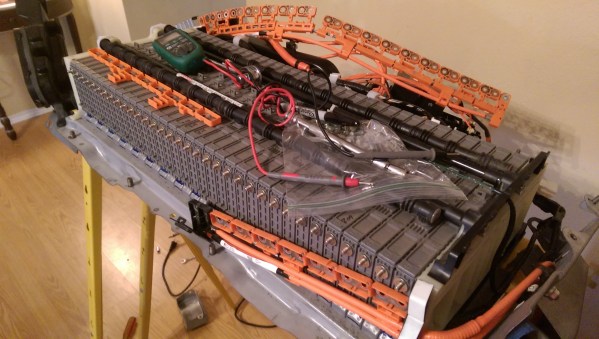
[scoodidabop] is the happy new owner of a pre-owned Toyota Camry hybrid. Well at least he was up until his dashboard lit up like a Christmas tree. He did some Google research to figure out what all of the warning lights meant, but all roads pointed to taking his car into the dealer. After some diagnostics, the Toyota dealer hit [scoodidabop] with some bad news. He needed a new battery for his car, and he was going to have to pay almost $4,500 for it. Unfortunately the car had passed the manufacturer’s mileage warranty, so he was going to have to pay for it out-of-pocket.
[scoodidabop] is an electrician, so he’s obviously no stranger to electrical circuits. He had previously read about faulty Prius batteries, and how a single cell could cause a problem with the whole battery. [scoodidabop] figured it was worth testing this theory on his own battery since replacing a single cell would be much less expensive than buying an entire battery.
He removed the battery from his car, taking extra care not to electrocute himself. The cells were connected together using copper strips, so these were first removed. Then [scoodidabop] tested each cell individually with a volt meter. Every cell read a voltage within the normal range. Next he hooked up each cell to a coil of copper magnet wire. This placed a temporary load on the cell and [scoodidabop] could check the voltage drop to ensure the cells were not bad. Still, every cell tested just fine. So what was the problem?
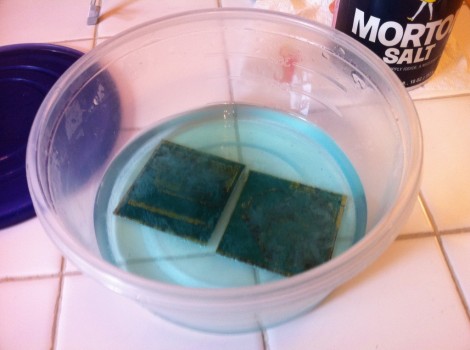
[scoodidabop] noticed that the copper strips connecting the cells together were very corroded. He thought that perhaps this could be causing the issue. Having nothing to lose, he soaked each and every strip in vinegar. He then wiped down each strip with some steel wool and placed them into a baking soda bath to neutralize the vinegar. After an hour of this, he reassembled the battery and re-installed it into his car.
It was the moment of truth. [scoodidabop] started up his car and waited for the barrage of warning lights. They never came. The car was running perfectly. It turned out that the corroded connectors were preventing the car from being able to draw enough current. Simply cleaning them off with under $10 worth of supplies fixed the whole problem. Hopefully others can learn from this and save some of their own hard-earned money.


