[Breaking Taps] has a look at “parkerization” — a process to coat steel to prevent rust. While you commonly see this finish in firearms, it is usable anywhere you need some protection for steel parts. The process is relatively easy. It does require heat and a special manganese solution made for the purpose. You scuff up the surface of the steel and degrease and wash it.
Once the part is ready, you insert the part in hot solution which is manganese and phosphoric acid. Rinse and displace the water and you are ready to oil the part.
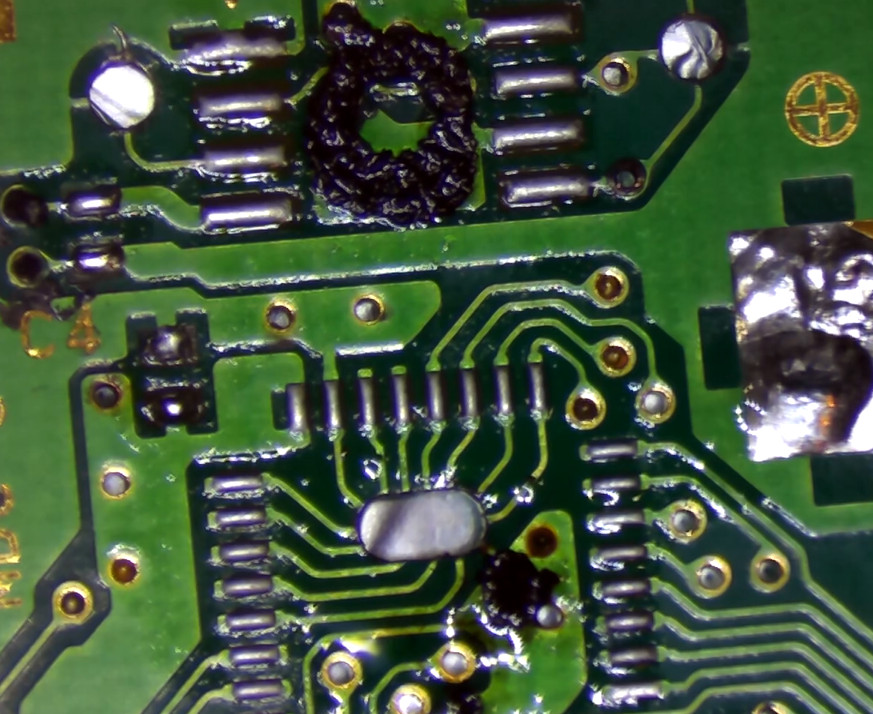
But what we really liked was the electron micrographs of the steel before and after the process. The phosphates formed in the solution cover the iron and hold oil to prevent oxidization. However, the first attempt wasn’t uniform so it wouldn’t work as well. [Breaking Taps] thinks it was a failure to rough up the piece sufficiently before starting. He also raised the temperature of the bath and got a better, but not perfect, result.
We miss having an electron microscope at work and we really want one at home! The last fun coating project we remember used copper in a strange and wonderful way.