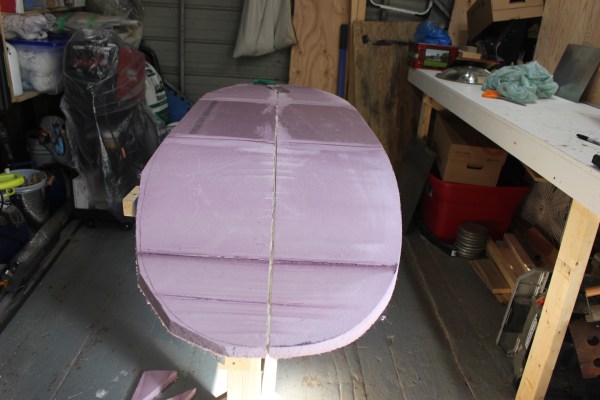
Have you ever wanted to make your own surfboard, but felt held back by a lack of tools, materials, or the cost of it? Drawing almost entirely from what can be found at a well-known home improvement retailer, [AndrewW1997] details the steps needed to craft your board.
In his guide, he details the difference between XPS (expanded polystyrene) and EPS (extruded polystyrene) and how each product’s closed cell and open cell nature affects the final board. Starting with two pink sheets of XPS, he laminated them together with glue to form his blank. A stringer is a long piece of wood in the middle of the surfboard that provides additional flex and strength. Some flooring plywood curved with a jigsaw provides the shape needed. Unfortunately, the blank needs to be split in half to install the stringer. However, he has a trick for gluing the blank back together without it buckling, and that trick is ratchet straps.
He cuts the foam into roughly the right shape with a hot wire. Clean up is done with sanding blocks, a plane, and a level. The next step is laminating the board with epoxy and fiberglass. Next, [Andrew] details a few considerations around the process and gets to glassing. Sanding up to 2000 grit and some polishing compound make the board gorgeous. After a bit of final curing time, you’re ready to ride some waves.
There’s a handy playlist on YouTube detailing the process so you can follow along. Once you’ve finished your surfboard, perhaps your next project will be to power it up with a jet drive. Video after the break.


