Street Art Bot

Street Art Bot

For the Deconstruction decentralized hackathon, “The FABricators” from Fab Lab Tulsa built a Street Art Bot. The robot drives around and dispenses liquid chalk in a pattern to make sidewalk art.

The FABricators’ robot is based on an electric wheelchair platform. Attached to the base is the hardware for dispensing chalk, which is controlled over wifi. The operator drives the robot around the area to chalk, and chalk is deposited in the right pattern.

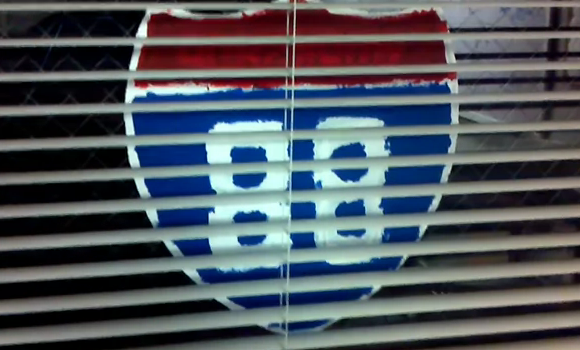
In order to ensure the art is chalked correctly, the robot’s software needs to know where the robot is at all times. This is done using a camera mounted above the area and a fiduciary marker that localizes the robot. The tracking is done using the reacTIVision library.

The robot was built to be expandable, and in the future they want to add multiple colors, or even multiple robots printing simultaneously.  After the break, check out a video overview of the project.

Continue reading “Street Art Bot”

RPi Printer Server For Your 3D Printer

OctoPrint

Want to run your 3D printer without your laptop attached? Looking to make your hackerspace printer network accessable? OctoPrint aims to make a 3D print server for the Raspberry Pi.

The open source Python project allows you to upload and manage GCODE files on the RPi. You can then select files that you want to print, and get basic statistics before running the printer. Information including temperature can be reported back via the UI, and arbitrary GCODE commands can be run for setup and testing.

Some other nifty features include streaming video to the UI so the print job can be watched remotely. Support for creating time-lapse videos is also available. Adding a wifi dongle and webcam to an RPi turns it into a fully featured print server.

The project uses the Flask web framework to serve the UI, and Tornadio with Socket.io to communicate with the UI asynchronously. You can pull the code from the project’s Github and try it out.

Thanks to [Camerin] for sending this in.

Building A Remote Control For A Cable Release Camera

wireless-shutter-for-mechanical-camera

A lot of the remote shutter and intervalometer hacks we see are simplified by the camera’s built-in Infrared or other shutter techniques. But this camera doesn’t have a simple way to electronically trigger the shutter. The Fuji x100 is a digital camera, but it uses a cable release mechanism. The box you see on top is [Andy’s] method of making a remote shutter release for it.

The solution for “remote” triggering is that black cable which physically attaches to the shutter button. Just depress the plunger at the opposite end and a picture will be snapped. This process is automated with the use of a hobby servo hidden inside the box. It’s driven by an Arduino which is also monitoring the receiver. You could use just about any remote thanks to the Arduino’s flexibility in interfacing with hardware (we would have gone with a Bluetooth module and our smartphone). [Andy] chose to use an RF remote and receiver for a different camera.

Hackerspace Intro: Workshop 88

hackerspace-intro-workshop-88

If you find yourself in the West suburbs of Chicago, IL with nothing to do you should head over to Workshop 88. [Andrew Morrison] shot some video at the last public meeting which includes a tour of the facilities. We’ve embedded it after the jump for your convenience.

The clip isn’t so much a tour as it is a POV experience. There’s no narrative and the people at the meeting seem to be oblivious that anyone’s recording video. This makes for a pretty interesting presentation, starting with a little rubbernecking at the projects being shown off at the meeting. From there we pass by a couple of members pulling a wire run through the ceiling of the machine shop. Next we see the electronics lab complete with a Makerbot and a very tidy component storage wall. [Andrew] makes a quick trip through the small music studio before heading back to the main room at the close of the segment.

Continue reading “Hackerspace Intro: Workshop 88”

High Contrast Laser Etching

high-contrast-laser-etching

The problem with laser etching dark materials is that the areas burnt away by the intense light don’t really stand out from the rest of the surface. [The 5th Fool] is taking a roundabout way of correcting this by topping his laser engravings with contrasting paint. The technique is still pretty simple and we think it looks great!

Basically he’s etching a layer of painter’s tape which becomes a stencil. But the surface it is masking also gets etched so the paint has an area below to the surface which it can fill in. We figure this will help with durability issues.

After etching the painters tape the design gets a few coatings of a high-contrast paint color and is left to dry. To remove the stencil, duct tape is applied to the entire area. This helps quite a bit in removing the tiny bits of tape from an intricate design.