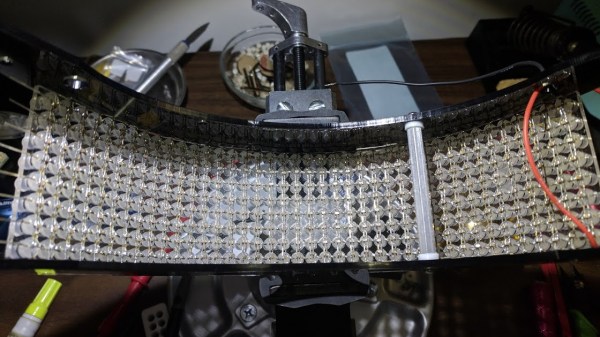
 The iconic robot helmets of Daft Punk feature prominently as challenging DIY hardware projects in their own right, and the results never disappoint. But [Nathaniel Stepp]’s photo gallery of his own version really sets the bar in both quality and attention to detail. The helmet uses a Teensy 3.2 as the main processor, and the visor consists of 328 hand soldered through-hole APA106 addressable RGB LEDs. A laser cut panel serves as the frame for the LEDs, and it was heat-formed to curve around the helmet and mate into the surrounding frame. Each LED is meticulously hand-soldered, complete with its own surface mount decoupling cap; there’s no wasted space or excess wire anywhere to be seen. It looks as if a small 3D printed jig was used to align and solder the LEDs one or two columns at a time, which were then transferred to the visor for final connections with the power bus and its neighboring LEDs.
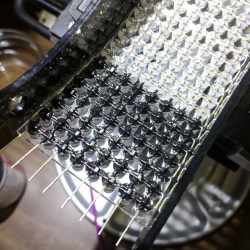 After the whole array was assembled and working, the back of each LED appears to have then been carefully coated in what looks like Plasti-Dip in order to block light, probably to minimize the blinding of the wearer. A small amount of space between each LED allows the eyeballs inside the helmet to see past the light show in the visor.
The perfectly done array of LEDs in the visor is just one of the design elements showing the incredible workmanship and detail in [Nathaniel]’s helmet. His website promises more build details are coming, but in the meantime you can drink in the details shown in the aforementioned photo gallery.
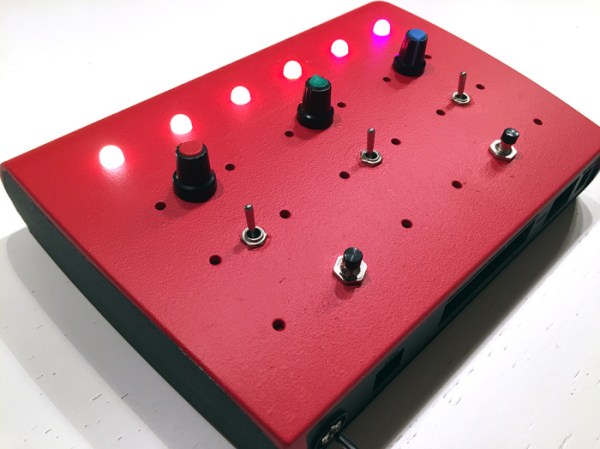
With Halloween approaching, you might be interested in rolling your own Daft Punk inspired helmet. Not ready to do everything from scratch? No problem, because it’s never been easier to make your own with the help of a 3D printer and some LED strips.
[via SparkFun Blog]