Have you ever tipped all the stray bits of solder out of your tip cleaner by mistake? [MisterHW] is here with a bit of paraffin wax to save the day.
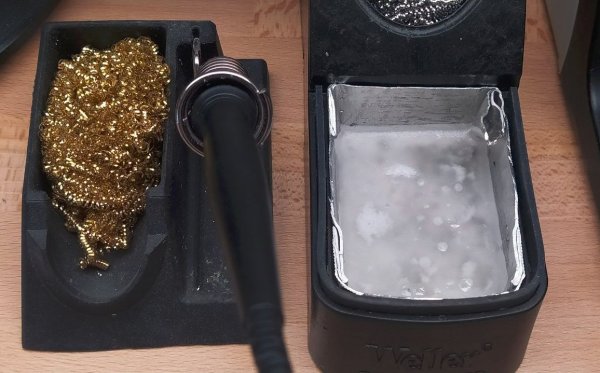
Hand soldering can be a messy business, especially when you wipe the soldering iron tip on those common brass wool bundles that have largely come to replace moist sponges. The Weller Dry Cleaner (WDC) is one of such holders for brass wool, but the large tray in front of the opening with the brass wool has confused many as to its exact purposes. In short, it’s there so that you can slap the iron against the side to flick contaminants and excess solder off the tip.
Along with catching some of the bits of mostly solder that fly off during cleaning in the brass wool section, quite a lot of debris can be collected this way. Yet as many can attest to, it’s quite easy to flip over brass wool holders and have these bits go flying everywhere.
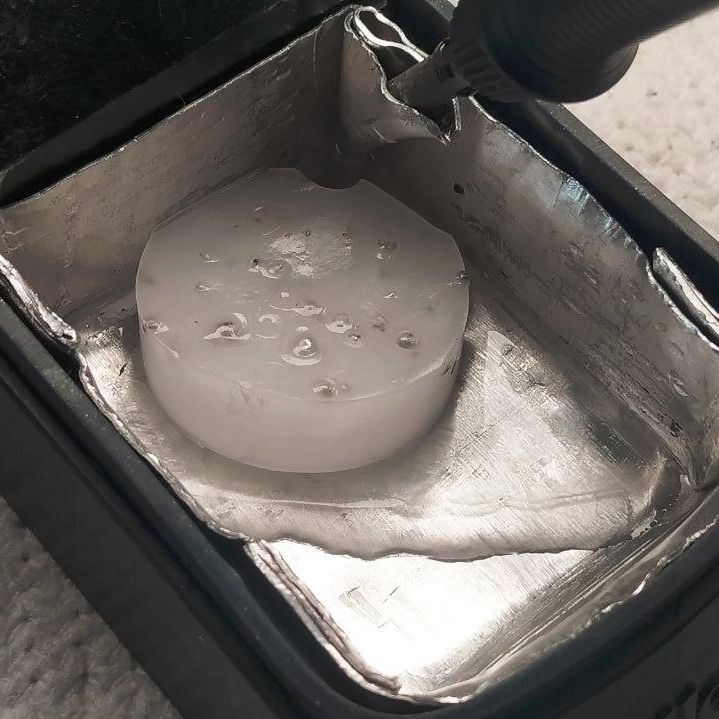
That’s where [MisterHW]’s pit of particulate holding comes into play, using folded sheet metal and some wax (e.g. paraffin) to create a trap that serves to catch any debris that enters it and smother it in the wax. To reset the trap, simply heat it up with e.g. the iron and you’ll regain a nice fresh surface to capture the next batch of crud.
As the wax is cold when in use, even if you were to tip the holder over, it should not go careening all over your ESD-safe work surface and any parts on it, and the wax can be filtered if needed to remove the particulates. When using leaded solder alloys, this setup also helps to prevent lead-contamination of the area and generally eases clean-up as bumping or tipping a soldering iron stand no longer means weeks, months or years of accumulations scooting off everywhere.


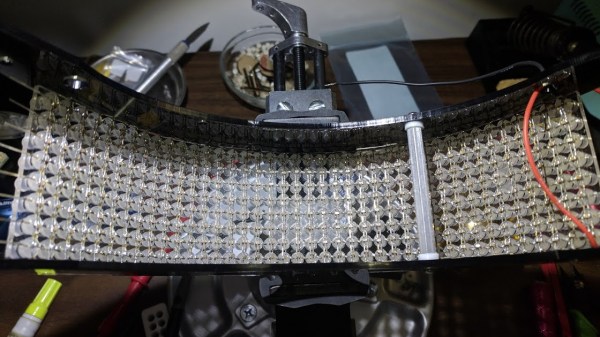
 The iconic robot helmets of Daft Punk feature prominently as challenging DIY hardware projects in their own right, and the results never disappoint. But [Nathaniel Stepp]’s
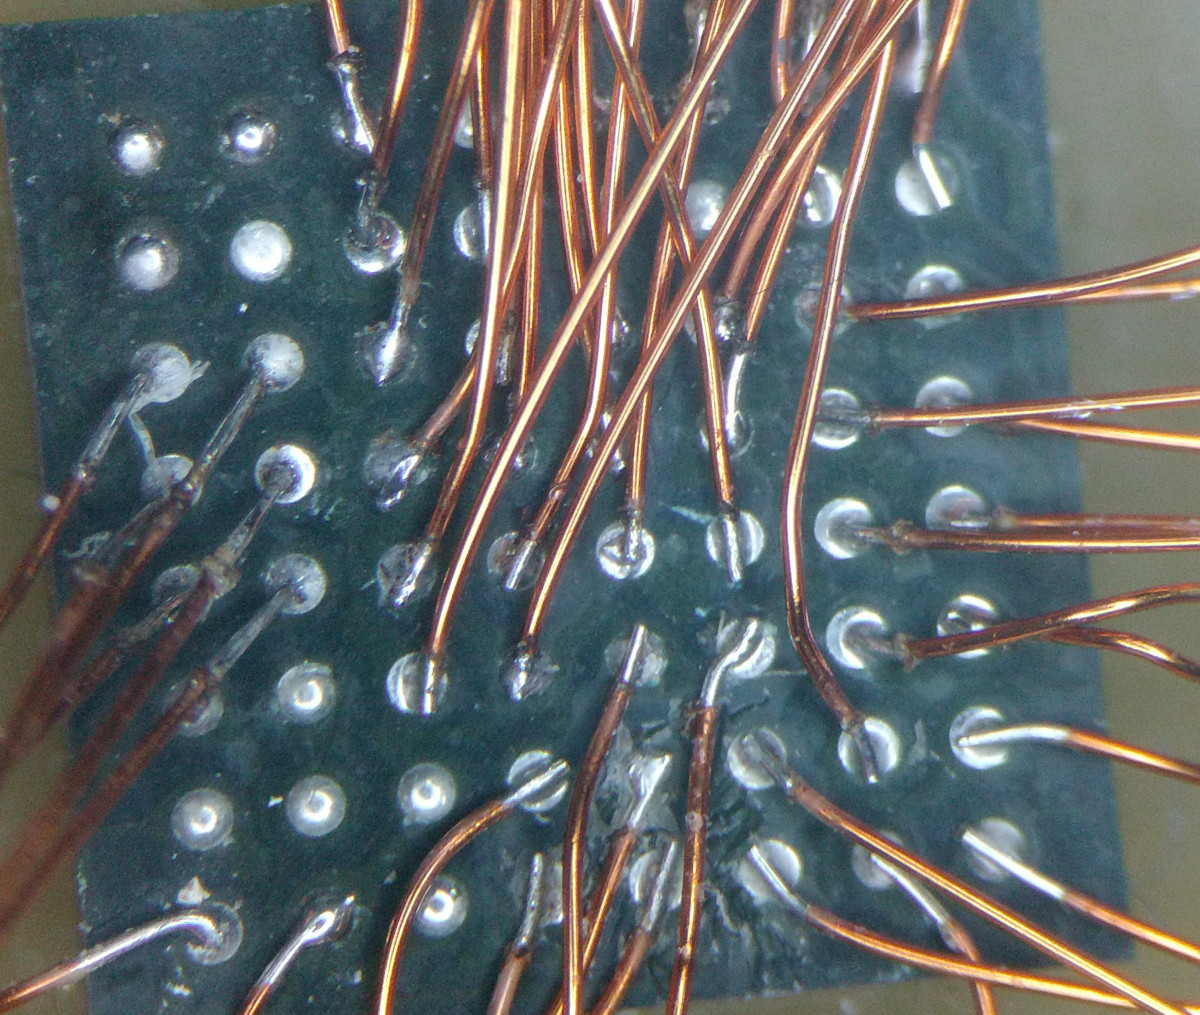
 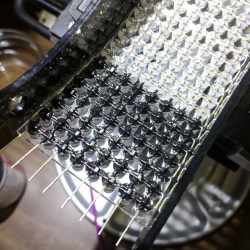 After the whole array was assembled and working, the back of each LED appears to have then been carefully coated in what looks like Plasti-Dip in order to block light, probably to minimize the blinding of the wearer. A small amount of space between each LED allows the eyeballs inside the helmet to see past the light show in the visor.


