Zip Tie Quadcopter Frame Is As Cheap As They Come

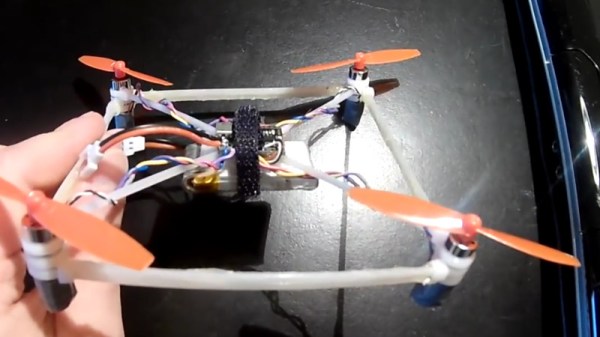
We’ve seen some cheap quadcopter builds over the years, but this one takes the cake. After seeing somebody post a joke about building a quadcopter frame out of zip ties and hot glue, [IronMew] decided to try it for real. The final result is a micro quadcopter that actually flies half-way decently and seems to be fairly resistant to crash damage thanks to the flexible structure.
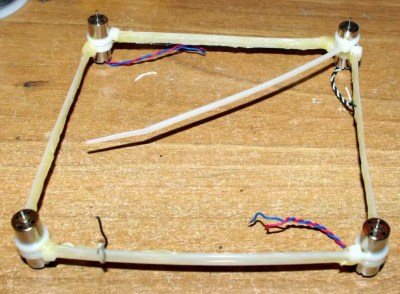
The first attempts at building the frame failed, as the zip ties (unsurprisingly) were too flexible and couldn’t support the weight of the motors. Eventually, [IronMew] realized that trying to replicate the traditional quadcopter frame design just wasn’t going to work. Rather than a body with arms radiating out to hold the motors, the layout he eventually came up with is essentially the reverse of a normal quadcopter frame.

Zip ties reinforced with a healthy coating of hot glue are arranged into a square, with a motor at each corner. Then four zip ties are used to support the central “pod” which holds the battery and electronics. No attempt is made to strengthen this part of the frame, and as such the heavy central pod hangs down a bit in flight. [IronMew] theorizes that this might actually be beneficial in the end, as he believes it could have a stabilizing effect when it comes time to record FPV video.

He mentions that he’s still struggling to get the PID values setup properly in the flight computer, but in the video after the break you can see that it’s flying fairly well for a first attempt. We wouldn’t recommend you tear into a bag of zip ties when it comes time to build your first quadcopter, but it does go to show that there’s plenty of room for experimentation.

We’ve covered a number of unique quadcopter frames if you’re looking for something to set your next build apart from the rest. If you’ve got a big enough bed you can 3D print a very nice frame, but if you’ve got more time than equipment, you could always cut one out of a piece of plywood.

Continue reading “Zip Tie Quadcopter Frame Is As Cheap As They Come”

Frankendrones: Toy Quads With A Hobby Grade Boost

If you’re not involved in the world of remote controlled vehicles, you may not know there’s a difference between “toy” and “hobby” grade hardware. For those in the RC community, a toy is the kind of thing you’ll find at a big box store: cheap, works OK, but lacking in features and build quality. On the other hand, hobby hardware is generally considered to be of higher quality and performance, as well as being more modular. At the risk of oversimplification: if you bought it ready to go from a store it’s probably a toy, and if you built it from parts it would generally be considered hobby grade.

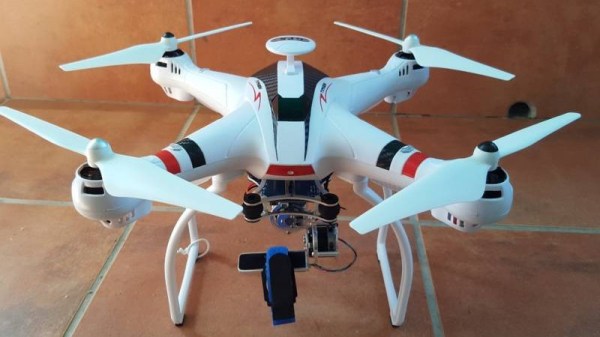
But with the rock bottom prices of toy quadcopters, that line in the sand is having a harder time than ever holding some in the community back. The mashup of toy and hobby grade components is giving rise to the concept of “frankendrones” that combine the low cost of toy hardware with key upgrades from the hobby realm. Quadcopter blogger [garagedrone] has posted a roundup of modifications made to the Bayangtoys X16, a $99 quadcopter which is becoming popular in the scene.

Some of the modifications are easy enough for anyone to do. Swapping out the original propellers for ones meant for the DJI Phantom 3 increases performance and doesn’t even require tools. If you want to go a bit further down the rabbit hole, you can cut off the X16’s battery connector and replace it with a standard XT60. That lets you use standard 3S LiPo batteries, which are cheaper and higher capacity than the proprietary ones the toy shipped with.

If you have a 3D printer, there are also a number of upgraded parts you can print which will bolt right onto the X16. Payload adapters, landing gear, and GoPro mounts are all just a few clicks (and some filament) away. This library of 3D printable parts is made possible in part because the X16’s frame is itself a clone of another toy quadcopter, the popular Syma X8C. So anything listed as compatible with the Syma X8C should work with the X16 (and vice versa).

Finally, if you really want to take the X16 to the next level, you can swap out the flight controller with an open source and better supported hobby grade model. Some of these flight controllers and associated new receivers can end up costing about half as much as the X16 did to begin with, but the vast improvement in performance and capability should more than make up for the cost.

We’ve covered previous efforts to increase the performance of low cost quadcopters in the past, as well as builds that put frugality front and center. It seems that no matter what your budget is a screaming angel of death is available if you want it.

Thanks to [Calvin] for the tip.

Continue reading “Frankendrones: Toy Quads With A Hobby Grade Boost”

Flying A Normally-Sized Drone With A Nano-Drone’s Brain

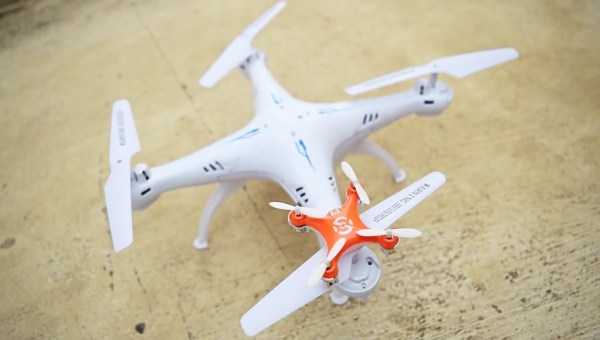
Drones come in all shapes and size, and [Kedar Nimbalkar] was wondering if the guts of a tiny Cheerson CX-10 nano-drone could take off with a larger body, leading to an interesting brain transplant experiment.

For his test, [Kedar] acquired a CX-10 and the body of a larger Syma X5SW drone. After gutting the CX-10 for its LiPo battery and circuit board, which features an STM32 ARM-core MCU, a 6-axis IMU and the wireless transmitter, [Kedar] studied the datasheet of the onboard SQ2310ES driver MOSFETs. He figured that with a maximum continuous current rating of 6A, they would probably be able to cope with the higher load of the slightly larger motors of the X5SW body. They also didn’t seem to overheat, so he just installed the board into the new body as-is and wired up the motors.

Continue reading “Flying A Normally-Sized Drone With A Nano-Drone’s Brain”