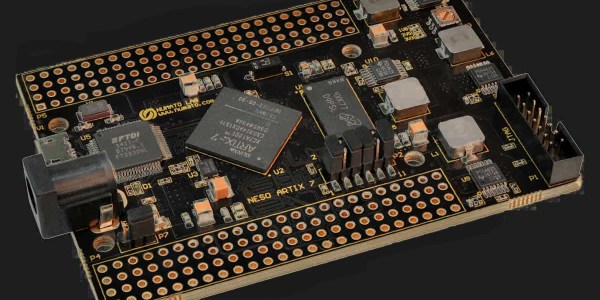
FPGAs are awesome — they can be essentially configured into becoming any computing device you want. Simply load your selected bitstream into the device on boot, and it behaves like a different piece of hardware. With great power comes great responsibility.
You might try to hack a given FPGA system by getting between the EEPROM that stores the bitstream and the FPGA during bootup, but FPGA manufacturers are a step ahead of you. Xilinx 7 series FPGAs have an onboard encryption and signing engine, and facilities for storing a secret key. Once the security bit is set, bitstreams coming in have to be encrypted to protect from eavesdropping, and HMAC-signed to assure that they are authentic. You can’t simply read the bitstream in transit or inject your own.
Researchers at Ruhr University Bochum and Max Planck Institute for Cybersecurity and Privacy in Germany have figured out a way to use the FPGA’s own encryption engine against itself to break both of these security guarantees for the entire mainstream 7-series. The attack abuses a MultiBoot function that allows you to specify an address to begin execution after reboot. The researchers send 32 bits of the encoded payload as a MultiBoot address, the FPGA decrypts it and stores it in a register, and then resets because their command wasn’t correctly HMAC signed. But because the WBSTAR register is meant to be readable on boot after reset, the payload is still there in its decrypted form. Repeat for every 32 bits in the bitstream, and you’re done.
Pulling off this attack requires physical access to the FPGA’s debug pins and up to 12 hours, so you only have to worry about particularly dedicated adversaries, but the results are catastrophic — if you can reconfigure an FPGA, you can make it do essentially anything. Security-sensitive folks, we have three words of consolation for you: “restrict physical access”.
What does this mean for Hackaday? If you’re looking at a piece of hardware with a hardened Xilinx 7-series FPGA in it, you’ll be able to use it, although it’s horribly awkward for debugging due to the multi-hour encryption procedure. Anyone know of a good side-channel bootloader for these chips? On the other hand, if you’re just looking to dig secrets out from the bitstream, this is a one-time cost.
This hack is probably only tangentially relevant to the Symbiflow team’s effort to reverse-engineer an open-source toolchain for this series of FPGAs. They are using unencrypted bitstreams for all of their research, naturally, and are almost done anyway. Still, it widens the range of applicability just a little bit, and we’re all for that.
[Banner image is a Numato Lab Neso, and comes totally unlocked naturally.]


