Solid Tips For Casting Colored Silicone Tires

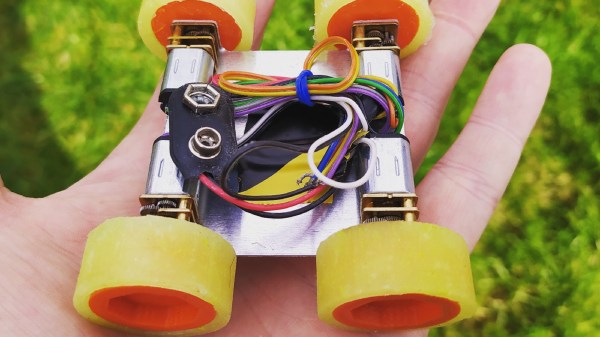
For people who work with wheeled robots or RC vehicles, sooner or later one gets interested in making custom tires instead of dealing with whatever is available off the shelf. [concreted0g]’s preferred method is to design and 3D print wheel hubs, then cast some custom silicone tires to fit over them. Of course, the devil is in the details and this process can be a bit messy, so he’s shared useful tips on how to get reliable results with simple materials.
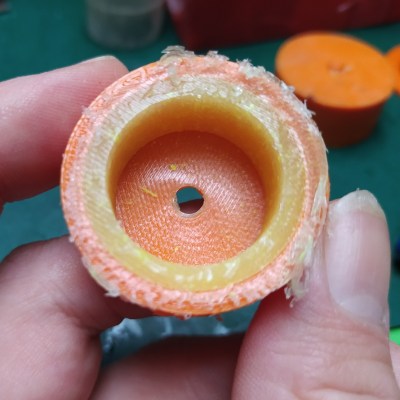
The casting material is cheap silicone caulking from a hardware store, and color can be added with a small amount of cheap acrylic paint. A few drops of glycerin added to the silicone thins it out slightly and helps it flow into a mold better. Mix well (the paint will also serve as a visual indicator of how well it is mixed), then scoop the mixture into the mold while trying to avoid creating air pockets. If your mold is in two pieces, assemble the mold and remove any overflow, then let it sit undisturbed for at least several hours while it cures.

Mounting the resulting tire to a wheel hub can be done with a thin film of super glue, which seems to work perfectly well for small tires and is easy to apply.

The rules are going to be a bit different for big objects. We know that silicone caulking can have difficulty fully curing when it’s applied thickly, especially when sealed into a mold with little to no airflow. In such cases, adding cornstarch (in about a 5:1 ratio of silicone to cornstarch by volume) is all that it takes to cure even thick wads of goop in less than an hour. Stirring cornstarch in tends to introduce more air bubbles into the mixture, but for larger pieces that can be an acceptable tradeoff. Cheap silicone caulking is versatile stuff, one just needs to know what to expect, and take a few steps to deal with the messiness.

Need something tougher? Maybe check out using slices of automotive silicone hose for robot wheels to get something that works just as well, but is a lot more durable.

DIY Watertight Junction Box For Serious Outdoor Sealing

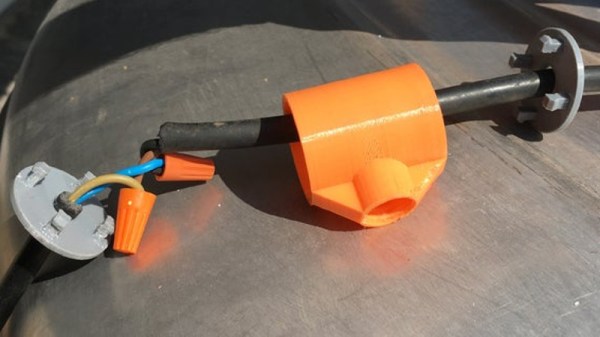
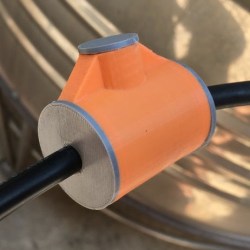
Thingiverse user [The-Mechanic] shared a design for 3D printed enclosures that are made to house wire and cable junctions, which can then be rendered weatherproof by injecting them with a suitable caulking compound and allowing it to cure. It’s a cross between an enclosure and potted electronics. It’s also a one-way trip, because the result is sealed up like a pharaoh’s tomb. On the upside, it’s cheap, accessible, and easily customized.

The way it works is this: wires go through end caps which snap onto the main body, holding the junction inside. Sealant is then pumped in via the hole on the side, then the hole is plugged. Afterwards, all there is to do is wait until the sealant cures. [The-Mechanic] has a couple of companion designs, as well. For tubes of sealant that have threaded tops, one can more effectively save the contents of the tube for later with this design for screw-on caps. There are also 3D printed nozzles in a variety of designs.

One thing to keep in mind about silicone-based sealants is that thick gobs of it can take a really, really long time to cure fully. A thick gob of the stuff will tend to firm up on the outside but leave the inside gooey. If that will be a problem, maybe take a cue from Oogoo and mix in a bit of corn starch with the silicone sealant. The resulting mixture will be thicker, but it’ll cure throughout with no problems.

Robot arm is Soft

Soft And Squishy Silicone Robotics

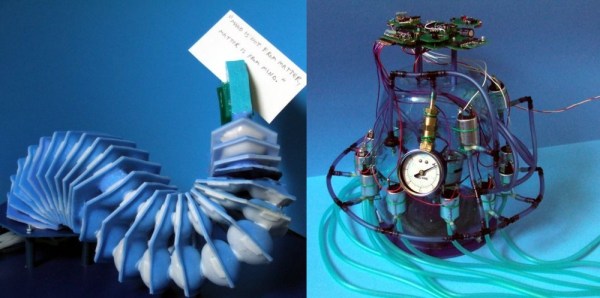
This robot arm and gripper is made almost entirely out of silicone. Casting the parts by hand, [Mike] assembled this working, remote controlled robot arm gripper.

We’ll let that sink in for a minute. He turned an oversized tooth-paste tube of silicone caulking… into a pneumatic robotic arm. Holy cow. We’ve seen lots of soft robotics before, but this is some really cool stuff!

You see, [Mike] is actually planning on building an inexpensive prosthetic robot hand using this technology. This was merely a test to see how well he could make silicone based air muscles — we’d say it was pretty successful! Each silicone disk in this robotic appendage has four sealed pockets inside of it. When air flows in through them, they inflate, causing the entire appendage to stretch on one side. With four of these, and varying amounts of pressure, it’s possible to move the appendage in any direction!

Continue reading “Soft And Squishy Silicone Robotics”

Molding Flexible Links

Flexible Links

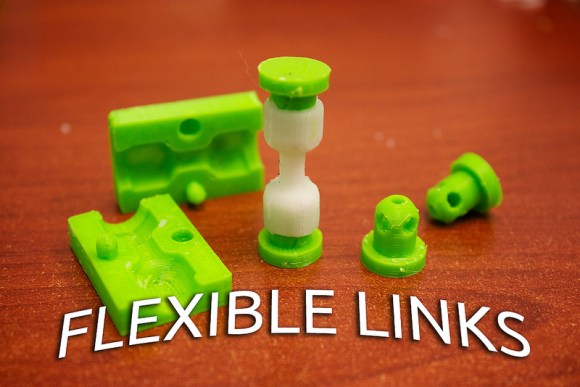
Need a custom link that’s strong and flexible? [RobotGrrl] came up with a method of molding flexible links using 3D printed parts and Sugru.

The link consists of two 3D printed hubs, connected by a flexible material cast in a 3D printed mold. [RobotGrrl] recommends using Sugru to create the link, but you can use homemade Oogoo as a low cost substitute. Dish soap is used as a release agent, and prevents the Sugru from sticking to the mold.

The tutorial includes a detailed guide to modeling the parts in Autodesk Inventor, which serves as a quick introduction to the CAD tool. If you just want to make some links, the STL files are available for immediate 3D printing.

Why would you want DIY flexible links? [RobotGrrl]’s Baitbot is a good example. This tentacle robot uses the links as its core. Check out a video of the Baitbot wiggling and jiggling after the break.

Continue reading “Molding Flexible Links”