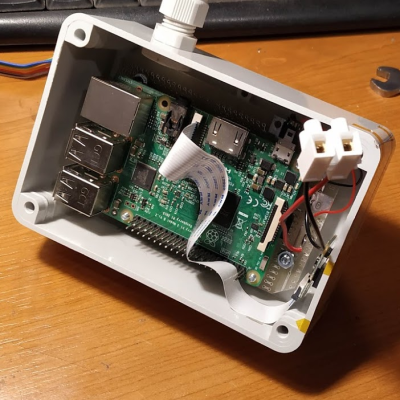
The Raspberry Pi is the foundation of many IoT camera projects, but enclosures are often something left up to the user. [Mare] found that a serviceable outdoor enclosure could be made with a trip to the hardware store and inexpensive microscopy supplies.

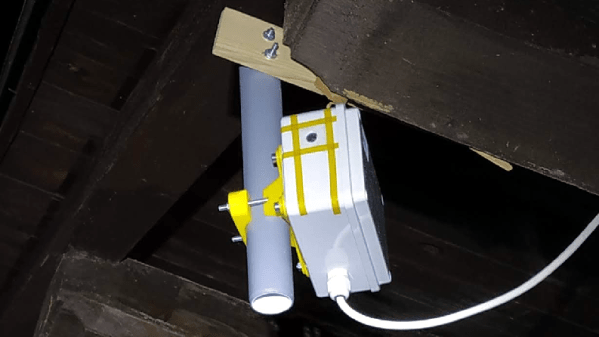
The main component of the enclosure is a small plastic junction box, but it takes more than a box to make a functional outdoor enclosure. First of all, cable should be run into the box with the help of a cable fitting, and this fitting should be pointed toward the ground when the enclosure is mounted. This helps any moisture drip away with gravity, instead of pooling inconveniently.
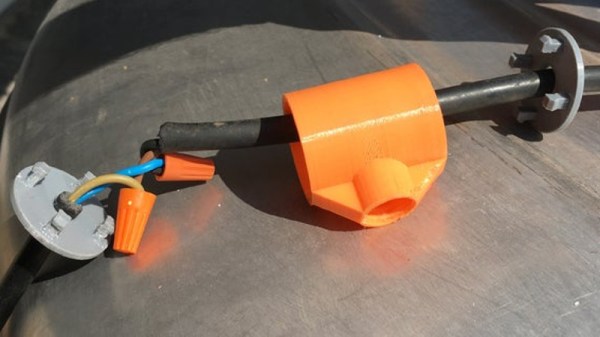
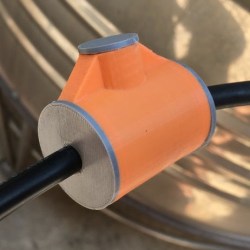
All wire connections should be kept inside the enclosure, but if that’s not possible, we have seen outdoor-sealed wire junctions with the help of some 3D-printing and silicone sealant. That may help if cable splices are unavoidable.
The other main design concern is providing a window through which the camera can see. [Mare] found that the small Raspberry Pi camera board can be accommodated by drilling a hole into the side of the box, cleaning up the edges, and securing a cover slip (or clover glass) to the outside with an adhesive. Cover slips are extremely thin pieces of glass used to make microscope slides; ridiculously cheap, and probably already in a citizen scientist’s parts bin. They are also fragile, but if the device doesn’t expect a lot of stress it will do the job nicely.
[Mare] uses the Raspberry Pi and camera as part of Telraam, an open-source project providing a fully-automated traffic counting service that keeps anonymized counts of vehicle, pedestrian, and bicycle activity. Usually such a device is mounted indoors and aimed at a window, but this enclosure method is an option should one need to mount a camera outdoors. There’s good value in using a Raspberry Pi as a DIY security camera, after all.


