
It’s nice to take a break from hacking together the newest bleeding-edge technology, relax, and enjoy a beverage. It’s no surprise that hacks devoted to beer and coffee roasting are popular. We’ve also seen a few projects helping brew the perfect cup of tea, but none involving the actual production of tea. Today we’re going to take a short recess from modernity and explore this ancient tradition.
Consumption of tea is about equal to all other manufactured beverages, such as coffee and alcohol, combined. It is hands-down the most popular manufactured beverage in the world, and we thought it would be interesting to make some ourselves. Also the local tea is so bitter that it’s used to clean things, and it works alarmingly well. To each their own!
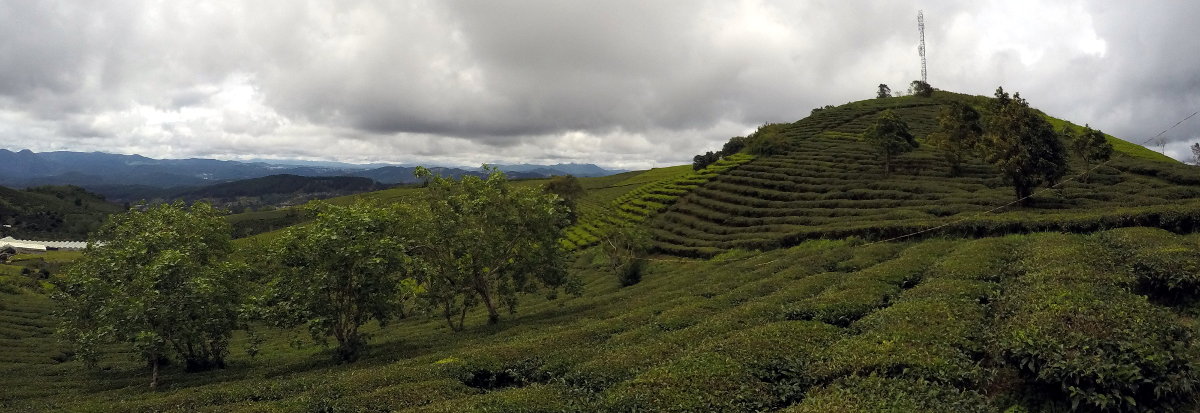
I started by driving into Vietnam’s Central Highlands, down what Google simply refers to as ‘unnamed road’, to about 11°52’59.3″N 108°33’49.5″E. I asked around until I found a street vendor that knew a farmer at the nearby tea plantation, and would sell us five kilograms of fresh tea. I carried it 330 kilometers back to the city, because I’m a sane person that does normal things.
If you do not live anywhere near a tea plantation, the easiest way to obtain fresh tea is probably just to grow it yourself. It’s a suitable indoor plant. You can buy tea seeds online, or just pick them up off the ground at a tea plantation.
The basic process of making most tea is fairly straightforward. The leaves are cleaned, wilted in heat, bruised, and oxidized. The type of leaf and the exact method with which you perform the latter three steps determines the type of tea produced. Finally, you cook and then dry the tea out to preserve it.
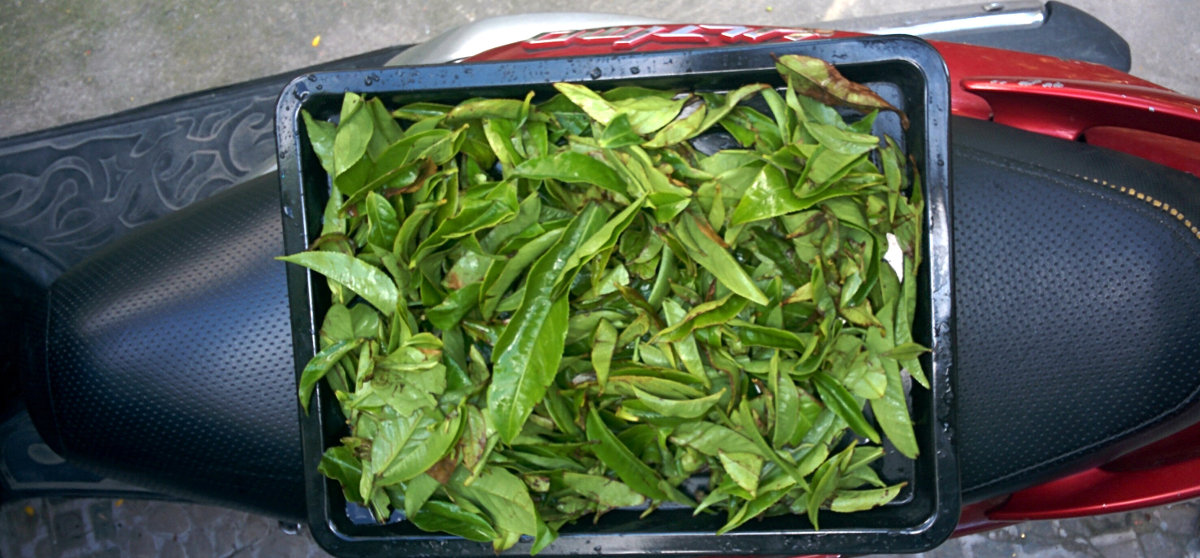
If you do manage to buy fresh tea, you’ll now have one of two things: hand-picked light green tea leaves, or a bundle of branches that look like someone took a hedge cutter to a tea bush. While the former is more convenient and associated with a higher quality product, the latter is more interesting as you can separate the different parts of the plant into different types of tea.
There are basically three parts of the plant you are interested in: the old tea leaves, the young tea leaves, and the silvery tea buds. The soft, light green freshly sprouted leaves are the most useful part, and are used for making good quality tea, especially oolong. Oolong tea is bruised, then partially oxidized. We’ll call these leaves ‘Grade A’. The large, dark, and brittle older leaves are less desirable. They can still be used to make tea, but are harder to work with and have less flavor. These are better to use to make black tea, which is crushed, then more heavily oxidized. We’ll call these leaves ‘Grade B’. The small, silvery buds are dried with barely any processing to make white tea.


The first step is to pluck the leaves from the stems, being sure to leave behind any woody parts. Also discard any obviously diseased or dry leaves. Leaves that have been browned by oxidation are perfectly fine though. If you get industrially produced raw tea at the third bloom of the year, you’ll end up with the amounts in these three grades shown below (as well as a whole load of waste like sticks and such).


Next, wash all the leaves and buds carefully in water. It helps to soak them for a few hours, although be aware the leaves will rehydrate due to this, which can make the next step longer.
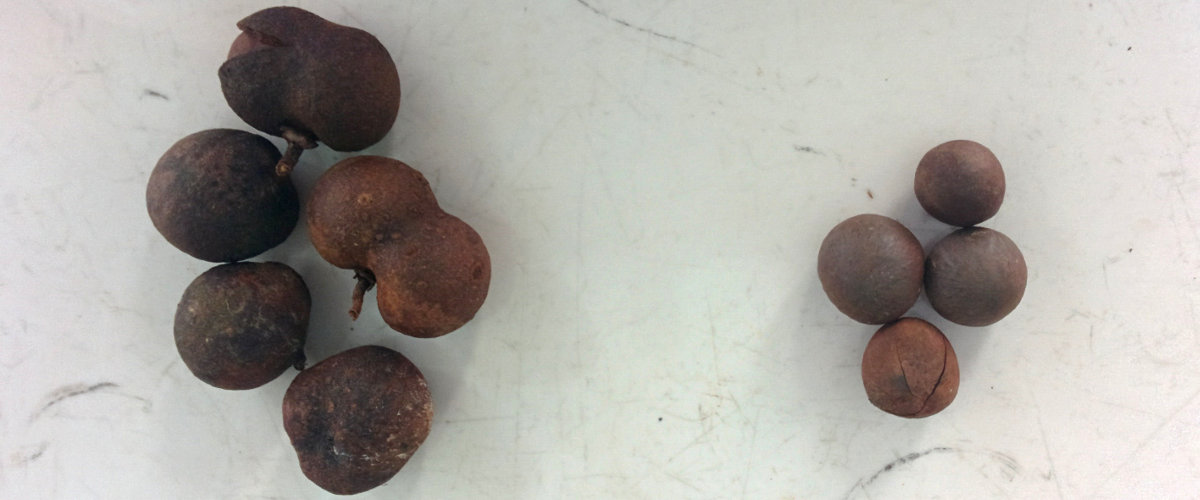
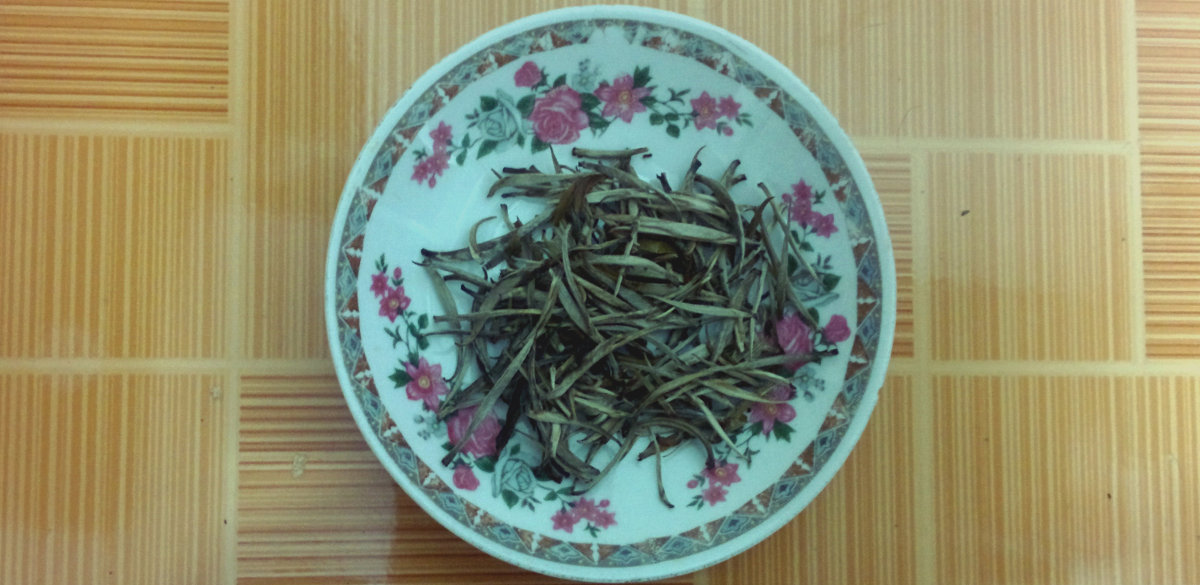
After the leaves are clean, take any tea buds you’ve collected and put them in a small tray. Bake them in your oven at a low temperature, just to dry them out (I had luck at about 150 °C). The white tea in now finished.
Leave the other grades of tea out (preferably in the heat) for a while until the leaves wilt. This makes the leaves easier to bruise without breaking. The Grade B tea might not wilt much because the leaves are tough and leathery.
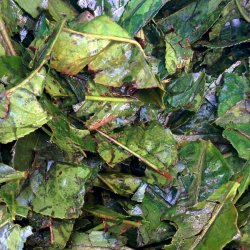
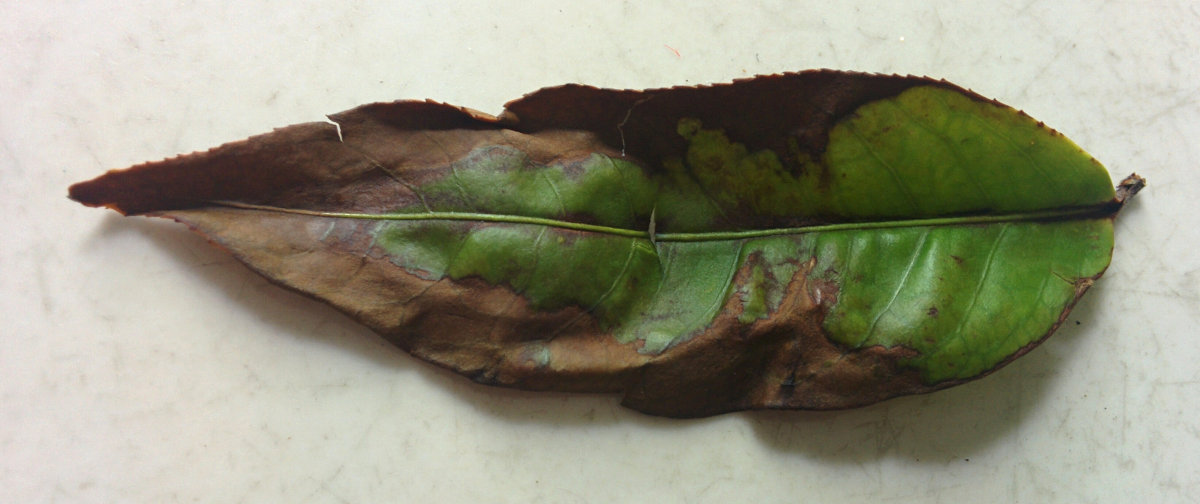
Now take the Grade B leaves and put them in a clean plastic bag. Take a rolling-pin, mortar, or baseball bat and hit them until they are thoroughly bruised. Not too much force is required, take your time. You can see what the older, tougher leaves look like after being beaten with a rolling-pin.
Leave this tea in the bag, and hang it somewhere in the shade outside if it is 25-35 °C. Otherwise bring it inside. As the leaves oxidize they will drip a little, so don’t put it over a carpet or anything. I left them there for about two days.
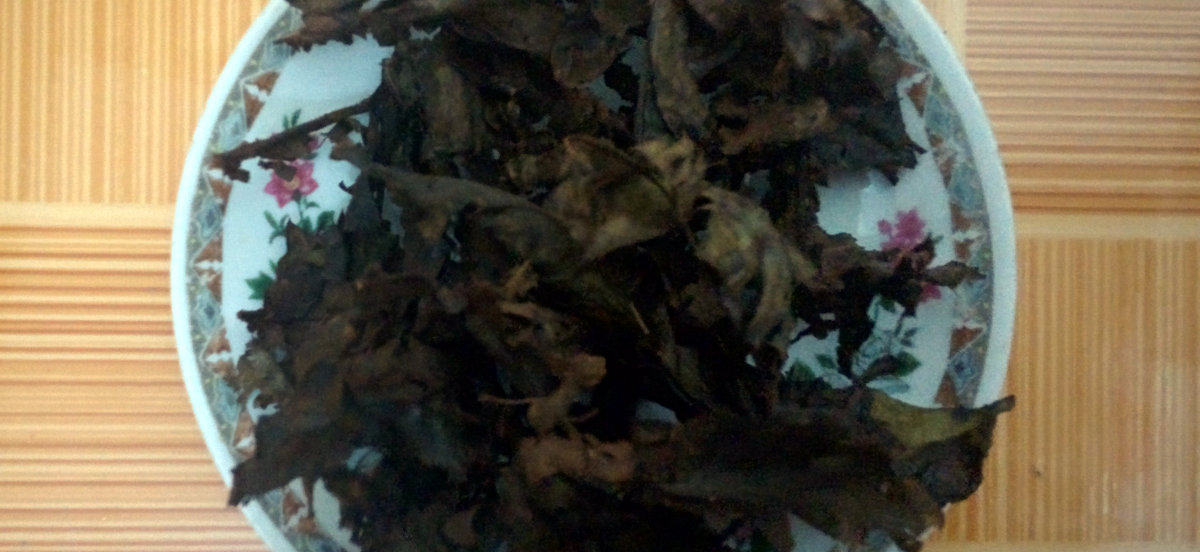
After two days, they were quite oxidized and looked more or less like unappetizing mulch. This is normal!
For the Grade A leaves, place a few between your hands and rub your hands together until the leaves are throughly bruised. Then set these aside and repeat for the rest of the leaves. They will look roughly like this:
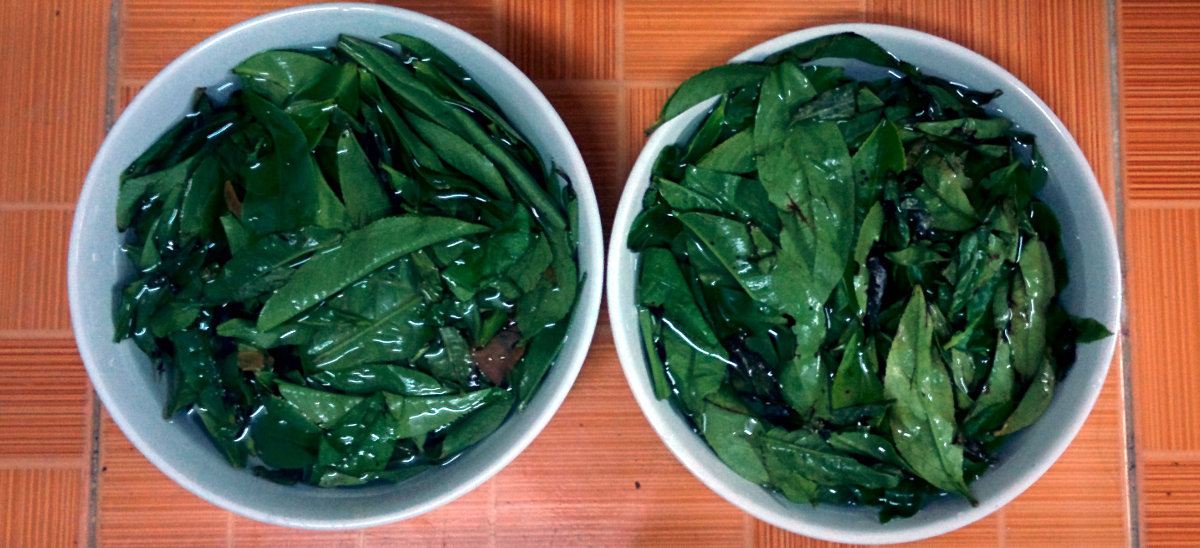
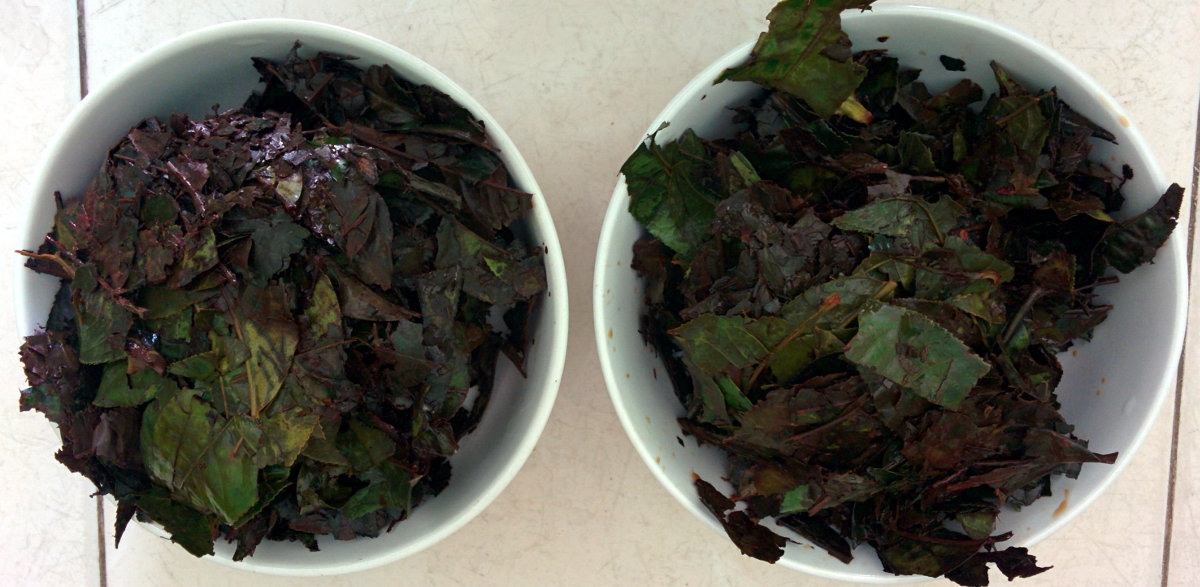
Cover them, for example by placing them in a pot with a cover, and set aside indoors at around 20-30 °C. How long you oxidize them is up to you – less makes the oolong tea more like green tea, more makes it closer to black tea. We decided to make an oolong tea closer to black tea, so left it for two days. When finished, you can see the oxidized leaves have browned compared to the bruised leaves.


Once a batch of tea is done oxidizing, take a wok or frying pan and stir fry it around a little. Don’t add oil or anything – just drop the tea onto a hot pan and cook it briefly. This stops the oxidation process. Once the leaves are uniformly hot to the touch and steam is rising from the pan, they’re done. You might have a few pans full.
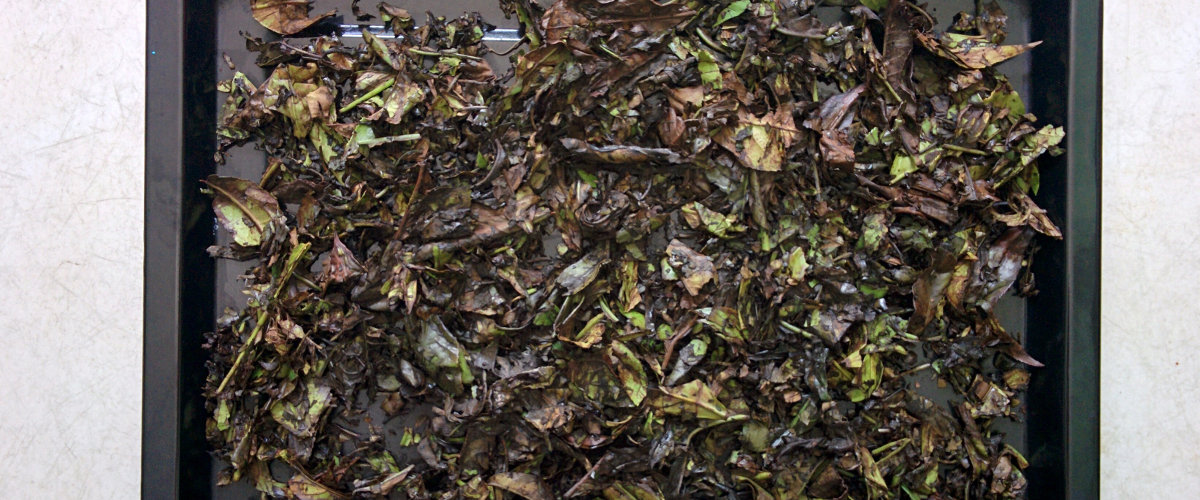
When you’re done cooking the leaves, put them on a baking tray and bake them until dry. The time and temperature are up to you, but we found about 150 °C worked well. Some people like to roast the leaves just a little on top of drying them. Once dry, your tea is done and can be stored.
Now it’s time for a taste. Get your preferred tea set. A gaiwan works well but there’s no reason you can’t use a teapot.

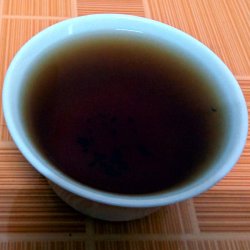
It may not look or smell like the loose leaf tea you’re used to, but the taste was excellent and sweet when we tried it. The color was also more or less on spot with what I wanted. It pairs perfectly with mid-autumn festival mooncakes, and late nights writing firmware.
A concluding tip: tea is very susceptible to taking on odors. This is why it’s so easy to make differently scented teas, but also means you should keep the tea away from anything with a strong smell throughout the process.
Whether you grow it yourself, or find a source for freshly harvested leaves, making tea is fun and a nice break from your ordinary slate of endeavors. Give it a try!


Great and well written article.
My boss allows us to access this site at work (Industrial Automation Firm)
I had trouble explaining the relevancy of this one, However I am pleased that I now posses the knowledge.
Thanks allot for going through the effort, as well as posting it for all to enjoy.
AND, to anyone claiming this is not a hack: This is by definition a hack.
Using something in a manner it was never designed or intended to be used in.
Plants where intended to photosynthesize and reproduce not become tea. =)
Agriculture: the real OG hack.
Stop your endless daily foraging for enough to eat with this one weird trick!
it would be #5 on the list which would start with, get a rubber band and a plastic bottle, invent scissors and never have to worry about opening those cans that haevn’t been invented yet ever again!
I just leave that here:
https://hackteria.org/wiki/File:Biohackers_final_no_border.png
hackteria org/wiki/images/6/68/Biohackers_final_no_border.png
Utterly pointless trivia note: tea grows almost anywhere (even in new jersey)
Yes, but who’d want to drink tea grown in New Jersey!
B^)
I like it. Clearly I’m here for electronics news, but what I seek is knowledge – and now I have some more.
How many tea plants would it take to have, say, two cups of tea per day for one year?
I hate to tell you this but you are not in Vietnam, you are in England. “Unnamed Road” is not far from me at home.
Yeah, but then he coulda just walked into the Spar and bought a box of Yorkshire tea for a good cuppa.
It’s a small world after all!
B^)
Years ago, I toured Celestial Seasonings in Colorado.
What you called “oxidized”, they called “fermented”, and was the main difference (as you wrote) between green and black teas.
They also underscored what you wrote about tea absorbing odors, they keep their unprocessed tea in an airtight room until it is time to process. The other airtight room in their facility is for mint leaves, as their ‘essence’ will permeate anything!
Thanks for a great article!
I suspect it’s neither really, although both things may be happening to some extent… what you are probably trying to do is fire up the herbivore defense mechanism of the plant into releasing enzymes that make pharmaceuticals that put off the herbivore from eating it, like caffeine which on it’s own is kinda bitter. Other things than that going on too though that probably add to flavour.
Like an apple turning brown after it is cut/bit?
Well it does, but that’s an opposite situation of leveraging animal distribution by having tasty fruits.
Whatever it is, it is certainly not fermentation, because fermentation only occurs in absence of oxygen
Aerobic fermentation is totally a thing. Look it up.
That mint room at celestial is something else. Its like walking into a brick wall of air that happens to be made of mint.
I was more surprised the author drove into the Central Highlands of Vietnam, bought 5 kilos of leaves and came back with tea????
B^)
Well, that’s what he tells us ;-)
Awesome article, loved it and found very informative
Strangely enough the best tea grows in out of the way locations. I myself drink Darjeeling. And Earl Grey, (Not just because of Star Trek), and traditional Green Tea. (Its the stuff that goes best with sushi.)
One man’s tea is another man’s compost. I’d never use anything but the tips that are bright green and can be plucked by hand in the cool of the morning while they are crisp, then the most convenient way to rupture the cell walls is by freezing while the tips are still fresh and full of moisture. Thaw and turn until you have generated the tannin level you are after, that is what the oxidisation part really is, then stop it with a pressure cooker, this kills the enzymes. After that you want to develop the flavours via “fermentation”, which depends a lot on the microorganisms in the local environment, or you can have an inoculation system. The heat and time of the final drying process will impact on the flavour too as the metabolites produced in the fermentation stage will interact or transform differently according to the drying profile. You don’t need to try and get every variable right in a single batch as blending the dry teas is also an option worth considering if you have a good nose. So as you can see there are a lot of parameters in the process which is why there are so many types of finished tea product.
Ultimately, it all can be compost… think it’s bad among tea fanciers though, one man’s cat shit…
The real question is can you do it with a 555 timer?
HA HA HA!
You sir, Made me spill my coffee.
Thanks. I came here to same something similar. Also, I really did enjoy the post.
I’m pleasantly surprised at the lack of a “Not A Hack!” brigade on this one! It might not be what I traditionally think of as a hack, but the article:
* Is well-written
* Is informative
* Has useful and well-taken photos
* Is a bit longer than the average Hackaday article, but not needlessly split across multiple parts
I never knew how to make my own tea before. I might never get around to trying it myself, but I had great fun learning how. Thanks Sean!
Thanks!
You’ve saved me effort. I bought a camelia sinensis a couple of years ago so I could make my own tea. My quick googling so far had only really turned up a result from a Hawaiian university…
Now to make my camelia look like it isn’t dieing all the time so I can harvest a useable amount of leaves.
If any of you are passing through Charleston, SC, there’s a working tea plantation not far outside the city that’s open for tours and events.
http://www.charlestonteaplantation.com/