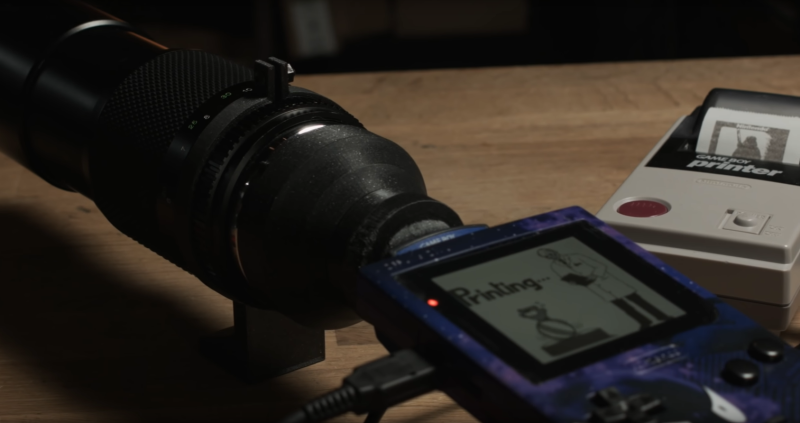
The Game Boy Camera was the first digital camera that many of us ever interacted with. At the time it was fairly groundbreaking to take pictures without film, even though the resolution was extremely low by modern standards, and it could only shoot two-bit color. It’s been long enough since its release that it’s starting to become a popular classic with all kinds of hacks and modifications, like this one which adds modern SLR camera lenses which lets it take pictures of the Moon.
The limitations of the camera make for a fairly challenging build. Settings like exposure are automatic on the Game Boy Camera and can’t be changed, and the system only allows the user to change contrast and brightness. But the small sensor size means that astrophotography can be done with a lens that is also much smaller than a photographer would need with a modern DSLR. Once a mount was 3D printed to allow the lenses to be changed and a tripod mount was built, it was time to take some pictures of the moon.
Thanks to the interchangeability of the lenses with this build, the camera can also capture macro images as well. The build went into great detail on how to set all of this up, even going as far as giving tips for how to better 3D print interlocking threads, so it’s well worth a view. And, for other Game Boy Camera builds, take a look at this one which allows the platform to send its pictures over WiFi.


Floyd–Steinberg dithering is timeless, those photos are amazing! This muddy-green display and the amber terminals on old CRTs are my favourite about the computing of olden.
I never had a gamenoy, a bit old when it came out. I knew someone who did get one, but she was about eight at the time.
Never knew there was a camera for it until recent years.
My first digital camera was a used 1.6mp SLR about 2003.
The camera itself is actually much more than just 2 bits. It spits out a new 0V-1V analogue value each time a clock is triggered. One can very easily collect the picture using an Arduino ADC. That gives much nice results than burning it down onto a GameBoy 2 bits display. This is still pretty cool, though! Definitely a nice lens adapter with really good looking results for a GameBoy!
I’m glad to see others playing with the Mitsubishi Electric “Artificial Retina” imager. We worked with it a lot in my early days at Mitsubishi Electric Research Laboratories (MERL). For initial experiments we cannibalized Gameboy Cameras, but we were later able to obtain quantities of the ‘283 variant for our own builds.
My first project with the Artificial Retina (AR) was the “Personal Eyewitness”, which was the world’s first digital dashcam. You can see our publication here: https://www.merl.com/publications/TR99-29
The previous poster was correct that the imager’s output is analog and that you can run it into your own ADC. That’s what we did, producing some nice grayscale video. You can also control the exposure time yourself to take pictures in very dim environments.
There was an earlier version of the AR that was only 32 by 32 pixels that my colleagues used for motion detection experiments. They actually used it as an input device to control a video game, well before the Kinect or Eyetoy. Here’s the publication: https://www.merl.com/publications/TR99-02