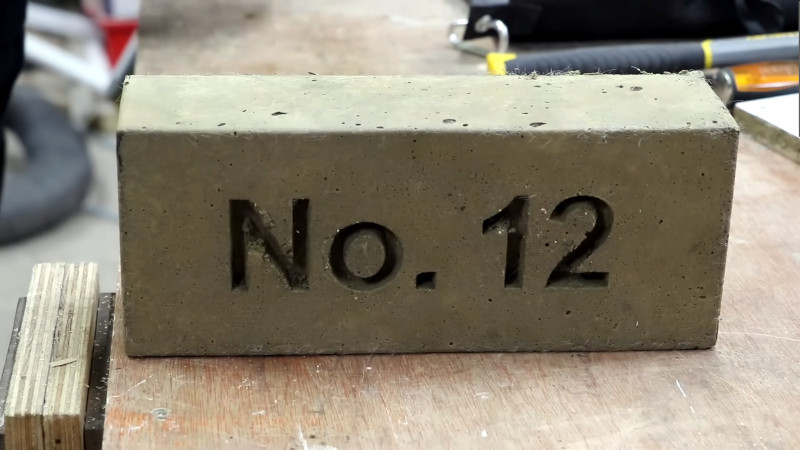
While paging through the feed a few days ago our attention was caught by something a little away from the ordinary in Hackaday terms, a DIY video about creating cast concrete signage from [Proper DIY] which we’ve placed below the break. A deceptively easy-looking mould-making process has a few tricks that will make the difference between a hard-wearing sign that lasts for years, and a lump of concrete.
So, to make a cast concrete sign, you throw together a mould with some letters, and chuck in some concrete? Not so fast, because the key appears to be preparation, and ensuring that there are no 90-degree corners on the mould parts. The letters are carefully shaped and sealed with varnish before being attached to the mould with silicone adhesive, and all the corners are beveled. Finally a light oil is used as a release agent, and hefty vibration takes care of any air bubbles.
The result is a set of signs, but we can see these techniques finding uses outside signage. For example, how about casting using a 3D printed mould?


Awesome. I think silicone letters worth a try, though.
I’ve done this quite a few times using using letters made from wax. Warm them up a bit and they can be stuck to the insides of the mold. Then melt or dissolve them from the concrete once cured.
Styrofoam letters and dissolve with gas.
Add some LEDs and fill the lettering in with silicone.
I’m sure there’s a use for the napalm.
There’s _always_ a use for kiddie napalm.
That would be nice to put into a brick wall.
My great grandpa made concrete castings for his animals very similar to this with dates and names. Kept some till this day from the 50’s and 60’s
This would work wonders 3d printed, print the letters in TPU, with a draft angle and everything. Concrete stuff is cool.
I’ve done fairly complicated molds in plain old PLA. Works fine. You do need to get the draft angles right though. Also works much better if you can align the layer lines to follow the direction the concrete is released out of the mold. Acrylic sealer and mold release still required.
In civils labs they use a vibroplate, better than a poker, after initial set hydrate (submerge in water) for 30 days to achieve max strength.
It might be possible to crush up real stone and add it as a layer in the base of the mould, so as to match it to surrounding brickwork or perhaps even embed items within it, small stones, shells, perhaps even fibre optics or radar proximity sensors. It might make an interesting way to hide an rfid sensor or ir break beam for an alarm system perhaps.
Vibration: I used a massage device my wife bought some years ago. Has two rubber lumps that vibrate. I used it with some ground anchors. The tops needed to be above ground, so used coffee cans for forms. Put the vibrator (in a plastic bag) against the outside of the cans. 3 foot deep by 8″ columns each dropped about 3″ (had to top up)
Protip: Get your own.
There will be hell to pay.
You will miss a bit a ‘crete…It got where? Cost how much to remove?
They make special ‘crete vibrators.
Might have less power than the wife’s.
Also: Harley motors!
I wonder if the right concrete is used, and the depth could be made thin enough to shine a light through, then equip with LEDs. Bright ones.
This is really nice, as a project, but what’s nicer is the fact that the comment section is (for once) not full of naysayers and moaning. Bravo.
Who else came here because of the terrible dad joke on https://hackaday.com/2024/10/08/thatll-go-over-like-a-cement-airplane/
One thing that might be of interest to try is to use clay for the joints in the mold parts. You can use a simple ball bearing to form a curved fillet instead of the RTV or silicon seal. It is easier to deal with and to clean up. Depending on how forceful you are getting with the vibration, you may be able to just use earthenware clay. If you need something that will take a little more abuse then you can use modeling clay or plasticine.