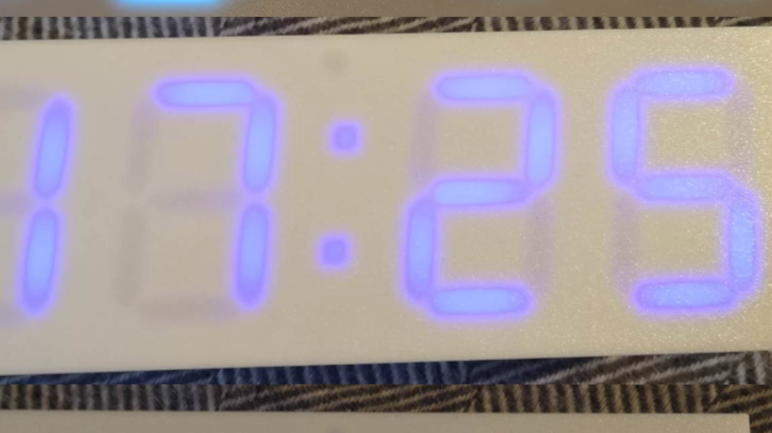
A great majority of hackers build a clock at some point. It’s a great way to get familiar with electronics and (often) microcontrollers, and you get to express some creativity along the way. Plus, you get something useful when you’re done! [Tadas Ustinavičius] recently trod this well-worn path and built a neat little NTP clock of their own.
The build uses an ESP 12F as the core of the operation. It’s charged with querying an NTP time server via its WiFi connection in order to maintain accurate timekeeping around the clock. For display, it drives a series of custom 7-segment displays that [Tadas] built using 3D-printed housings. They use WS2812B addressable LEDs and thus can display a rainbow of colors.
For initial configuration, the phone creates its own WiFi hotspot with a web interface for changing settings. Once configured, it connects to the Internet over WiFi to query an NTP server at regular intervals.
It’s a simple build that does a simple job well. Projects like these can be very valuable, as they teach you all kinds of useful skills. If you’ve been working on your own clock design, don’t hesitate to let us know. You can use a microcontroller, relays, or even a ball.


Phone?
“In setup mode clock acts as Wi-Fi hot-spot.”
This is how you get an ESP-32 on your WiFi network without the hard-coding of SSID and PW- you enter it using the clock’s generated webpage, viewed on your phone.
The clock looks neat, I can’t tell how big or what size the displays ended up. I use old LCD monitor/TV diffuser panels cut up for a cover.
Documentation and source-code is very good, +1 for making it easy to find the files.
I don’t put PCB traces or ground-pour under the ESP-32 antenna area, or a DS3231 either (it has sensitive crystal on its underbelly).
A clock without the seconds displayed is not a really clock.
Kelly said: “In setup mode clock acts as Wi-Fi hot-spot.” This is how you get an ESP-32 on your WiFi network without the hard-coding of SSID and PW- you enter it using the clock’s generated webpage, viewed on your phone.
Why? Doesn’t the LAN have a DHCP server in the WiFi router?
My ESP32 clock gets a DHCP lease when it is powered up, sets the ESP’s software RTC via the NTP pool, shuts down the WiFi to save power and bandwidth, wakes up again about twelve hours later and sets the software RTC again then shuts the WiFi down, ad-infinitum… There’s no need for a seperate hardware RTC like the DS3231, the ESP32’s software RTC is accurate enough so that as long as the ESP32 is kept indoors in a relatively climate-controlled environment, updating the time with the NTP pool twice a day is quite sufficient for human use (small fraction of a second error between NTP updates). And yes, my ESP32 clock displays the seconds.
How would the clock connect to the DHCP server in a router if it wasn’t first configured to connect to the WiFi? Creating its own hot-spot for this is.a common, straightforward method for initial WiFi setup.
@Stephen Casey said: “How would the clock connect to the DHCP server in a router if it wasn’t first configured to connect to the WiFi?”
The clock knows the SSID and Pre-Shared Key (PSK, aka Password) of the LAN it wants to connect to. Over the air the DHCP server in the WiFi router sees the clock has the correct credentials (SSID & PSK) for connection and grants the clock a connection “Lease” (a unique IP address) for a specific time period.
See here for an in-depth explanarion of the DHCP Discovery process:
https://en.wikipedia.org/wiki/Dynamic_Host_Configuration_Protocol#Discovery
This is what the snippet of ESP32 Arduino C/C++ code looks like in the clock:
//Connect to Wi-Fi
Serial.print(“WiFi Connecting to SSID: “);
Serial.println(ssid);
WiFi.begin(ssid, password);
while (WiFi.status() != WL_CONNECTED) {
delay(250);
Serial.print(“.”);
}
Serial.println();
Serial.print(“ESP32 Connected to: “);
Serial.println(ssid);
Serial.print(“WiFi Status: “);
wifiStatus();
Serial.print(“WiFi Ch: “);
Serial.println(WiFi.channel());
Serial.print(“ESP32 MAC: “);
Serial.println(WiFi.macAddress());
Serial.print(“ESP32 IP: “);
Serial.print(WiFi.localIP());
Serial.println(“/24”);
Serial.print(“WiFi RRSI: “);
Serial.println(WiFi.RSSI());
So millions of clocks around the globe aren’t “really” clocks? Damn, big clocks really got us there… But what to call those devices then?
Anyway, congrats to your seconds. You did great! 😉
JanW said: “So millions of clocks around the globe aren’t “really” clocks? Damn, big clocks really got us there… But what to call those devices then?”
I call clocks without seconds: “Seconds-Challenged Clocks” ;-)
I made one that uses a gps module to set the time with an Arduino uno.
Tasmota does this out of the box. And much, much more.
No need for coding.
See https://github.com/arendst/Tasmota
Well, minus the nice custom 7-segment design, of course.
Nice project! Hint for the next iteration: move the ESP to the boards outline and either cut out all copper fill under the antenna or let the antenna section stick out.
A simple HTTP request to a web server such as Google, will return a string with the current date and GMT time. I’ve made a few clocks this way, and the precision is more than enough for a clock that we look at maybe once or twice a day.
The WiFi manager library handles all the aspects of connecting to the WiFi the first time. Super simple to use and personalize.
The interface asks you to set time zone and DST, like every wifi-enabled clock I’ve seen so far. This means that you have to access the web interface twice a year. On the other hand, my radio clock doesn’t need any adjustment ever. Is there a way to set the rule for DST once and forever? (E.g. using some special server that gives you the right time for your area)
Clock has daylight savings support. So there is no need to setup clock twice a year if you have daylight savings enabled in your country.