
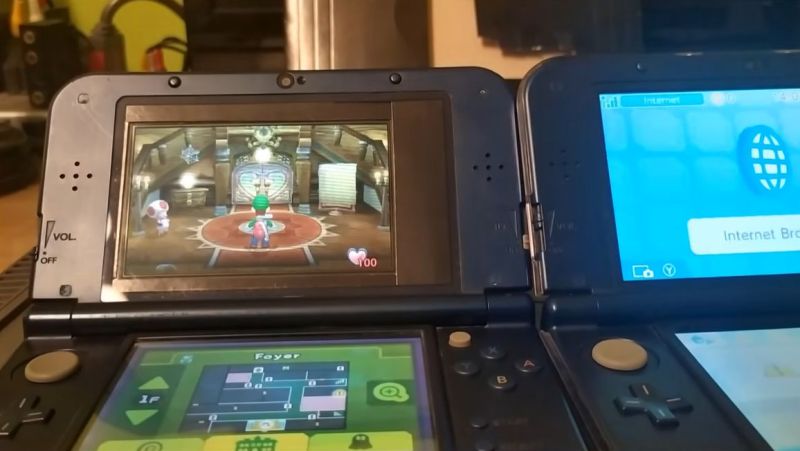
With Nintendo’s 3DS experiencing a bit of a renaissance lately, prices for functioning systems have shot through the roof. Getting a busted one with a broken screen is a lot cheaper, but then you run into the eye-watering price difference between a replacement top screen for the regular version and the larger XL variant. The latter costs about the same as a whole new used 3DS, while the former goes for peanuts. Here the solution is obvious, with [Skawo] demonstrating how they hacked the cheaper, smaller top screen into a New 3DS XL.
The price difference on AliExpress as shown in the video is on the order of $120, with the smaller screen going for less than $10. Since they both use the same connector pin-out and display technology, you can plug either display into the New 3DS XL mainboard.
Where you’ll run into issues, other than the replacement display being obviously not XL, is the physically shorter flat flex cable for the controls that forces the display to be installed in an offset manner. You need jailbroken firmware like Luma3DS here to adjust for the screen offset. Filling in the missing screen real-estate is the other issue you have to patch over somehow, which was done here in barbaric fashion with some cardboard.
Beyond that it does work, and as a fix to at least get a broken New 3DS XL back into the game it’s worth considering. Do note that there’s a difference between regular 3DS and New 3DS (second generation) screens with neither being compatible, so be careful before you try such a fix.












Oh come on, don’t act like this isn’t a hack. Let alone the price difference of $120 vs $10 being noteworthy
The tldr was seriously, buy it, plug it in, and use a custom OS that can correct for the size difference….so clearly well known. The only thing the vid guy did was add cardboard.
If only finding replacement screen for toshiba libretto was as easy…
I was today years old when I learned that replacement 3DS displays were this cheap. Out of curiosity, does anyone know of any projects out there that drive such a screen with an Arduino / microcontroller? Because I would love to incorporate a small 3D display into my projects if it’s not too much of a pain in the neck to do.
I’m going to come right about and tell you to forget about it. You can’t do it. The first issue is the display protocol—it probably isn’t public, so you still spend weeks probing the signals on each pin while it’s plugged into a working 3DS mobo. That’s half your problem down, now for the hard part: the custom IC that drives the 3D lenticular layer. Unless you plan to rig up an FPGA to drive that part, forget it.
I’ve no doubt it’d be a challenge but I’ve seen some impressive things from the maker and hacker communities. Probing for signals is definitely outside of my skillset (and tool set), but I figured this would be a good place to put out feelers and see if anyone’s already done the groundwork.
No, it’s not nearly as hard as you claim.
Sure, getting the pinout is annoying, but not impossible (and it only needs to be done once.) It’s a job of hours, not weeks.
Driving an image to the LCD is trivial – any standard driver that can handle the resolution can do it. The 3d is simply a second basic monochrome lcd screen laminated on top with only a few segments, which forms a parallax barrier. Driving that is even easier than the image LCD and can be done with a microcontroller.
Slightly more information is available since the last time I looked at this – the 3ds pinouts are all basically known (nocash doing brilliant work as usual).
The upper image LCD (not the parallax barrier) is actually MIPI, which is more trouble but not really – there’s no reason this can’t be driven by the DSI port on a raspberry pi. The only active circuitry needed would be power rail stuff, as there’s quite a few voltages required.
https://www.3dbrew.org/wiki/Video_Capture
Some preliminary info.
If you want an actual monitor with that feature, I think Lenovo sells them – but they are expensive last time I checked.