
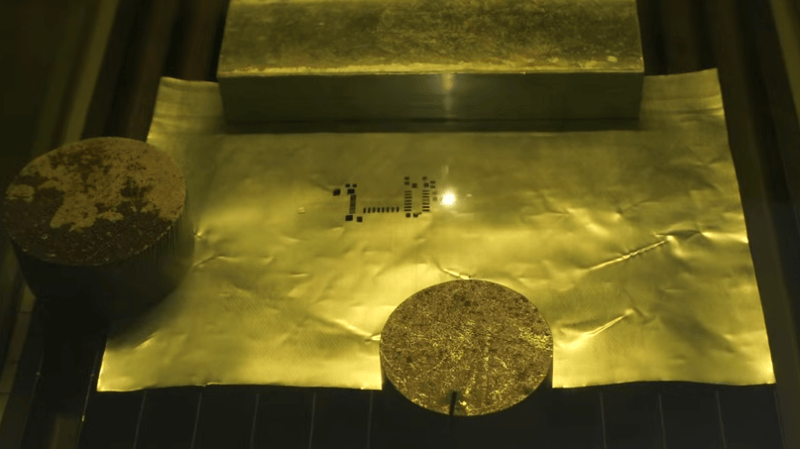
Solder stencils are a fantastic way to accurately apply solder paste to a PCB. Professionally-made stencils are cut from steel, but for the home hacker, soda cans continue to be the alternative of choice. The only trick is how to actually get those little holes made, and [Saheen Palayi] shows off both his method of laser-engraving the holes, as well as a tool for cutting the can in the first place.
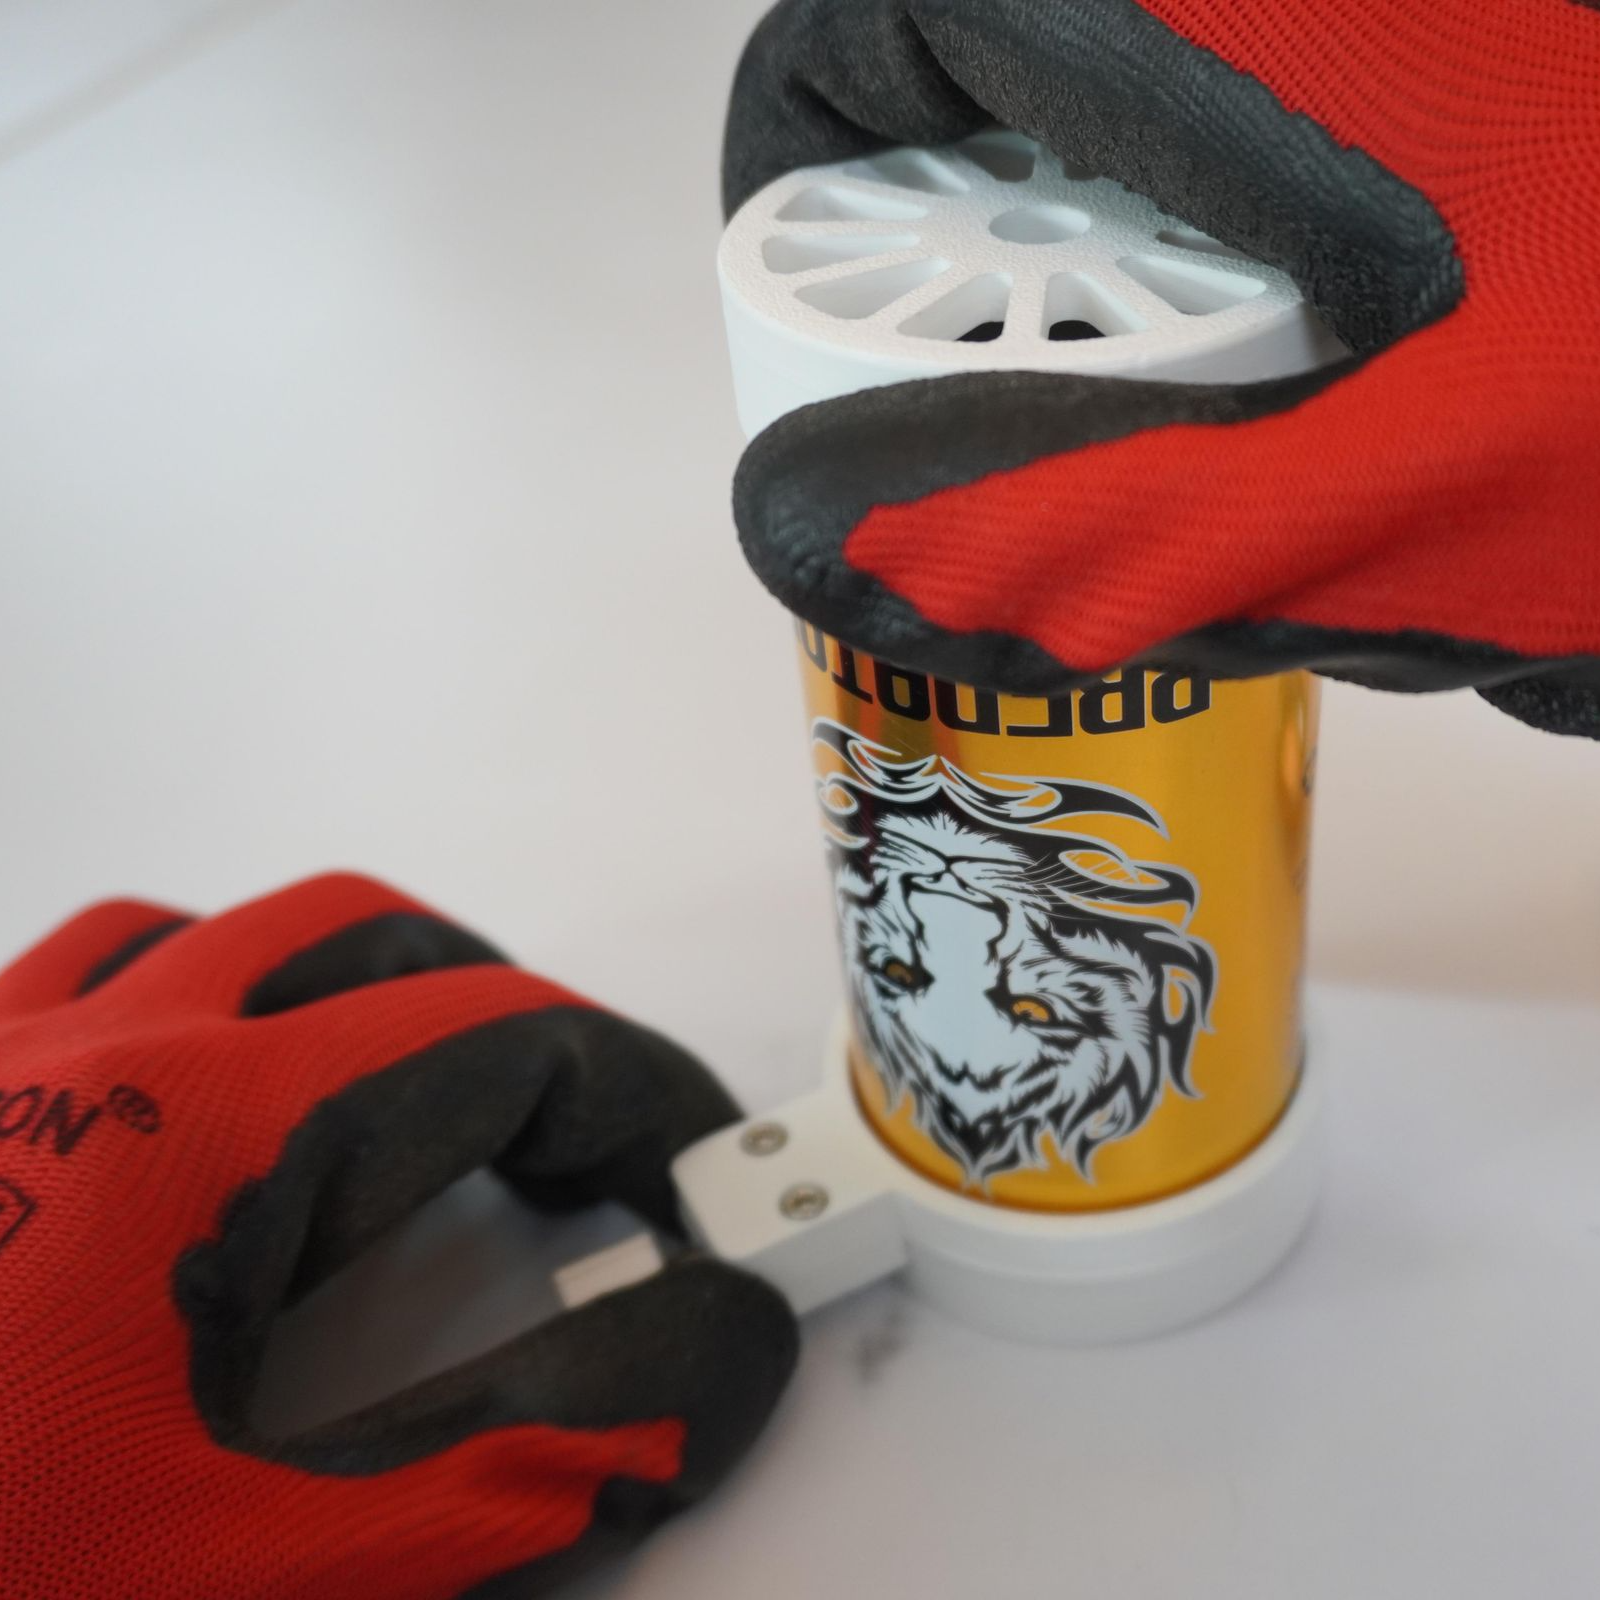
To turn a soda can into a flat-ish aluminum sheet means cutting off the ends and slicing it open. Ideally, one achieves this without kinking or bending the thin metal. In practice, this is quite difficult. [Saheen]’s solution is something a little like a pipe cutter — a 3D printed tool that gradually presses a blade section from a utility knife into the empty can as it turns until it cuts through. Once the top and bottom are off, it’s easy enough to snip down the side to get a curved sheet.
The hole pattern comes from one’s PCB design software of choice, and the actual cutting is done by a fiber laser. The wavelength of fiber lasers makes them good at marking and cutting metal, and [Saheen]’s laser takes almost no time at all to cut the stencil into the thin metal.
Fiber lasers used to be the sort of tool that only industrial shops had, but they’re a prosumer-level tool that can be bought online nowadays. [Saheen] uses an xTool F1 Ultra to cut his solder stencil, and we’ve previously seen that same laser used to create a PCB by blasting away unwanted copper until only the traces remain.
We’ve seen aluminum cans etched and also machined to create stencils, and the laser is certainly the fastest. Watch it in action in the video below.











For those with access to only CO2 or low-power laser cutters, baking paper works reasonably well. It will start to tear up after a few uses, but that’s enough for prototypes.
Why don’t you use the Open Source Ladoprime.com-system, etching what is needed into very solid PET over-head projector films? OK, basically used for a new screen printing method for fabrics, but the demand is the same… anf for the traces the included free software might work as well…!? Also open source…
I never used a stencil but I had an impression that they should be really flat, which is hard to achieve with a beer can. Or can you wing it?
You simply use a rounded thing (like a tool handle) over which you strech and move upside down the open can in order to reverse the existing curvature. You can also use the table edge, but it may get damaged and you really need good practice before not to overbend the sheet.
Regarding how to cut the can there are already several products that presses small cutting wheels against the can from several directions in order to cut it “perfectly”. Or use a blade cutter screwed on a small wooden block and rotate the can against it.
I tried this. It’s impossible to get the aluminum flat enough to work well as a stencil. If it lifts off the substrate prematurely it causes smearing.
You could mount it in a rigid frame like a silkscreen.
Why not laser cut the can open?
one note on materials/flatness etc.
A good way to help the stencil be flat is to put it under tension – that should help with beverage cans etc.
When I cut stencils on a laser like this, I tape them down to a flat substrate so the holes are made in the flat condition – I recommend squeegeeing “with the grain” (around the can, not up and down the can) to work with the built-in curvature.
The other thing that is critical in terms of stencil making is the material condition. bevvy cans are probably relatively hard (work hardened) by being rolled flat. This is actually a good thing, as locally heating up he stencil with the laser (especially on thicker material) causes the material to permanently bend (soft condition -> lower limit for elastic deformation).
Aluminum is actually a pretty ideal prototype stencil material for laser cutting because its very cheap and has high thermal conductivity to help avoid heat affect/warping. I have tried steel, but you need a very specific steel for it to work – it needs to be HTA, high tension annealed. this is what “normal” stencils are made of. These stencils are (slightly, and carefully) annealed under tension, which removes the built in stress from rolling the stock thin. Since the annealing is done under tension, the steel stays flat when heated/cooled.
One challenge of working with aluminum (vs steel) is that aluminum is way softer – so it can be easy to mess your stencil up when clamping, releasing it from tape, or even when you try to flatten the stock, as another commenter said. In order to paste fine pitch components, you need a thin stencil to keep the aspect (aperture length/stencil thickness) and area ratios (aperture area/wall area) down, and to keep the web between the apertures from being obliterated. This makes aluminum harder to deal with because it is much weaker than steel (duh).
Sadly I haven’t found a good way to get my hands on HTA steel stock, aside from buying large stencils and using the margins (which works VERY well).
Hopefully this can help people who want to use the xtool or other fiber lasers to cut stencils. If you want to avoid heat buildup, I made a program to automatically do that for the xtool: https://aylo6061.com/2026/07/21/stencilaser-how-to-cut-solder-paste-stencils-on-the-xtool/
If you just need the stencil to last for like 500 applications a cheap vinyl cutting plotter and a 100 μm OHP-sheet works just fine.
kitchen alu foil?