The cathode-ray tube ruled the display world from the earliest days of TV until only comparatively recently, when flat-screen technology began to take over. CRTs just kept getting bigger over that time until they reached a limit beyond which the tubes got just too bulky to be practical.
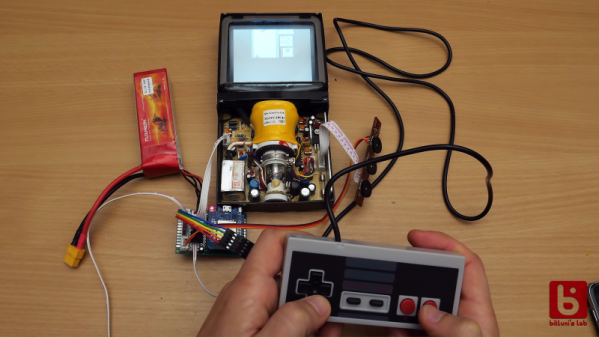
But there was action at the low end of the CRT market, too. Tiny CRTs popped up in all sorts of products, from camcorders to the famous Sony Watchman. One nifty CRT from this group, a flat(tish) tube from a video intercom system, ended up in [bitluni]’s lab, where he’s in the process of turning it into a retro Game Boy clone with a CRT display. The display, which once showed the video from a door-mounted camera, was a gift from a viewer. Date codes on the display show it’s a surprisingly recent device; were monochrome TFT displays that hard to come by in 2007? Regardless, it’s a neat design, with the electron gun shooting upward toward a curved phosphor screen. With a little Google-assisted reverse engineering, [Bitluni] was able to track done the video connections needed to use his retro game console, which uses an ESP32 that outputs composite video. He harvested the intercom speaker for game audio, added a temporary Nintendo gamepad, and soon he was playing Tetris in glorious monochrome on the flat screen.
The video below is only the first in a series where the prototype will be stuffed into one nice tidy package. It certainly still needs some tweaking, but it’s off to a great start. We can’t wait to see the finished product.
Continue reading “Unique Flat-Screen Display Put To Use In CRT Game Boy”