 For most of us the abbreviation “CRT” brings to mind a monitor or TV. But at its core it’s about the special vacuum tube that makes the images appear.
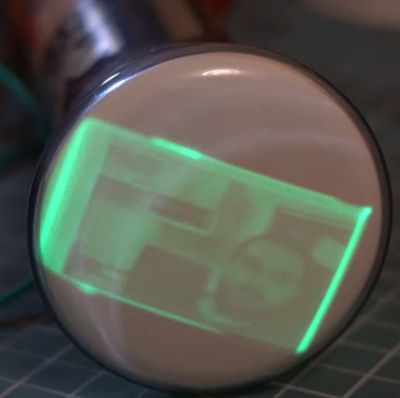
Regardless of whether it’s just a simple monochrome CRT in an oscilloscope or a full RGB CRT, the basic steps to make it work in a device remain the same. In a recent video by [Void Electronics] these steps are worked through, including the biasing at the end that is necessary to get a stable image.
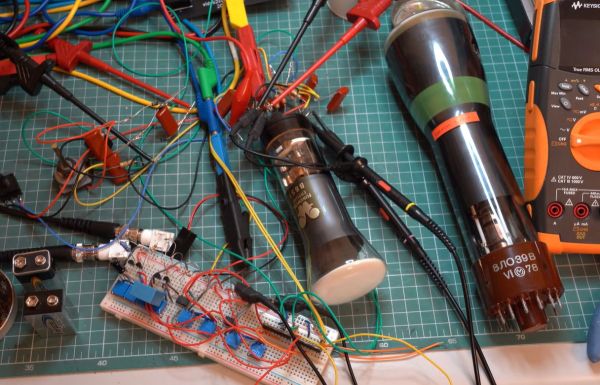
A big part of installing a CRT and driving it is knowing how to read its datasheet. Much like other vacuum tube types, there are heaters, control grids and a range of voltages to get right and keep happy. Even then you can still have a situation where you must troubleshoot problems, which is also touched upon in the video. All of this is demonstrated using an RFT B6S1 CRT as the subject, including how to build your own bias circuit.
Despite calling it an “obsolete skill”, there is still a lot of demand for CRTs in vintage lab equipment, arcade restorations and far more obscure fields that still have new CRTs produced for them. Not to mention that even today CRTs have characteristics that make them competitive with flat-screen technologies.


