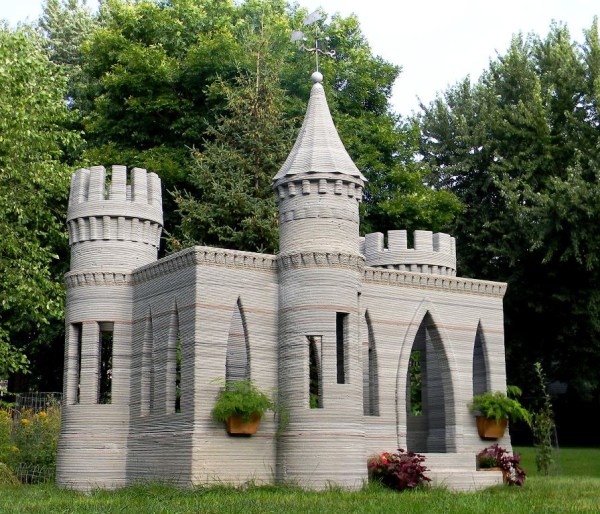
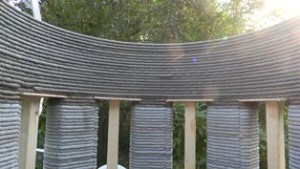
After two years of dreaming, designing, and doing, [Andrey Rudenko] has finally finished 3D printing his concrete castle. We’re sure a few readers will race to the comments to criticize the use of “castle” as an acceptable descriptor, but they’d be missing the point. It’s been only three months since he was testing the thing out in his garage, and now there’s a beautiful, freestanding structure in his yard, custom-printed.
There are no action shots of the printer setup as it lays down fat beads of concrete, only close-ups of the nozzle, but the castle was printed on-site outdoors. It wasn’t, however, printed in one piece. [Andrey] churned out the turrets separately and attached them later. He won’t be doing that again, though, because moving them in place was quite the burden. On his webpage, [Andrey] shares some insight in a wrap-up of the construction process. After much experimentation, he settled on a layer height of 10mm with a 30mm width for best results. He also discovered that he could print much more than his original estimation of 50cm of vertical height a day (fearing the lower layers would buckle).
With the castle a success, [Andrey] plans to expand his website to include a “posting wall for new ideas and findings.” We’re not sure whether that statement suggests that he would provide open-source access to everything or just feature updates of his future projects.
His next project, a full-scale livable structure, will attempt to print 24/7 (weather permitting) rather than the stop-start routine used for the castle, which turned out to be the culprit behind imperfections in the print. He’ll have to hurry, though. [Andrey] lives in Minnesota, and the climate will soon cause construction to take a 6-month hiatus until warm weather returns. Be sure to check out his website for more photos and a retrospective on the castle project, as well as contact information—[Andrey] is reaching out to interested parties with the appropriate skills (and investors) who may want to help with the new project.
[via 3ders.org]
[Thanks Brian]

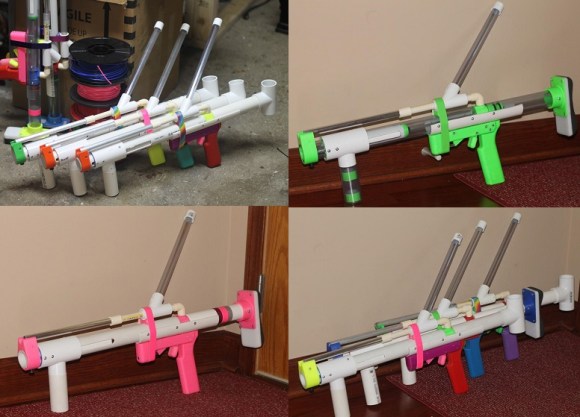
 The project featured in this post is
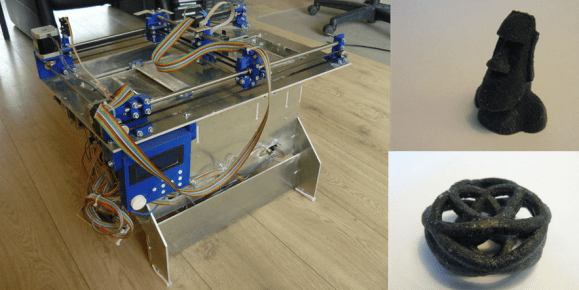
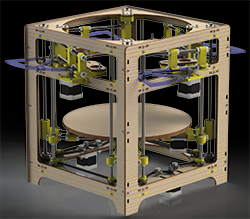 The early 3D printers of the 80s and 90s started off as cartesian bots, and this is what the RepRap project took a cue from for the earliest open source 3D printer designs. A bit later, the delta bot came on the scene, but this was merely a different way to move a toolhead around build plate. We haven’t really seen a true polar coordinate 3D printer,