[Julia and Mason] have been perfecting their microwave-based lost PLA casting technique over at Hackaday.io. As the name implies, lost PLA is similar to lost wax casting techniques. We’ve covered lost PLA before, but it always involved forges. [Julia and Mason] have moved the entire process over to a pair of microwaves.
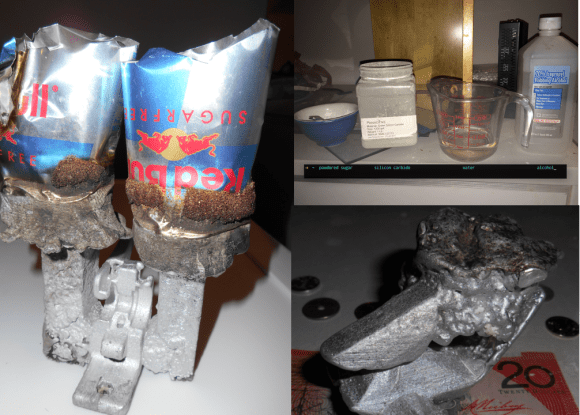
Building on the work of the FOSScar project, the pair needed a way to burn the PLA out of a mold with a microwave. The trick is to use a susceptor. Susceptors convert the microwave’s RF energy into thermal energy exactly where it is needed. If you’ve ever nuked a hot pocket, the crisping sleeve is lined with susceptor material. After trying several materials, [Julia and Mason] settled on a mixture of silicon carbide, sugar, water, and alcohol for their susceptor.
The actual technique is pretty simple. A part printed in PLA is coated with susceptor. The part is then placed in a mold made of plaster of paris and perlite. The entire mold is cooked in an unmodified household microwave to burn out the PLA.
A second microwave with a top emitter is used to melt down aluminum, which is then poured into the prepared mold. When the metal cools, the mold is broken away to reveal a part ready to be machined.
We think this is a heck of a lot of work for a single part. Sometimes you really need a metal piece, though. Until metal 3D printing becomes cheap enough for everyone to do at home, this will work pretty well.
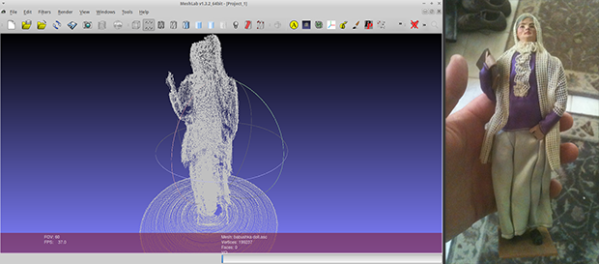
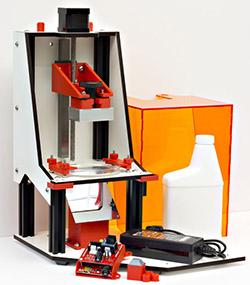 Over the last few years, a few resin / stereolithography printers have been made a few headlines due to print quality that cannot be matched by the usual RepRap style filament printers. These used to be extremely expensive machines, but lately there have been a few newcomers to the field.

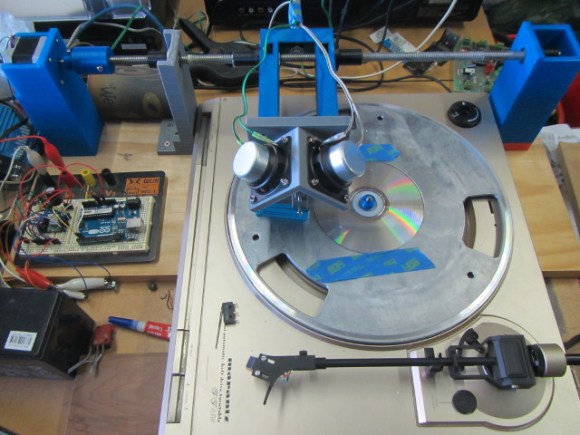
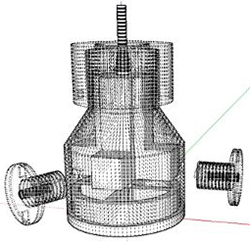 Building electronics with 3D printers is something we see hitting the tip line from time to time, but usually these are printed circuits, not electromechanical parts like motors, solenoids, and relays. [pitrack] thought he could do better than printing out a few blinking LED circuits and


