 Things don’t always run the way we want them to or operate at the ideal temperature out of the box. Instead of spending extra for power controls that may or may not meet your needs, wouldn’t it make more sense to dial in the ideal level from the source? That’s what [dekuNukem] had in mind when he decided to make Powerduino, an arduino-compatible programmable power strip.
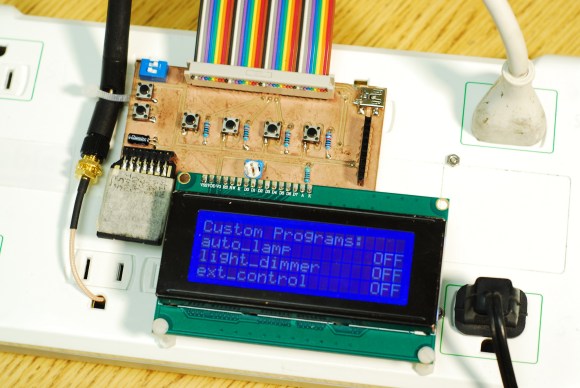
With Powerduino, [dekuNukem] can control the electrical consumption of all kinds of things without ever worrying about the irreversible deadliness of mains voltage. It actually uses a Teensy 3.1 which can be programmed with the Arduino IDE through the micro USB connector. He’s really tricked it out to the point of putting Kill A Watt meters to shame. A wi-fi module lets him control any of the outlets from anywhere, and the RTC module lets him make customized schedules for them. Powerduino has an SD card slot for logging energy consumption, and a 20 x 4 LCD screen makes it easy to directly interface with the power strip.
The Powerduino code is up on GitHub, and [dekuNukem]’s walkthrough video is after the jump.