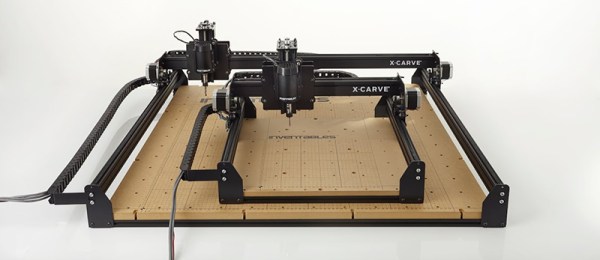
When it comes to small CNC carving machines for hackerspaces and extremely well-equipped garages, the Shapeoko, or something like it, has been the default machine. It’s dead simple – a Dremel attached to linear rails – and is useful for everything from milling PCBs to routing complex woodworking project to plotting designs with a pen. Now, [Bart Dring], the guy behind the Buildlog.net lasers and Inventables have teamed up to create the next generation of carving machines. It’s called the X-Carve, and while it’s fully compatible with the Shapeoko 2, it adds a few improvements that make for a much better machine.
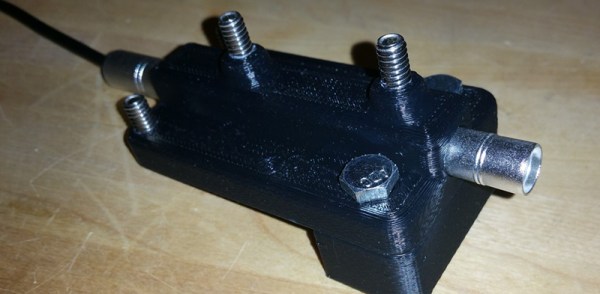
The X-Carve does away with the Dremel-based spindle and replaces it with something that can produce torque. There’s a 24VDC spindle in the stock arrangement that will give you speed control through Gcode. There is, of course, adapters to fit the Dewalt and Bosch routers most commonly used in these types of machines.
As far as the gantry goes, the X and Y axes are makerslide; no change there. The Z axis leadscrew has an optional upgrade to Acme threaded rod, an improvement over the M8 threaded rod found in just about every other DIY machine kit. The entire machine is basically all the upgrades a Shapeoko should have, with stronger corners, NEMA 23 motors, and increased rigidity.
There are a few versions of the X-Carve, ranging from an upgrade kit to the Shapeoko 2 to a fully loaded kit with a square meter of machine space. The big, high-end kit ships for around $1250, but a smaller kit with 500mm rails, NEMA 17s, and threaded rod lead screw is available for around $800.
[Bart] and [Zach], the founder of Inventables sat down and shot a video going over all the features of the X-Carve. You can check that out below.
Continue reading “X-Carve, The Logical Upgrade To A Shapeoko” →


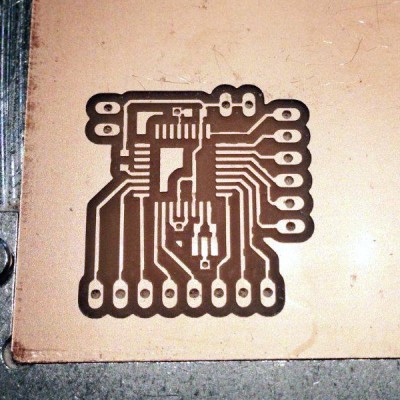 It’s a tome of a review, but that means there’s something for everybody. We especially enjoyed seeing the 10 mil board shown here which took about 1-hour to mill. Considering it has also been through-hole drilled we’d put that on part with the time it takes to etch a board. There are obvious places where the traces are not perfectly smooth (not sure if that’s burring or over-milling) but they are not broken and the board’s ready to be populated.