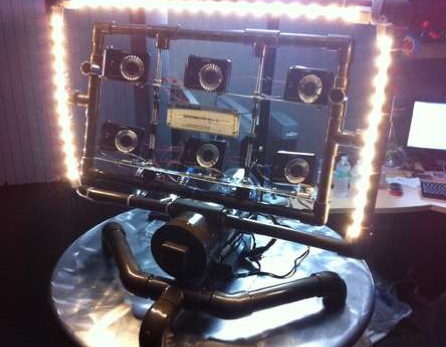
Workbench Overhead Camera Boom Made From PVC

pvc_overhead_camera_ boom

It looks like [Dino] is getting settled into his new digs, and while the moving process has kept him pretty busy, he’s slowly but surely getting his workshop area set up. One thing that he really wanted from his new bench was a better way to record video, for both his Hack a Week series as well as broadcasting over Ustream.

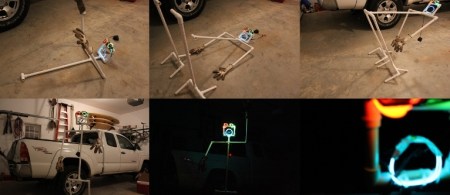
He bought a nice little Hi-Def web cam for making videos and set out to build a camera boom for his bench. The boom is constructed mostly from PVC piping along with some other odds and ends for mounting. In the video below, he walks through the construction step by step, making it easy for anyone to follow along and build one of their own.

The boom looks like it works very well, and is a bargain at under $40. It articulates every which way giving him complete coverage of his workbench, and makes it easy to film whatever he’s working on – big or small.

Continue reading “Workbench Overhead Camera Boom Made From PVC”

Structured Light 3d Scanner

After futzing around with a cheap pico projector, a webcam and a little bit of software, [Jas Strong] built herself a 3d scanner.

In spite of the dozens of Kinect-based scanner projects, we’ve seen structured light 3d scanners before. This method of volumetric scanning projects a series of gradient images onto a subject. A camera captures images of the patterns of light and dark on the model, math happens, and 3d data is spit out of a computer.

[Jas] found a Microvision SHOWWX laser pico projector on Woot. The laser in the projector plays a large part in the quality of her 3d models – without a focus, [Jas] can get very accurate depth information up close. A Logitech webcam modified for a tighter focus handles the video capture responsibilities. The software side of things are a few of these structured light utilities that [Jas] melded into a single Processing sketch.

The results are pretty remarkable for a rig that uses woodworking clamps to hold everything together. [Jas]’ 3d model of her cat’s house looks very good. She’s got a few bugs to work out in her setup, but [Jas] plans on releasing her work out into the wild very soon. We’ll update this post whenever that happens. made her code available here. The code requires the ControlP5 and PeasyCam libraries.

Portable Light Box For Photographers On-the-go

Looking to make a quality light box more portable, [Hharry] designed a collapsible version complete with adjustable side lighting.

Light tents are used by photographers as a stage for photographing small items. The use of multiple light sources, and a fabric that will diffuse them, means a reduction in shadows that might otherwise ruin a picture. This design starts with an MDF base in the form of a shallow box with a few baffles running left to right. Drawer slides connect the lamp poles to these baffles, making it easy to pull each of the four light sources out when setting up the tent.

The white fabric that makes up the stage has pockets sewn into the edges to accept dowel rods. These are not anchored permanently. They pull against the fabric when wedged in place to keep the tent taut, but easily fold down for storage in the cavities of the base. Finally, the top of the carrying case folds down and a drawer pull serves as the carrying handle.

A light tent isn’t the only way to battle shadows in your pictures. Check out this method that uses mirrors to adjust lighting conditions.

[Thanks David]

DSLR Focus Stacking Assistant Takes The Hard Work Out Of Macro Photography

canon_dslr_focus_stacking_assistant

Focus stacking makes for fantastic macro images, but the process can be tedious without the right tools. While some focus stacking rigs require the camera to be moved away from the subject in small increments, others choose to keep the camera stationary while focusing the lens before each shot.

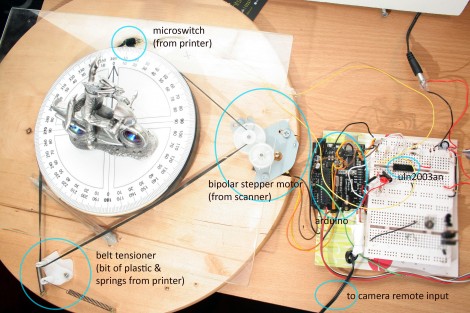
Both methods produce great results, but you need a steady hand and a lot of patience to get the job done. [Oleg] uses the focus stacking technique relatively frequently, so he decided to automate the process in order to save himself some time. Using an Arduino and a USB host shield from Adafruit, he put together a focus stacking assistant for his Canon EOS camera.

The assistant allows him to set two focal points, leaving the Arduino and his camera with the task of taking pictures. The Arduino commands the camera to tweak the focal point ever so slightly between each image, resulting in an array of images ready for stacking.

He says that the process is a bit slow at the moment, but he’ll be cleaning up the code and building a Nikon-compatible unit in the weeks to come.

ATtiny Hacks: DIY High-speed Photography LED Lighting Rig

ATtiny Hacks Theme Banner

diy_high_speed_photography_led_lighting

[Tom] wanted to try his hand at high-speed photography and needed some equipment to get things rolling. Not wanting to spend a ton of money on a lighting rig or trigger mechanism, he decided to build his own. In a three part series on his blog, he details the construction and testing of his high-speed setup along with the improvements and lessons learned along the way.

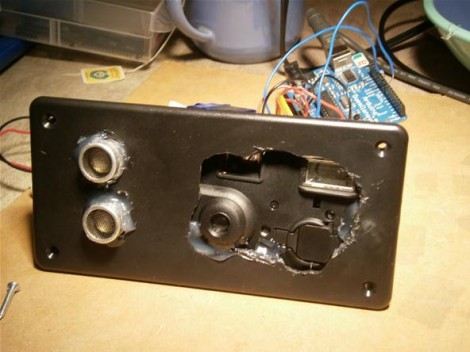
His adventures started out with a small off-brand Cree LED clone and an ATiny15L that was collecting dust in his workshop. He built a simple circuit that would trigger the LED to light his subject, which in [Tom’s] case was a bowl of milk. Rather than using a motion or sound trigger, he opted to mount a small piezo to the bottom bowl, firing the LED any time a droplet hits the bowl’s surface.

The pictures he took were decent, but he knew he could get better results. He purchased a new, more powerful Cree LED, and wrote a small terminal program that allows him to tweak his flash parameters using his laptop. The results he gets now are far better – in fact, he has a whole gallery of pictures you can check out.

If you want to delve into high-speed photography as well, all of the schematics and code can be found on his blog.

Build Cheap Panning Camera Mounts For Time Lapse Photography

diy_ikea_panning_camera_mount

Panning time lapse photographs always look pretty cool, but there’s that whole “making a panning time lapse” rig that gets in the way of all the fun. [Getawaymoments] put together a tutorial quite a while ago showing how to use Ikea egg timers as cheap and dispensable panning units, and has updated his instructions with a pair of refreshed designs.

He stumbled upon two new egg timers at Ikea, the Stam and Ordning, which sell for $1.99 and $5.99 respectively. The Stam is a small plastic model that can be fitted with a set screw, to which most cameras can be mounted. A small bushing can also be installed in the timer’s plastic base, allowing it to be mounted on any standard tripod.

The Ordning is a beefier unit capable of withstanding more abuse than its plastic brethren, hence the larger price tag. A few minutes on the drill press makes room for a metal bushing, allowing the Ordning to be installed on any tripod as well.

The hack isn’t high tech, but we’re impressed with the results he was able to get with these simple kitchen timers. For the cost and time required to build them, they are sure to give most other panning rigs a run for the money.

Continue reading to see a short instructional video demonstrating how to build one of your own.

[via Make]

Continue reading “Build Cheap Panning Camera Mounts For Time Lapse Photography”

Schäuble Jr Aims To Take Away Your Privacy!

[Mnt] wrote in to tell us about this 360 degree array of cameras featured on [Codeninja]. This has to be one of the most impressive arrays of cameras and sound equipment that we’ve seen at Hack a day.

The array is capable of 360 degree x 140 degree panoramic views using the 9 cameras arranged in a circle around the base. Impressive in itself, these cameras are all capable of both pan and tilt rotation via and Arduino-controlled servo setup. It also has a native 360 degree camera mounted on top of everything for calibration purposes and IR-LED illumination capabilities.

On top of all of this, the camera array also features audio capability with a 9-microphone setup, presumably one for each camera. This, coupled with piezoelectric speakers should provide for echolocation capability. Although jokingly called the “Schäuble Jr.” after a German politician, we’re not sure of the true purpose for this “sensor array.” We can only hope that it will be used for good. A very impressive build, it will be interesting to see what comes of it.