[Leigh Christie] is a researcher at MIT, and he’s developed an interesting solution to heating people, not buildings.
His TEDx talk, “Heating Buildings is Stupid,” demonstrates the MIT SENSEable City Laboratory’s efforts to tackle energy issues. Their research focuses on finding an alternative to the staggering waste of energy used to heat large spaces. Although TED talk articles are a rarity at Hackaday, we think this idea is both simple and useful. Also, [Leigh] is the same guy who brought us the Mondo Spider a few years ago for the Burning Man exhibition. He’s a hacker.
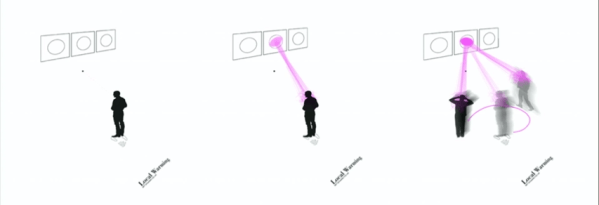
Anyway, what is it? The system he’s devised is so simple that it’s brilliant: a person-tracking infrared heat spotlight. Using a Microsoft Kinect, the lamp follows you around and keeps the individual warm rather than the entire space. [Leigh] has grand plans for implementing what he calls “Local Heating” in large buildings to save on energy consumption, but smaller-scale implementations could prove equally beneficial for a big garage or a workshop. How much does your workspace cost to heat during the winter? Hackerspaces seem like the perfect test environment for a cobbled-together “Local Heating” system. If anyone builds one, we want to hear about it.
Check out the full TEDx talk after the break.