Back when phones used to ship with chargers in the box, you’d get a plugpack that could charge one device. Aftermarket manufacturers eventually started making chargers with four or five ports which were great for travelling. But what if you wanted to charge even more devices? You might build something like this rig from [DENKI OTAKU].
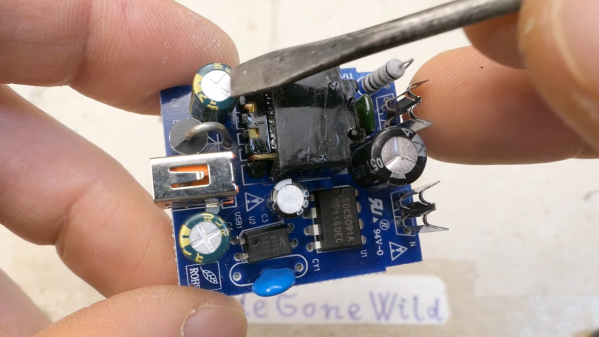
The goal was to build a charger that could handle 100 devices at once. The charger is designed to charge devices at up to 1.5 amps. That’s no mean feat, as the device would have to be able to deliver 150 amps total when fully loaded. As for the actual design, though, it’s relatively simple. [DENKI OTAKU] simply built a simple USB-C charger PCB based around an off-the-shelf chip which has ten individual chargers on it, and stacked it up ten of those in a housing made out of aluminium extrusion. To deliver the current to run all these chargers, the rig got two massive switching power supplies to feed the charger array a massive amount of current. The open enclosure design here makes sense, in that it probably helps keep everything cool.
The only thing missing from the build video? A heavy-duty test. We’d love to see if it actually holds up under full load with 100 phones connected. We have some suspicions as to whether the traces on the PCBs would hold up under a continuous 15 amp load, for example. Still, if you wanted to provide phone charging en-masse at an event or similar, this kind of simple stacked design could be an easy way to go.
Phone chargers are still moving forward; the last big leap was the adoption of GaN technology. Video after the break.
Continue reading “USB-C Charger Juices Up 100 Devices At Once”