If your Raspberry Pi is running a bit hot you can add a few hunks of salvaged heat sink, or you can go all out and machine your own water cooling system.
Remember when everyone had a giant desktop computer which was a perfect receptacle for cool lighting effects and somewhat ridiculous cooling systems? Relive that experience with [Phame’s] multi-page forum post that serves as the build log. With the exception of the tiny pump itself, this one’s a fully custom job.
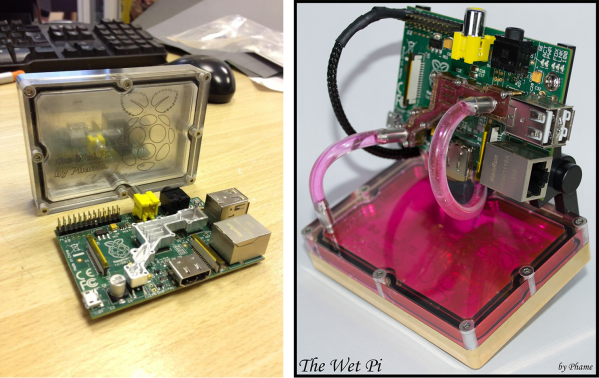
The image on the left shows the machined parts being tried on for side. There is a slug which contacts the ICs on the RPi board, conducting the heat to the chambers inside through which the liquid will flow. The upright rectangular enclosure serves as the reservoir which dissipates the collected heat as the water flows through it. The image on the right shows the finished project. It uses the power pins on the GPIO header to drive the pump.
[Thanks PL via Bit-Tech]
 At first glance you might not even notice that