Using Makerbot For Dishwasher Repair

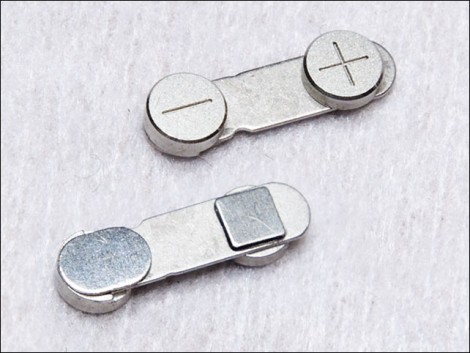
[Daryll Strauss’] dishwasher had some problems that he traced to a worn out part on the upper spinning arm. The hackerspace he belongs to has a Makerbot and he though this would be the perfect opportunity to print his own replacement part. He picked up some inexpensive digital calipers and set to work mapping out the dimensions of the broken piece. He took his hand-drawn cross section and built a replica part in Blender. Once he had it just right he generated the g-code and printed the part. His replacement works very well, and it’s a bit thicker (by design) than the original so hopefully that means it will hold up longer.

Key Fob Programming

[Fileark] has instructions for reprogramming keyless entry devices for your car. His demonstration video, which you can see after the break, shows how to make one key fob work for two different vehicles. In this case he’s working on a couple of Chevrolet trucks but there are instructions for GM, Ford, Dodge, Toyota, and Nissan. If you need to reprogram one of these you may find this useful, but we’re wondering how it can be incorporated into a project. If you can sniff out the communications that are going on during the programming you should be able to build and pair your own devices with a vehicle. Wouldn’t it be nice to incorporate your keyless entry into your wristwatch?

Continue reading “Key Fob Programming”

CD Controlled Lawn Mower

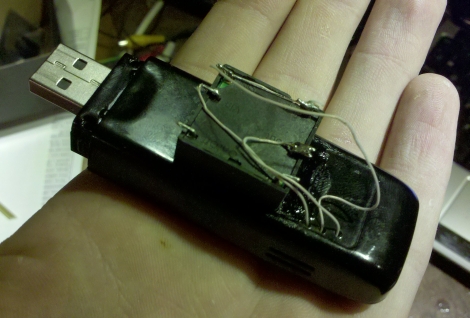
[Oliver Nash] was enlisted by his parents to fix their robotic lawn mower. They owned a Robomow which happily navigated their yard to keep the grass at a nice level. These robots rely on a perimeter wire with a special signal running through it to ensure they are inside of the mowing area. Confronted by a dead perimeter module, [Oliver] ordered a new unit and disassembled the old module to study the components. He also measured the signal generated by the replacement unit. In the end he was able to produce a replica of the signal using audio software, burn it to a CD, and playback the recording using the perimeter wire. It’s a bit of a zany idea but it worked.

Simple Way To Fix That Broken Ethernet Cable

Chances are you’ve come across an Ethernet cable where the small plastic tab that holds the plug in place has broken off. We have a crimper on hand and usually just throw on a new RJ45 connector but [Laxap] found a simple alternative to fix Ethernet plugs. By using a couple of correctly sized cable ties you can secure the damaged connector without replacement. The boxy locking mechanism on the end of the cable tie is used as the catch, slimmed down with the help of an X-Acto knife or razor blade. Once you’ve got the right fit, use a second cable tie to secure it to the Ethernet cable. Simple is brilliant.

[Thanks Password]

How-to: Make A Mains Crossover Cable

Update: This How-To was written for April Fools’ Day. It is not advised  you attempt to make or even use this cable. The comments have made it very clear how dangerous to you and others using this cable can be. The image above is not of a full male-to-male cable, only the ground is connected, and the generator is not running.

We all know Ethernet has the crossover cable, cars have jumper cables, and RS232 has the null modem. Well, it is about time our wall sockets get their own crossover cable. This crossover cable is great for running power to a circuit disconnected from power. Maybe you are out of fuses, the breaker is broken or you just don’t want to go check the fuse box when there is a murderer about. This cable makes a great gift for even the most loathsome of acquaintances. Continue reading “How-to: Make A Mains Crossover Cable”

GPU Cooling To Fix RRoD

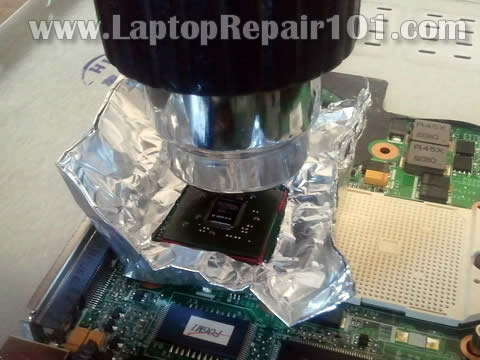
[Rbz] fixed his friend’s Red Ring of Death stricken Xbox 360 by improving the GPU cooling. Because an overheating GPU is a common cause of the failure, he first tried to replace the thermal compound for better heat conductivity between the chip and the heat sink. This helped a bit but within two hours the problem was back. Troubled by the heat discoloration on the bottom of the DVD drive, he removed it and screwed a cooling fan to the GPU heat sink. That did the trick, so he moved the drive to the outside of the case with the aid of a longer SATA cable. It’s not pretty, but it worked.

Repair Or Improve Your NES

There’s a warm place in our hearts for the original Nintendo Entertainment System. It’s too bad we don’t have that hardware sitting around anymore. But if you do there’s a chance it needs some TLC and there’s always room for a blue LED mod. [Raph] has a wonderful collection of NES hardware repairs and hacks that you should take a look at. These include replacing the power supply, fixing the cartridge connector, monkeying with the CIC chip, adding a reset button on the controller, converting the audio from mono to stereo, and yes, swapping in a blue LED. Oh, and as a side note, [Raph] gets a bit of extra hacker ‘cred for including “coded manually using VIM” at the bottom of his page. Classic.