No, see, it’s what’s inside that counts. Believe it or not, [nobutternoparm] retrofitted this innocent, adorable little tikes® so-called “Kidboard” rubber-dome keyboard into a mechanical marvel. Yeah! No, it wasn’t exactly pure, unadulterated fun, nor was it easy to do. But then again nothing worth doing ever is.

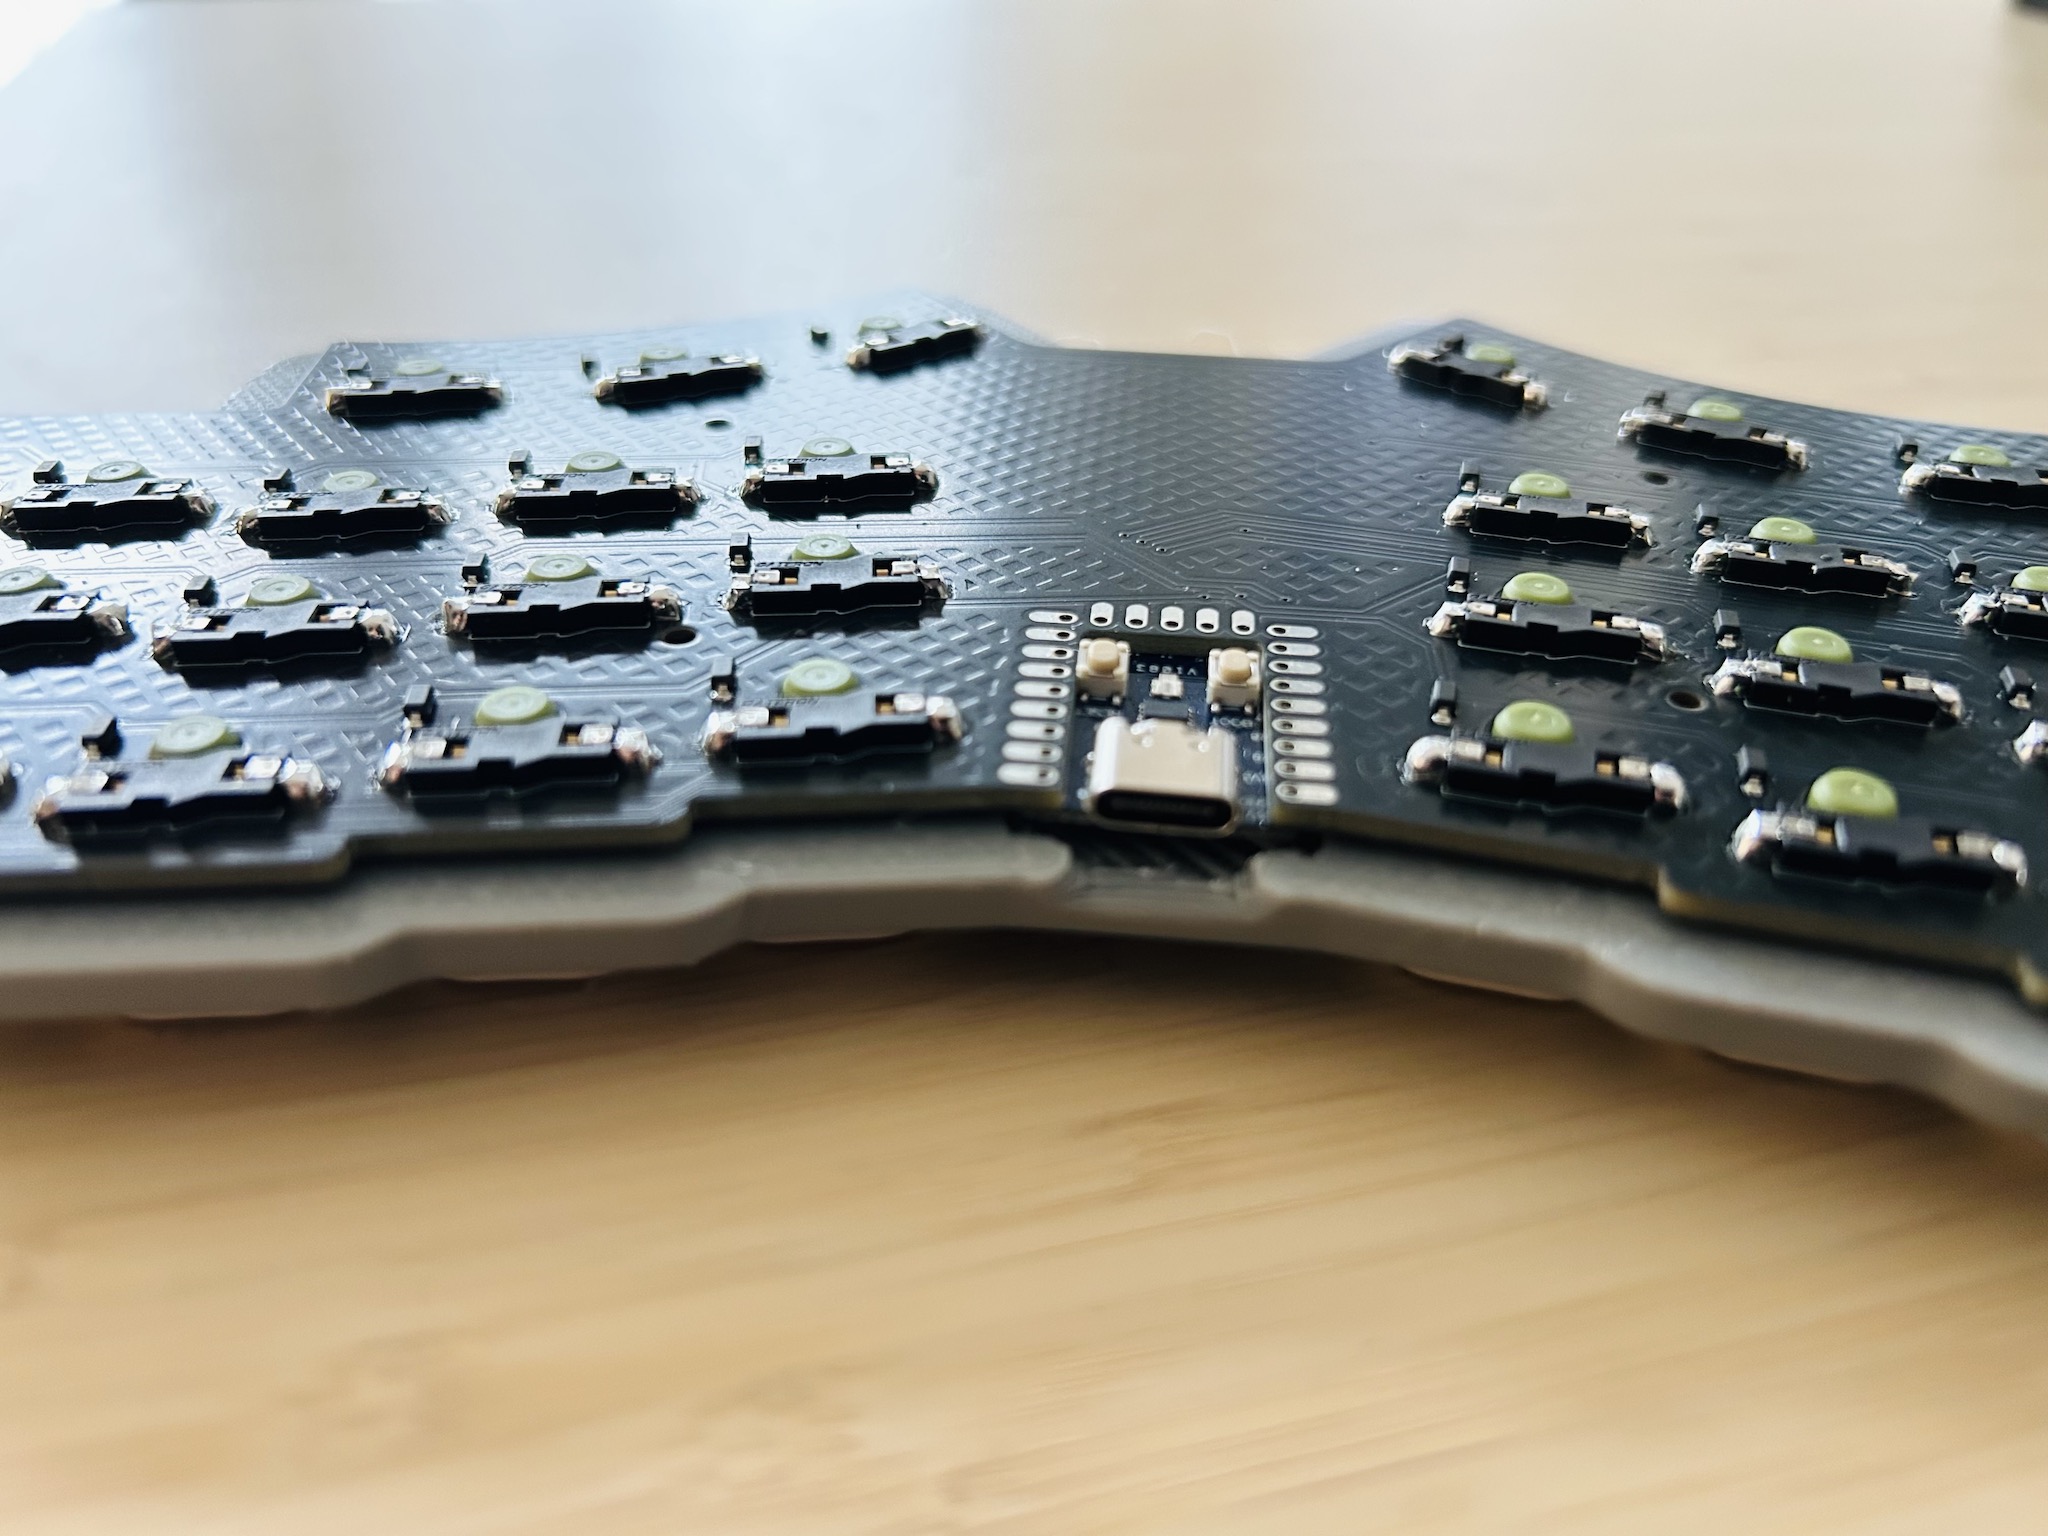
Next problem: a real PCB and mechanical switches (Gateron Baby Kangaroos) are a lot taller than the previous arrangement. This required spacers, a mounting plate, and longer screws to hold it all together. Now imagine lining all that up and trying to keep it that way during assembly.
And then there’s the keycaps. Guess what? They’re non-standard because they’re for rubber domes. So this meant more adapters and spacers. You’ll see in the gallery.
So we know it looks great, but how does it type? Well… [nobutternoparm] gives the feel a 4/10. The keycaps now have too many points of contact, so they bind up and have to be mashed down. But it’s going to be a great conversation piece.
Continue reading “Keebin’ With Kristina: The One With The Bobblehead”